There are a lot of guides online on how to change just the outer trackrods (if not sized) but now't really for both if sized together.
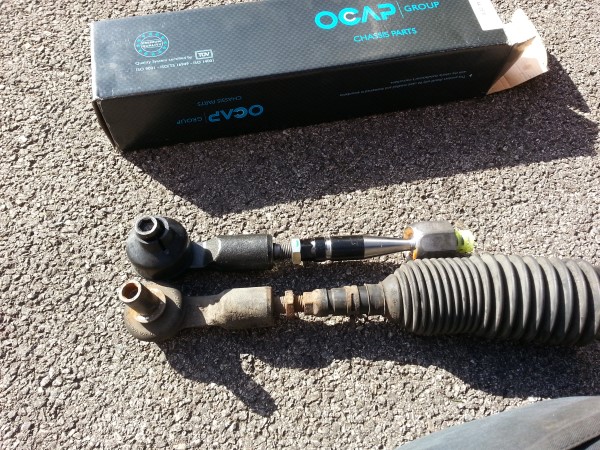
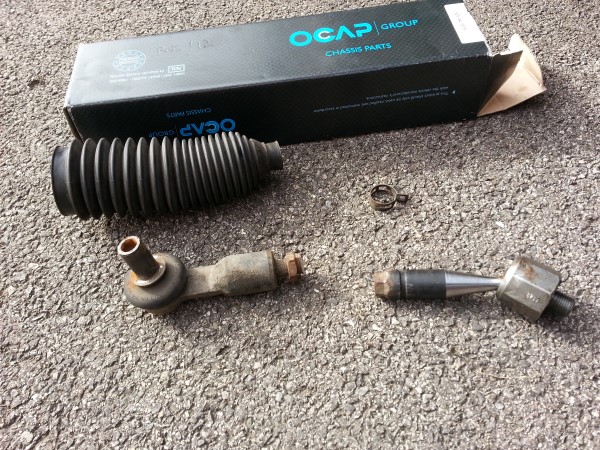
This guide is just for changing the inner & outer track rod ends as the only new part, everything else has been reused.
I would say to save some time next time I would just buy 2x new boot rubbers to protect the steering rack but in this guide I just reused mine.
The biggest TIP I can give anyone with this is not to be scared to remember to move your steering as it will make it easier to access hard to get a places. (inner joint nut, boot clips, ect)
Hope this helps some people
-----------------------------------------------------------------------------------------------------
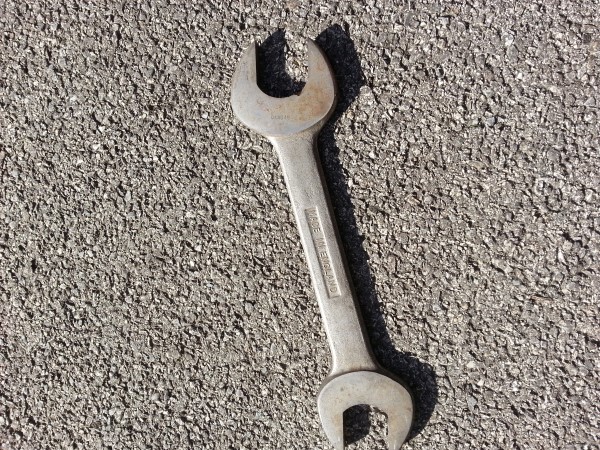
Special tool/s needed:
Spanner size (38 to 38.4mm) or old school modified spanner (like I had)
Angle grander
Cable ties
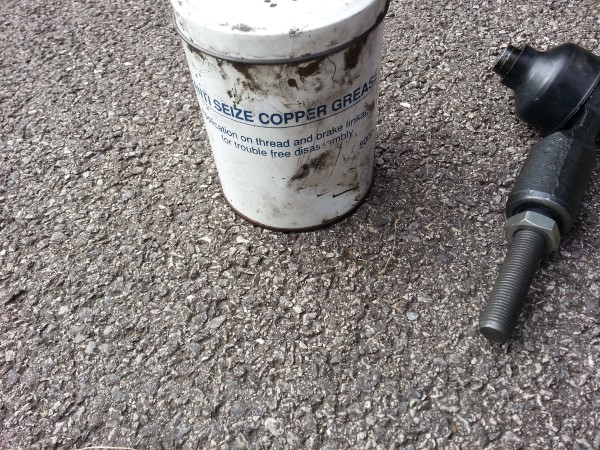
anti seize (optional)
1. Loosen wheel, jack up car (Place car on axel stand/s (optional)) Remove wheel.
2. Remove poo/dust protector by removing the bolt and 2 plastic clips.
3. Cut the poo/dust protector so it can be removed. (cut it were ever you think is best for you.)
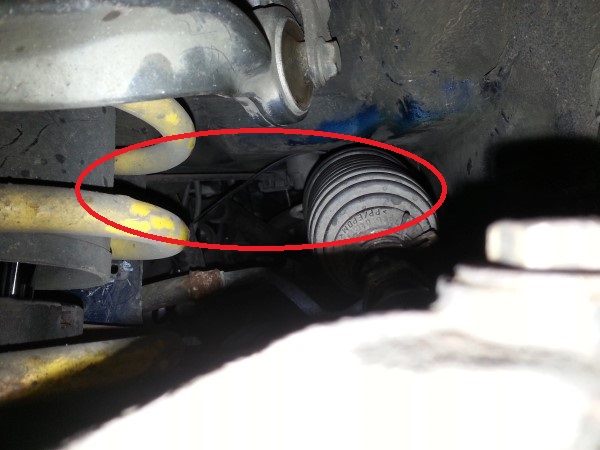
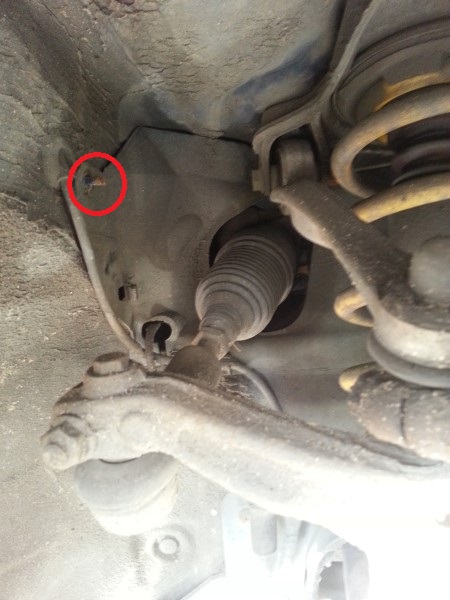
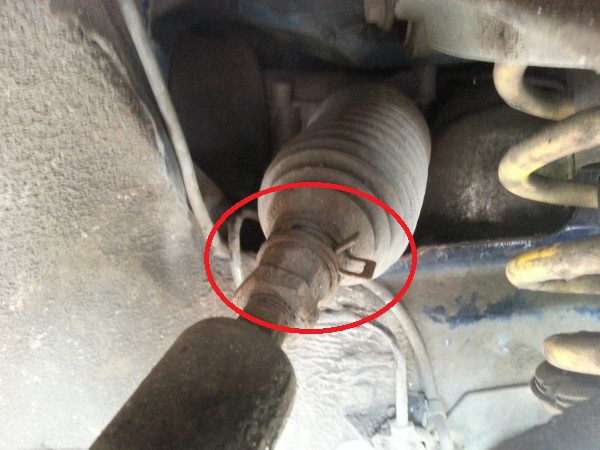
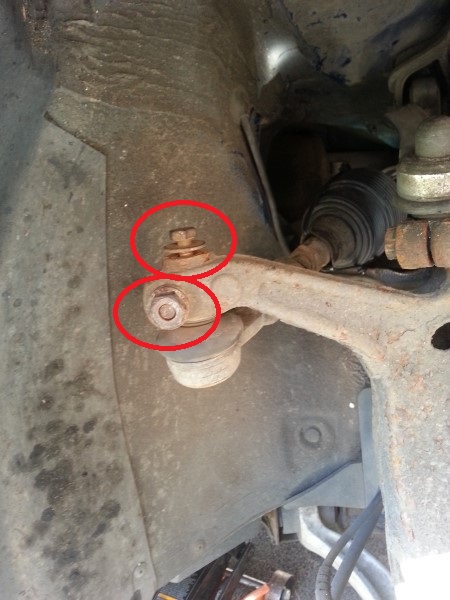
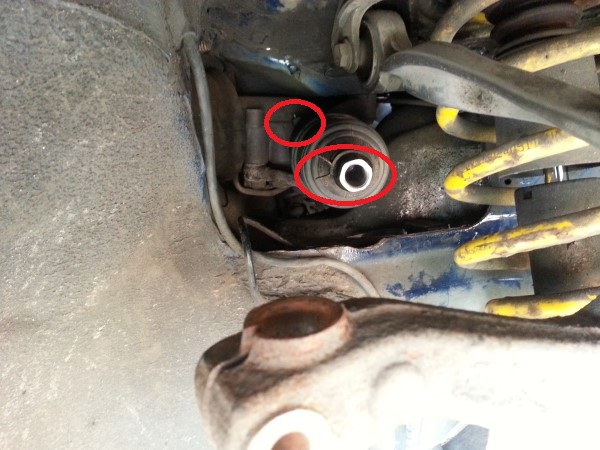
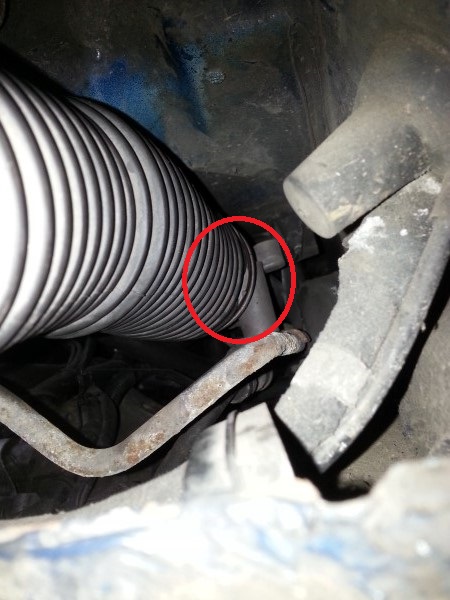
4. You should now have 2x clips to deal but at the moment we need to only remove the rear clip.
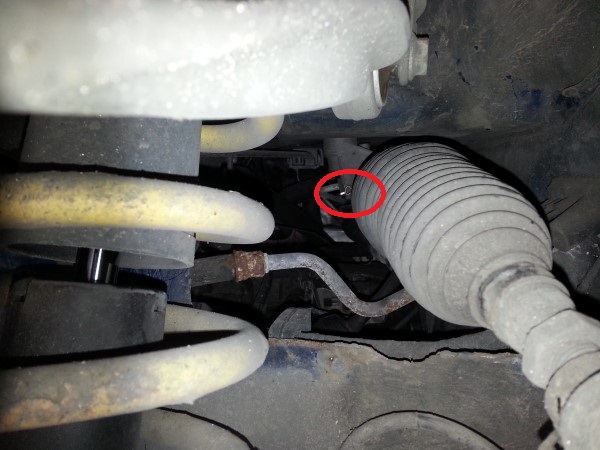
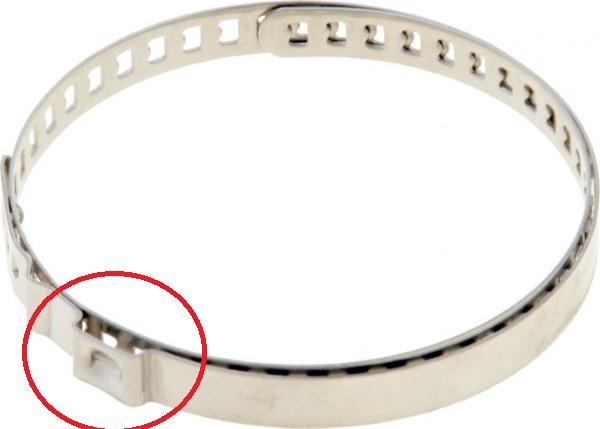
The rear clip on the rubber is just one of the metal clips (see below image) and you can just pop it off with a flat blade screwdriver in the area circled in red. (not much space but do able)
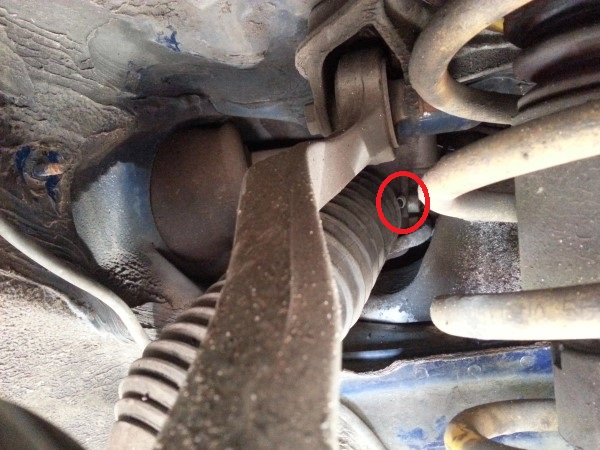
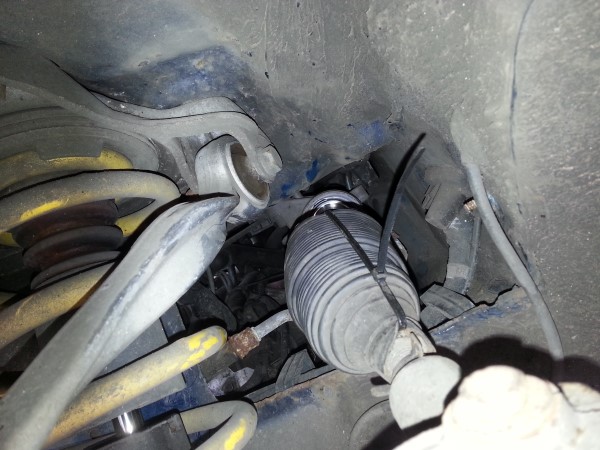
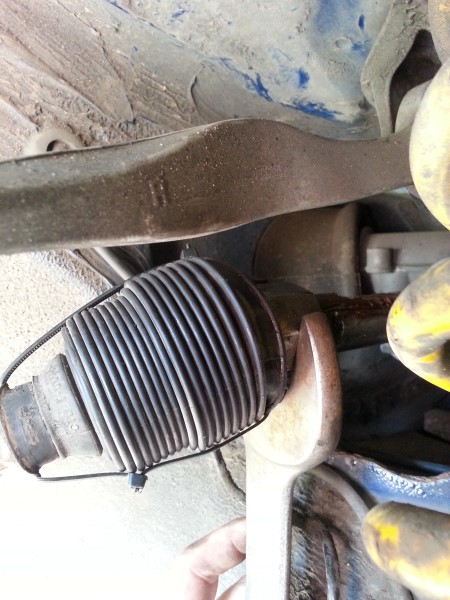
5. Now the rear clip is removed pull the front clip down out of the way and use a screwdriver to lift the rubber boot up and side a cable tie under and fanon it. Do it again on the opposite side.

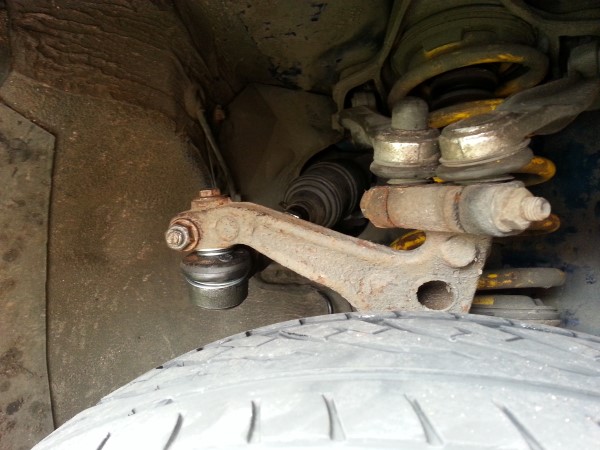
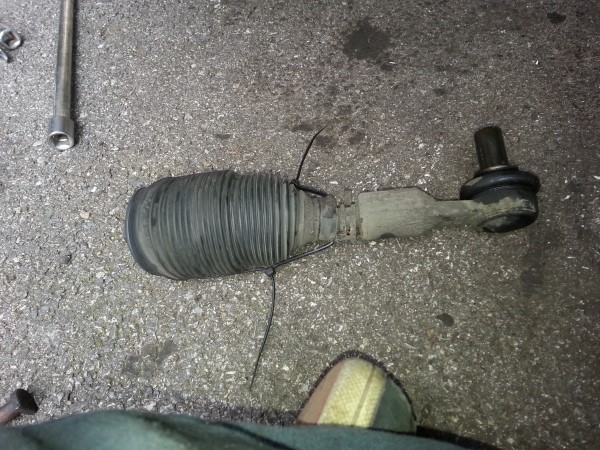
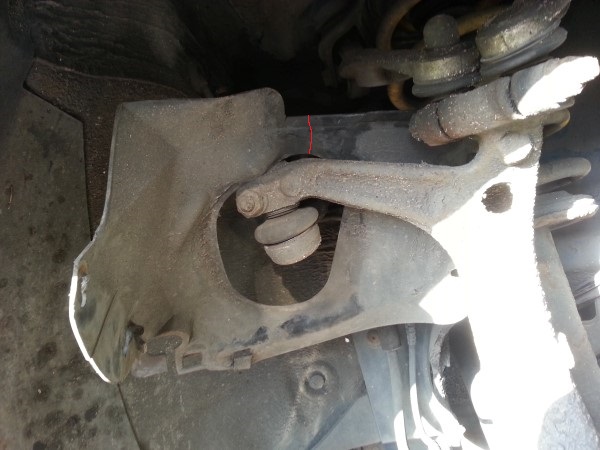
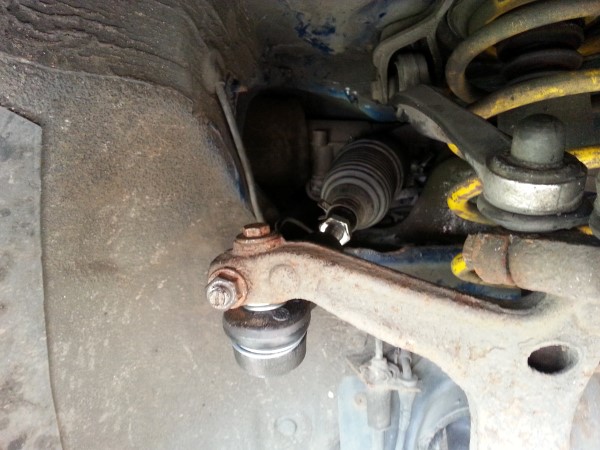
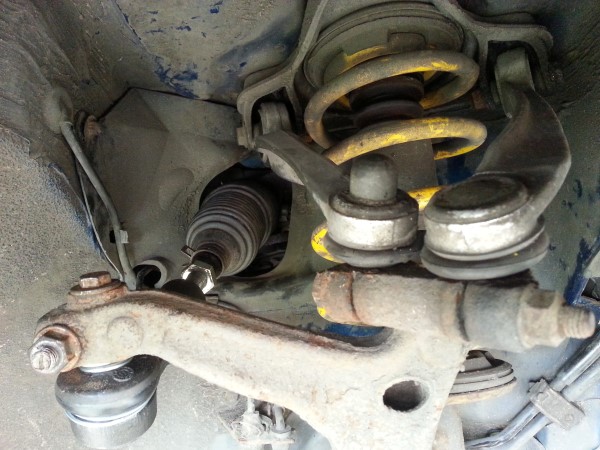
And you should get this and have access it the inner rod nut:
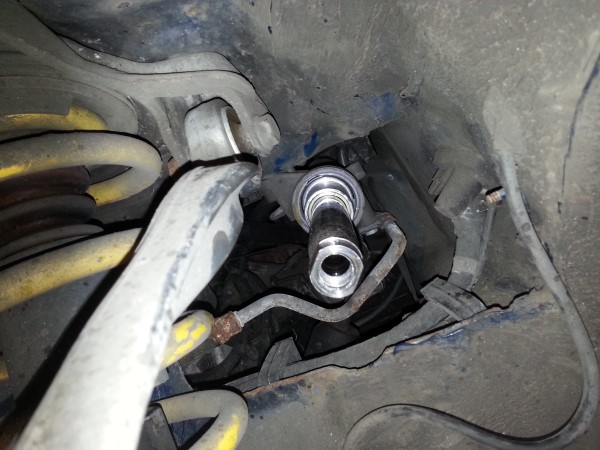
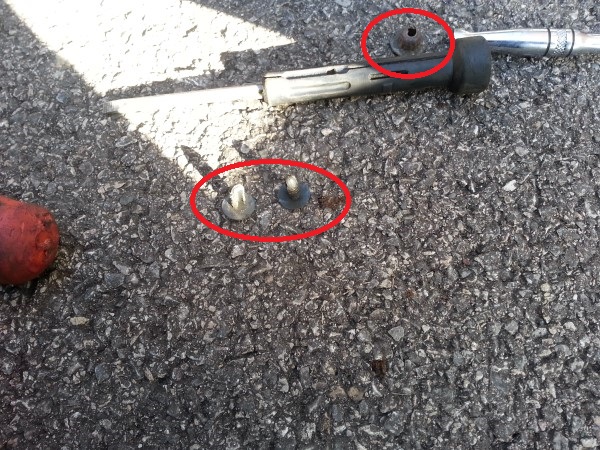
6. Get your 38mm tool
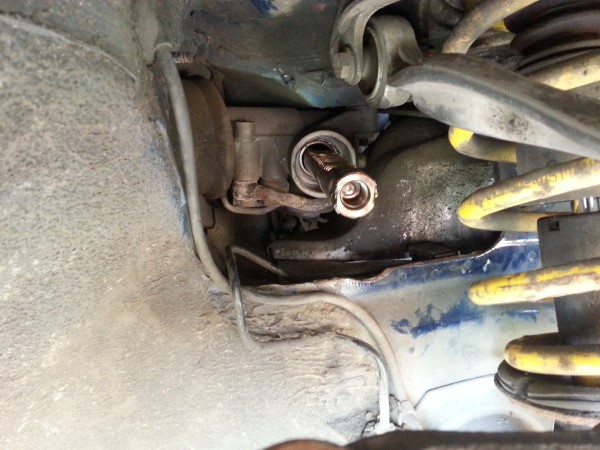
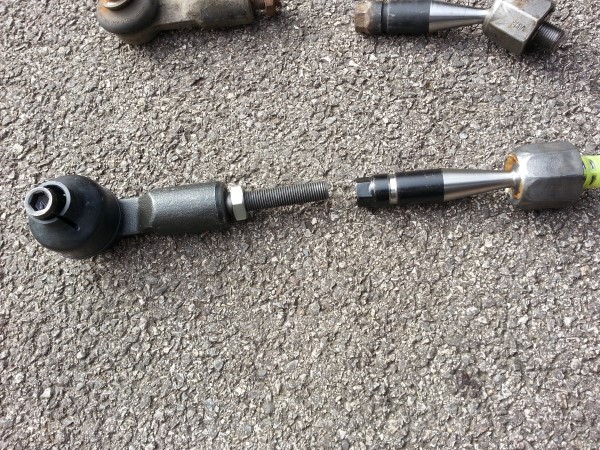
7. To rescue the rubber and clip get your angle grander out cut the track rod. (make sure to count the treads before cutting)
8. Now fit the inner track rod and give it a nip tight. Move your steering so its straight, place the rubber boot on the steering rack and cable tie the back of the boot (you can use a metal clip if you have one) on the steering rack and put the metal clip on the front.
9. now get some anti seize (optional) and cote the outer track rod treads and refit, just get it as close as you can with treads you counted earlier.
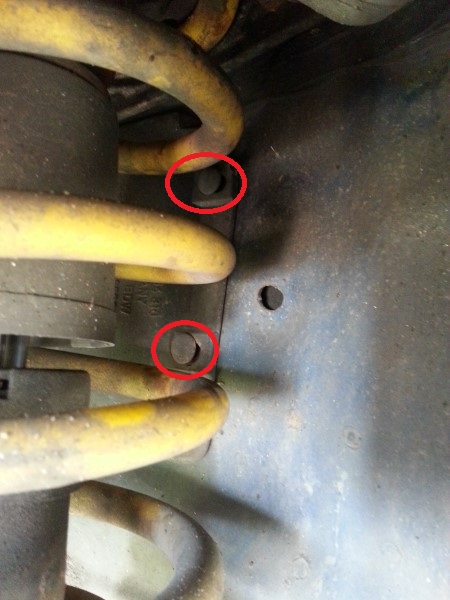
10. Refit the track rod bolts, poo/dust protector and bolts.
11. DONE and have a beer
Note: Some times the stress of the cable ties makes the boot fold a little but you just need to push and twist the boot and it should pop on fine.
Passengers side is just about the same but the steering rack boot is longer and a bit harder to get the cable tie around.
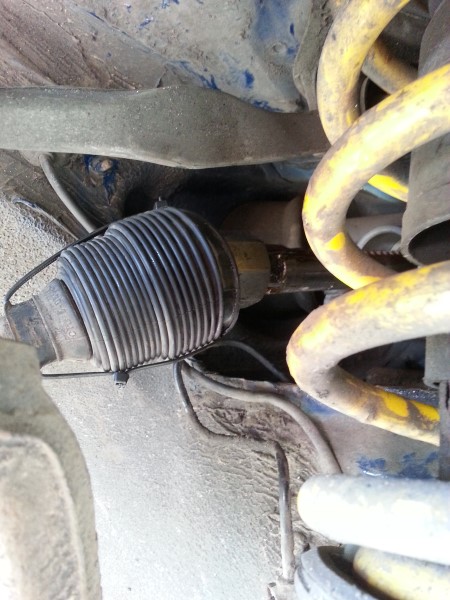
Here is a few photos of the passengers side.