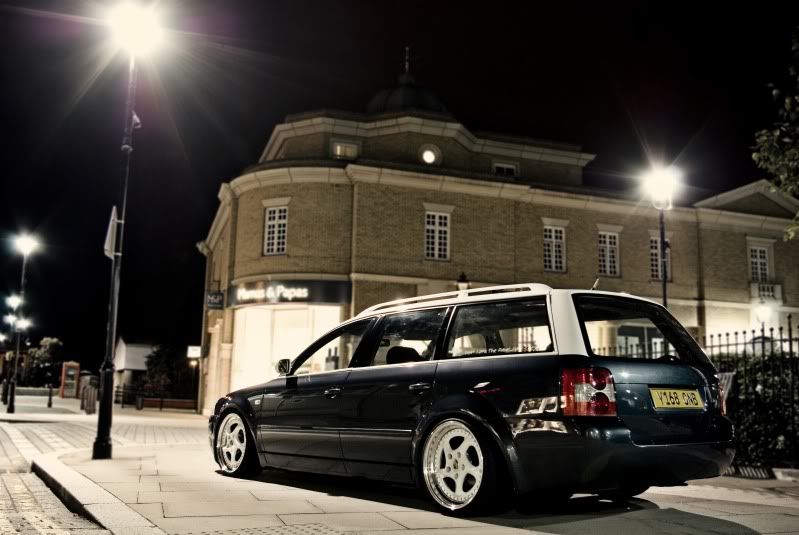
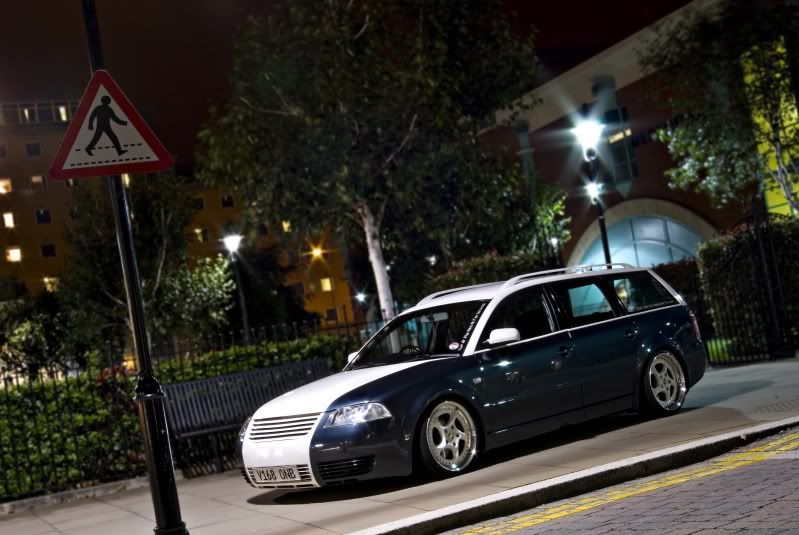
Well, it used to look like this as you may or may not remember:
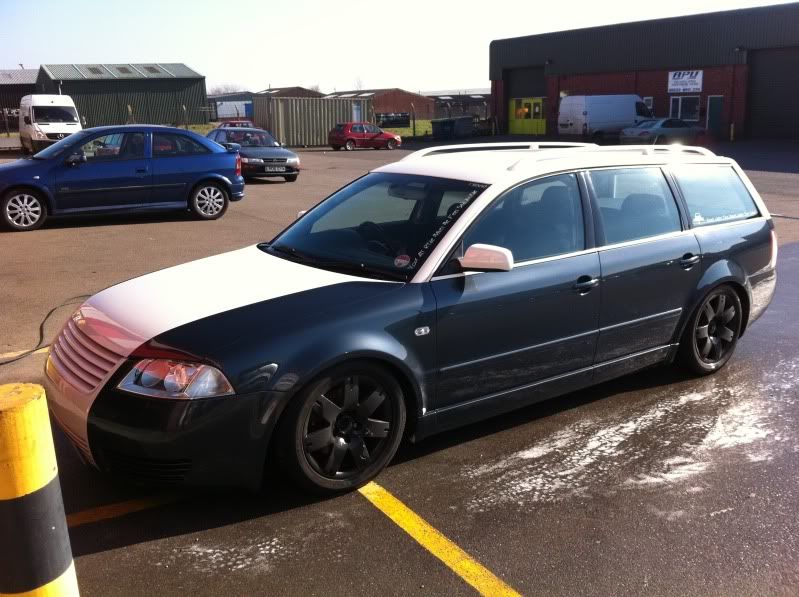
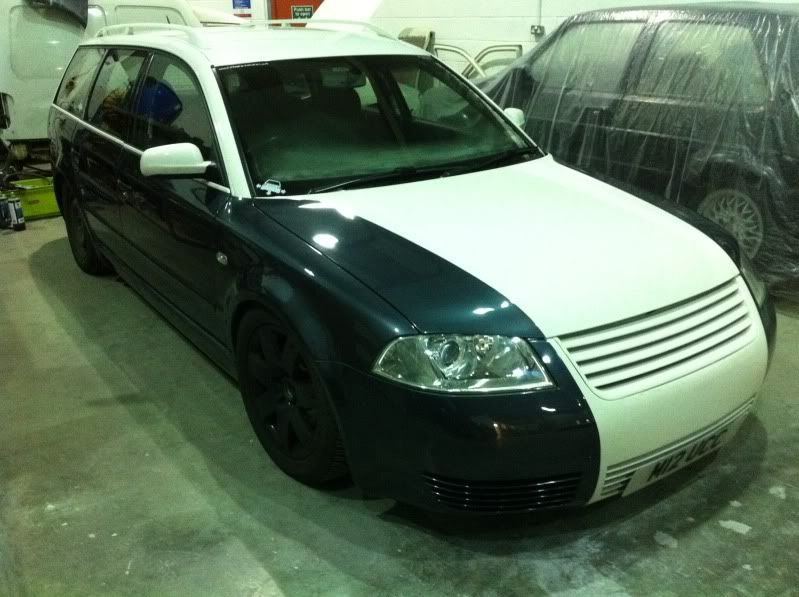
Last wash was done before it was parked up in the unit
Ready for stripping
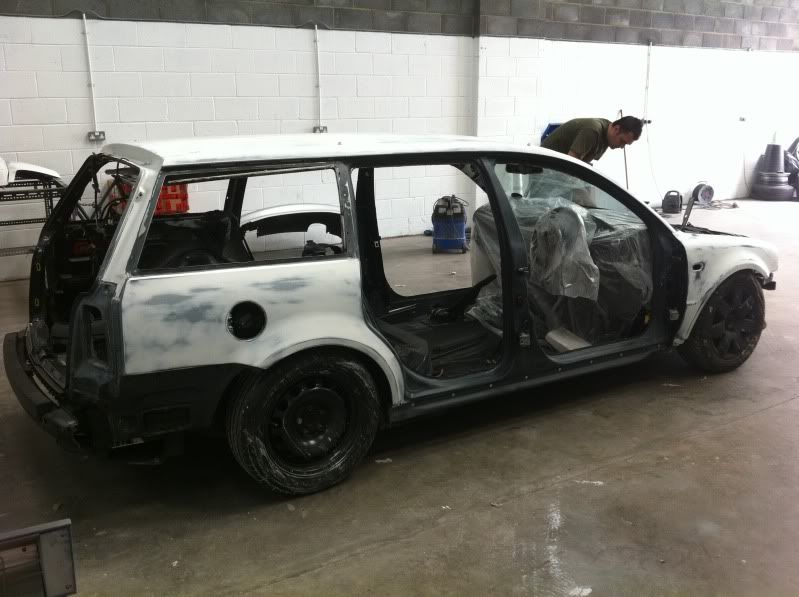
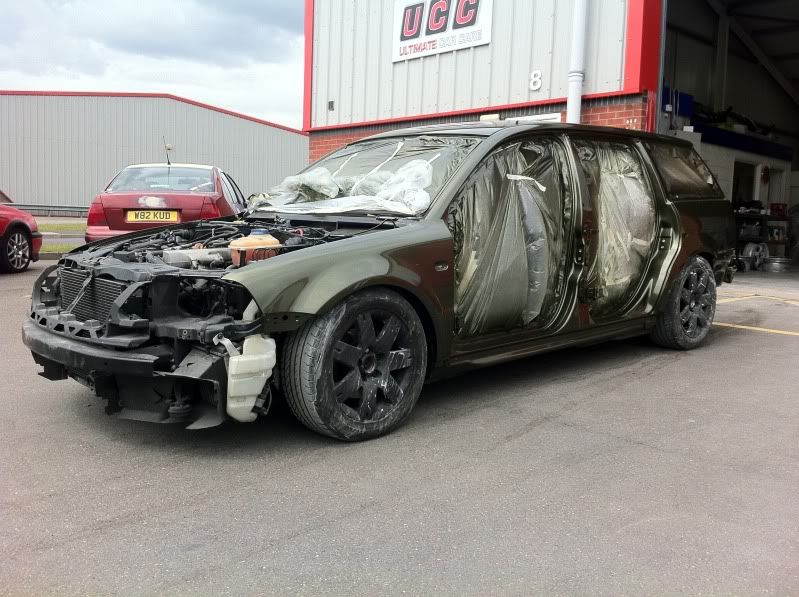
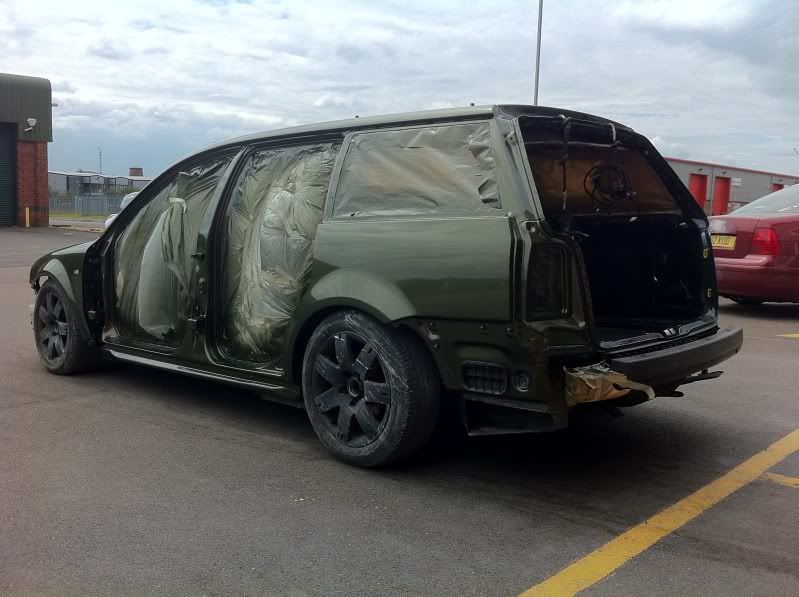
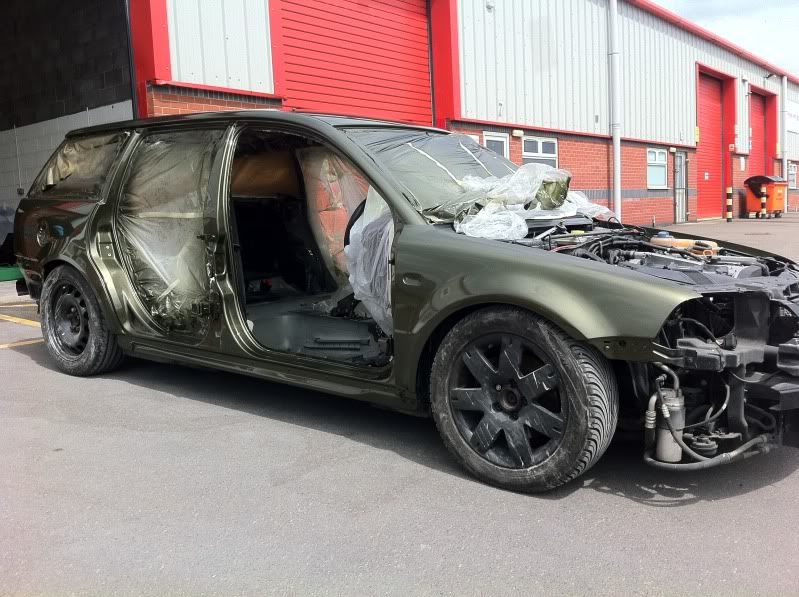
Stripped
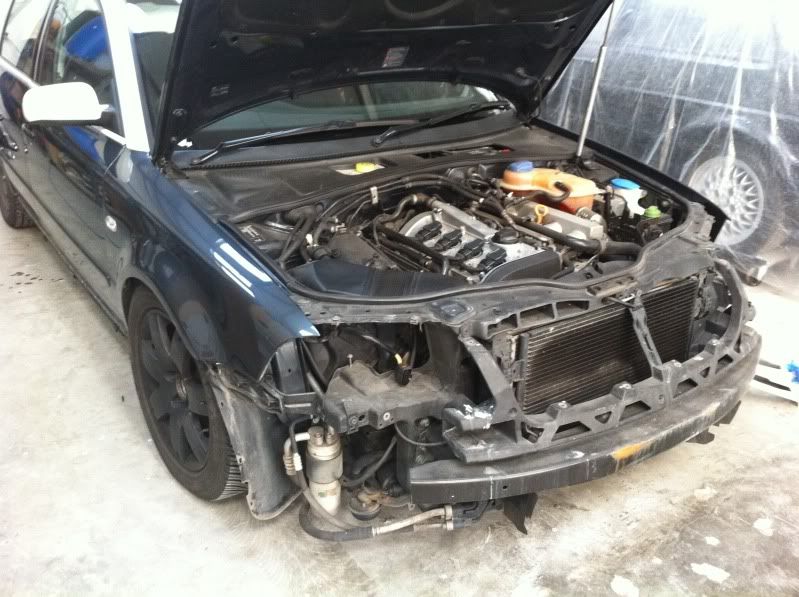
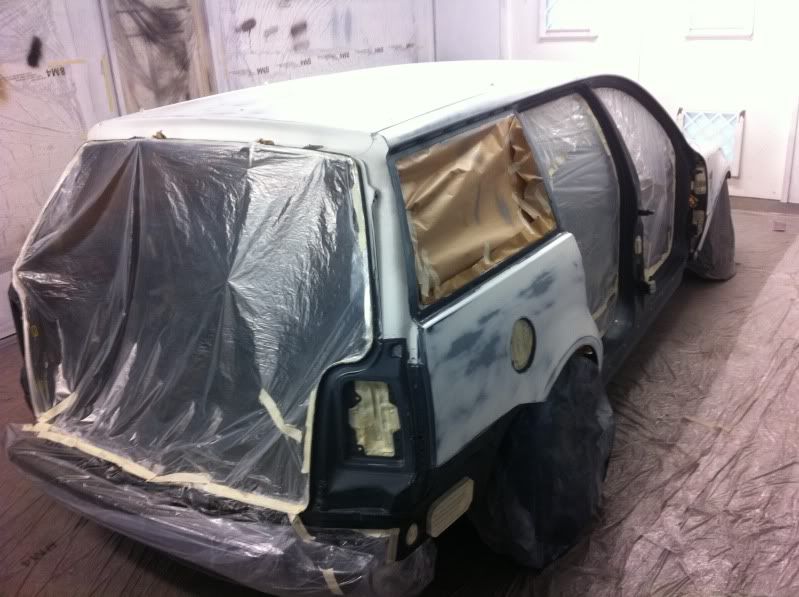
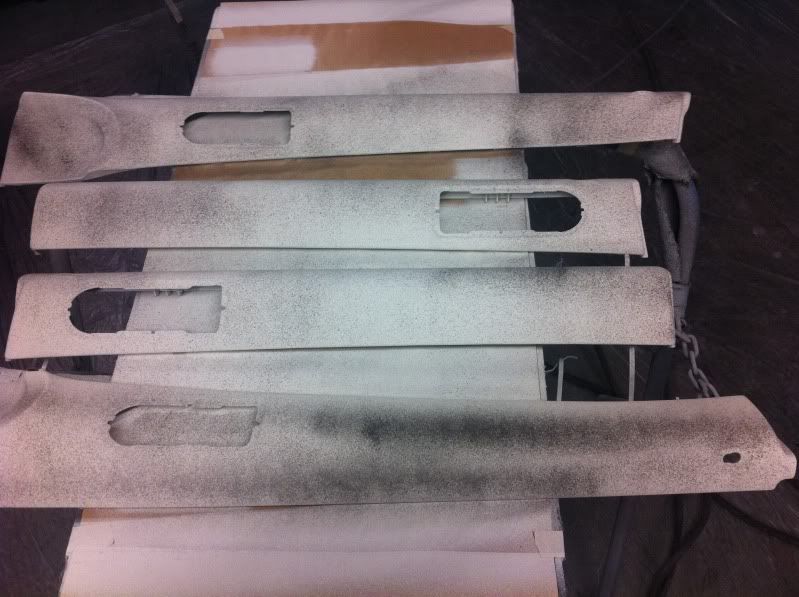
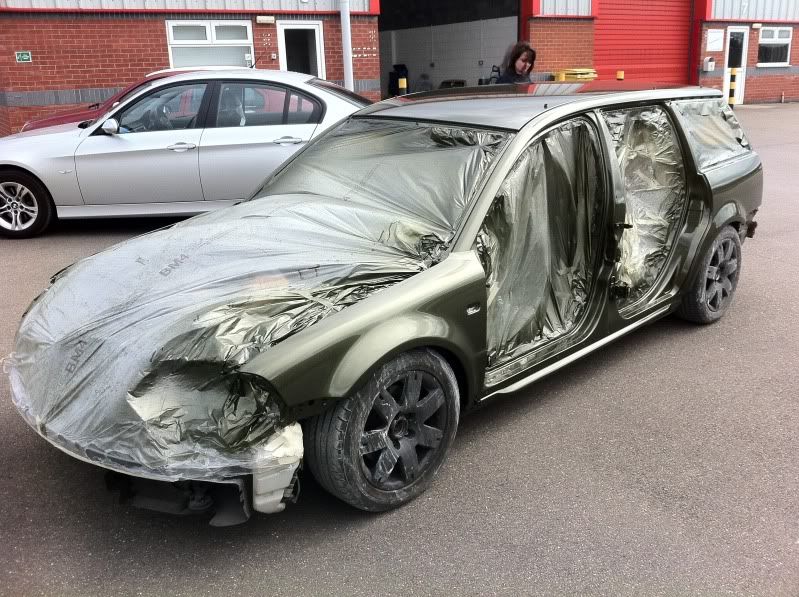
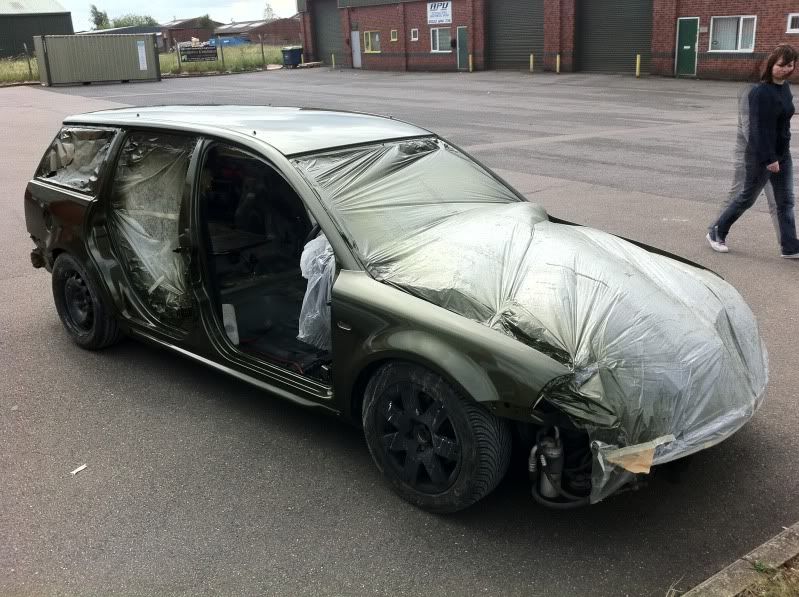
Exterior stripped, window trim removed, handles off, door cards off, exterior buzz down.
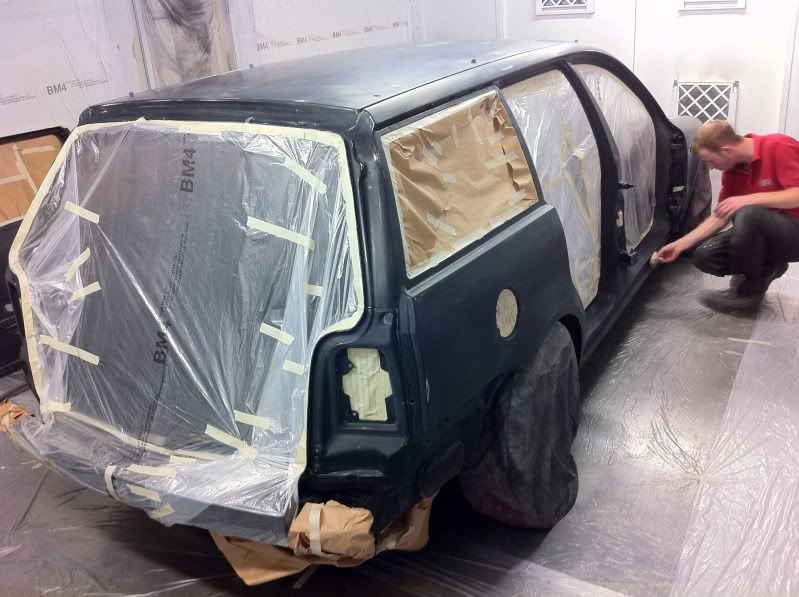
First stage primer
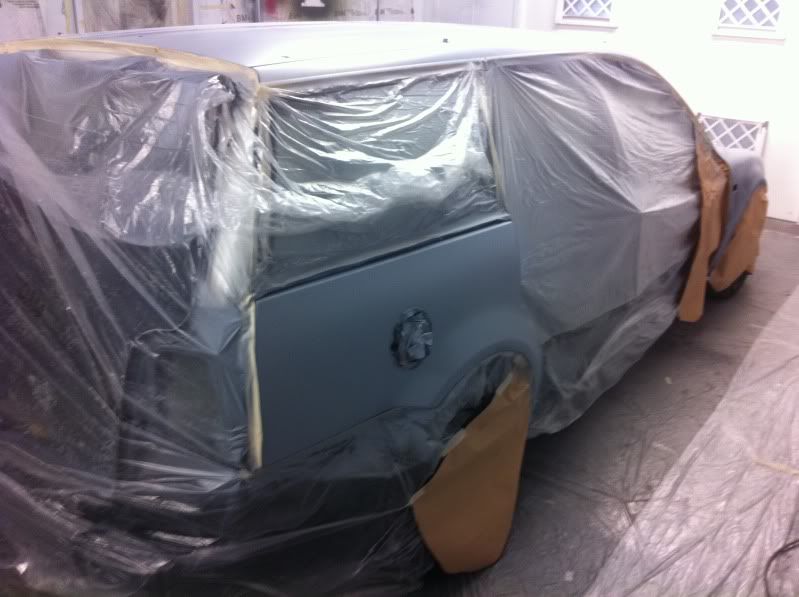
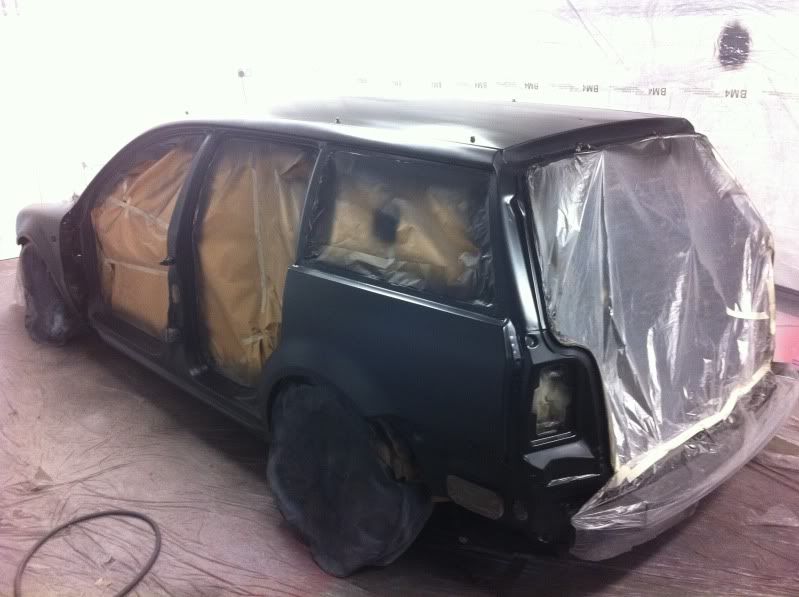
Second stage primer
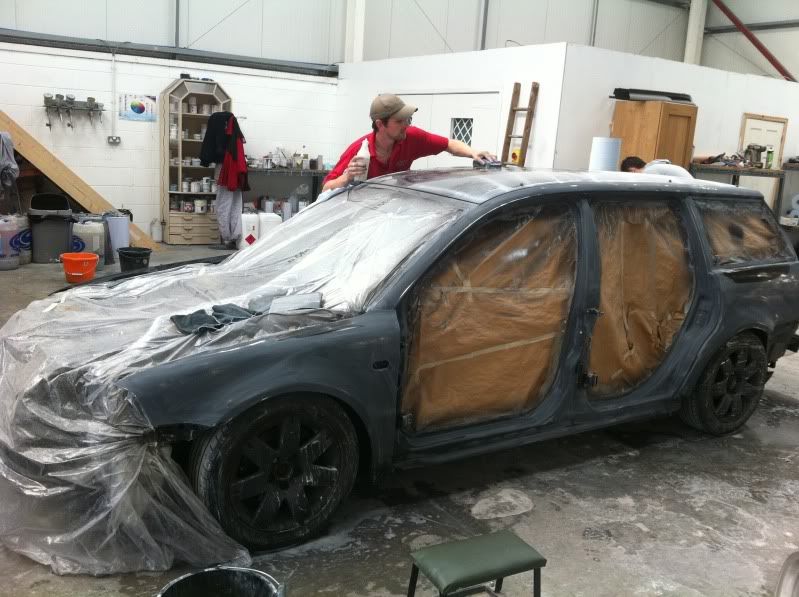
6 Hours of solid blocking for the body alone!
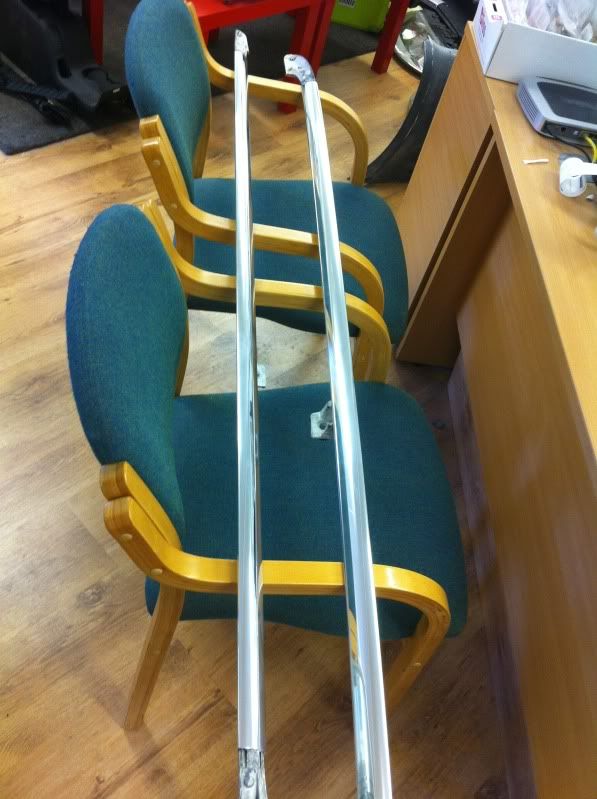
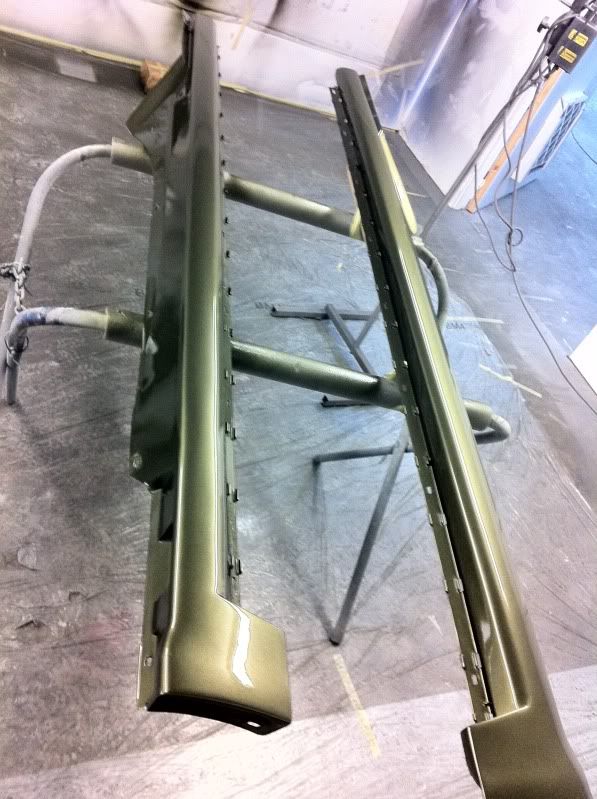
My roof bars arrived back from polishing
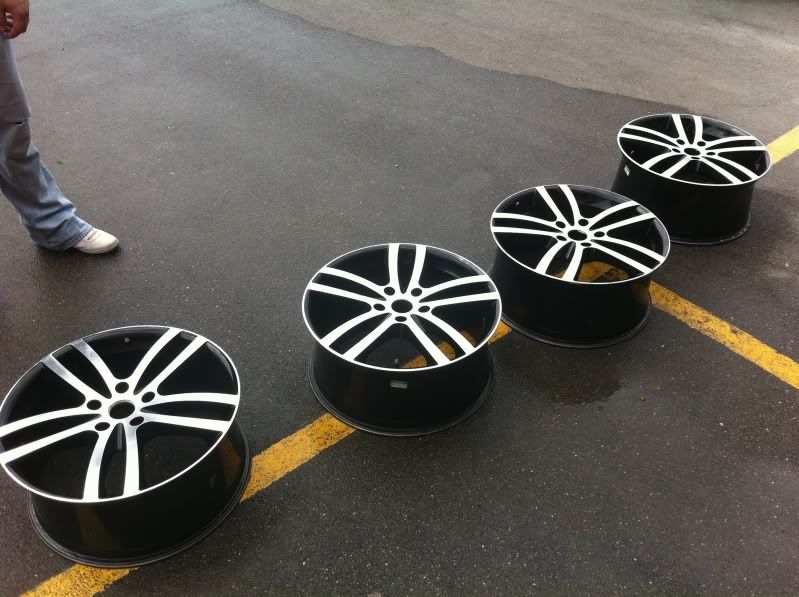
My new rims arrived! can't wait to get cracking on these! Recolouring and polished faces in the pipeline. Specs are 9x20 all round. a nice bit of tuck and a healthly slam on our Bagyard setup should have these sitting sweetly! : )
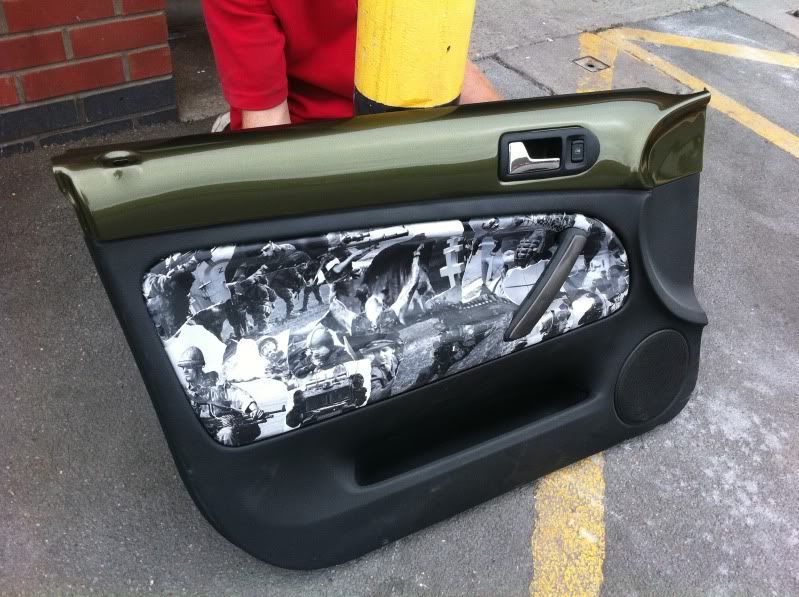
Decided to smooth my doorcard tops and introuduce some colour to the interior. These were a mission and have taken a lot of man hours but well worth the effort.
Introuding...my new colour! A lot of research for th code, but got there in the end! A taster...
Finally, my old Beetle has been used by Wolfspeed for its clothing range. Chuffed!
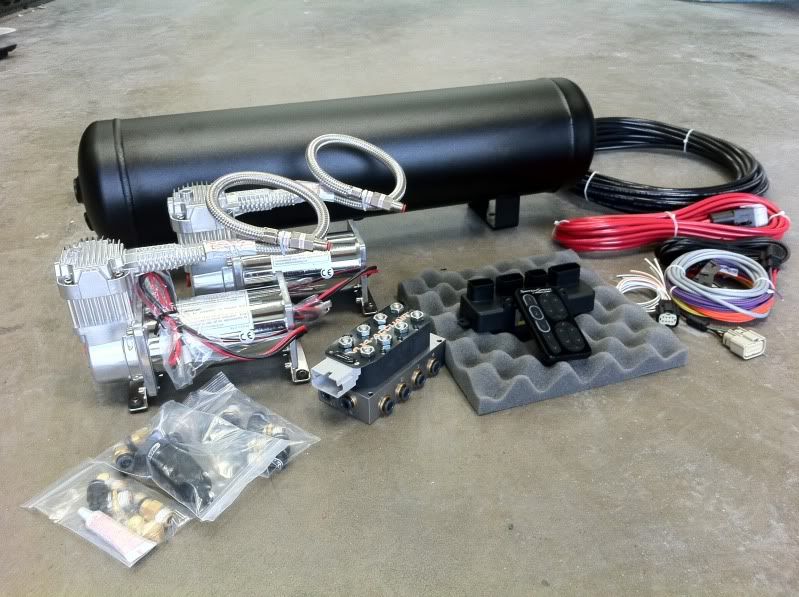
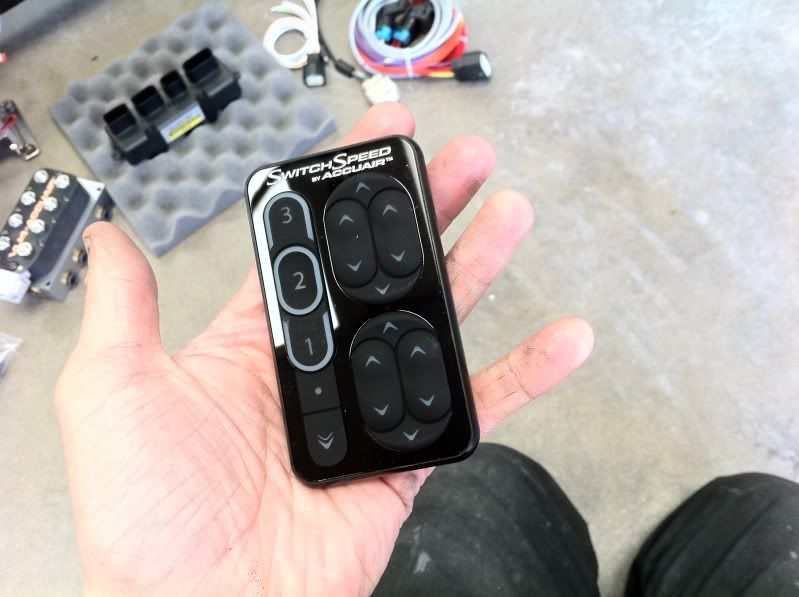
The touchpad
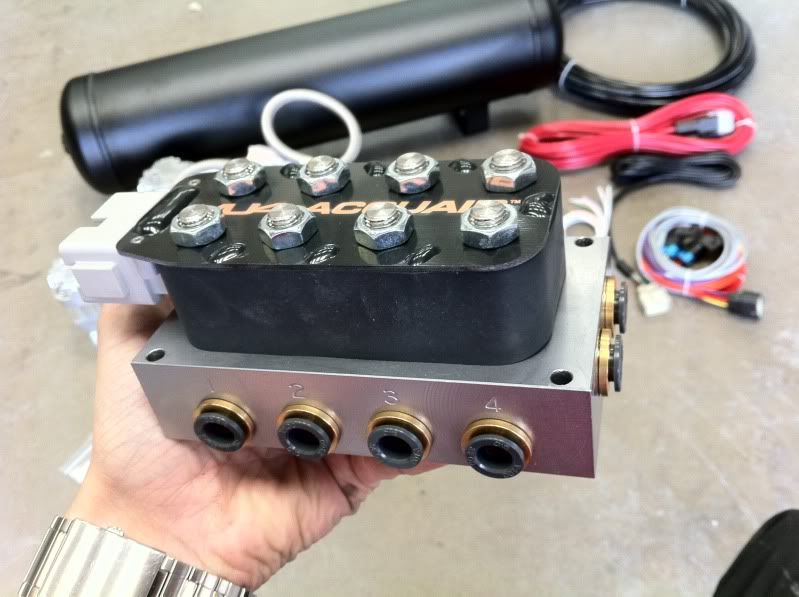
The superbly engineered manifold!
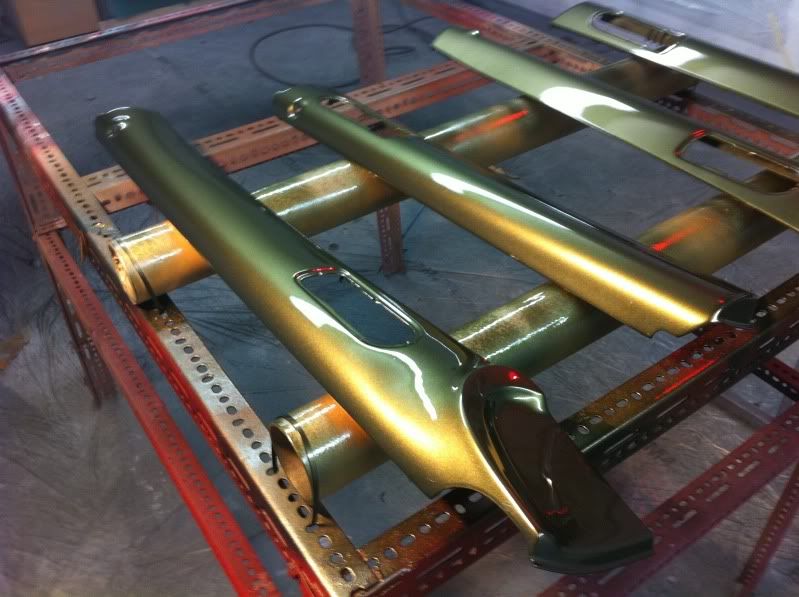
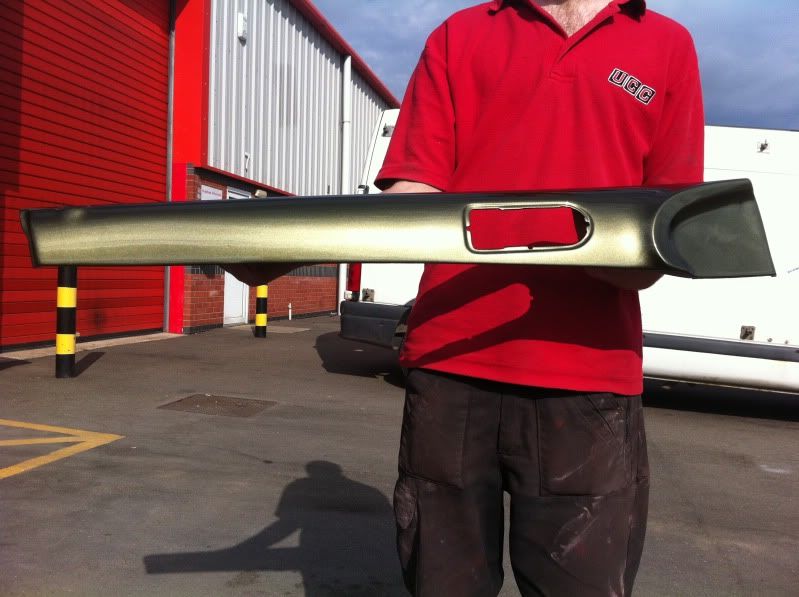
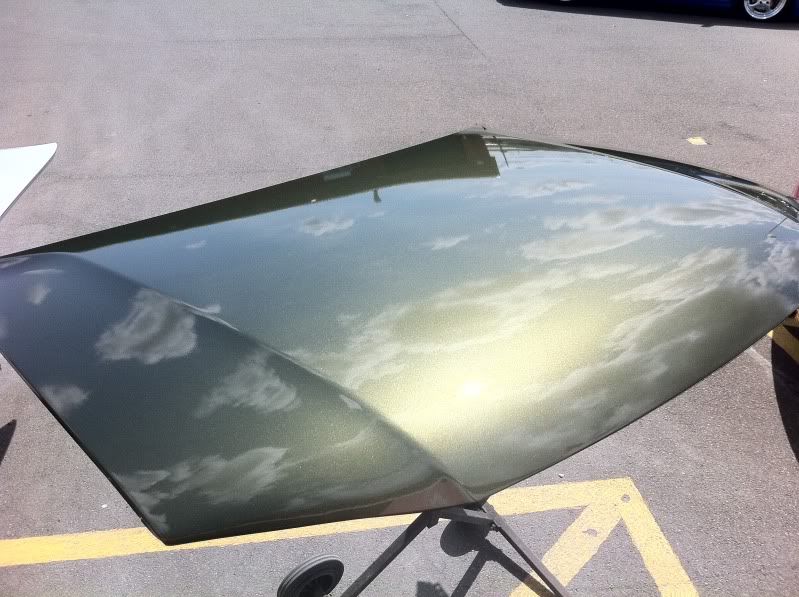
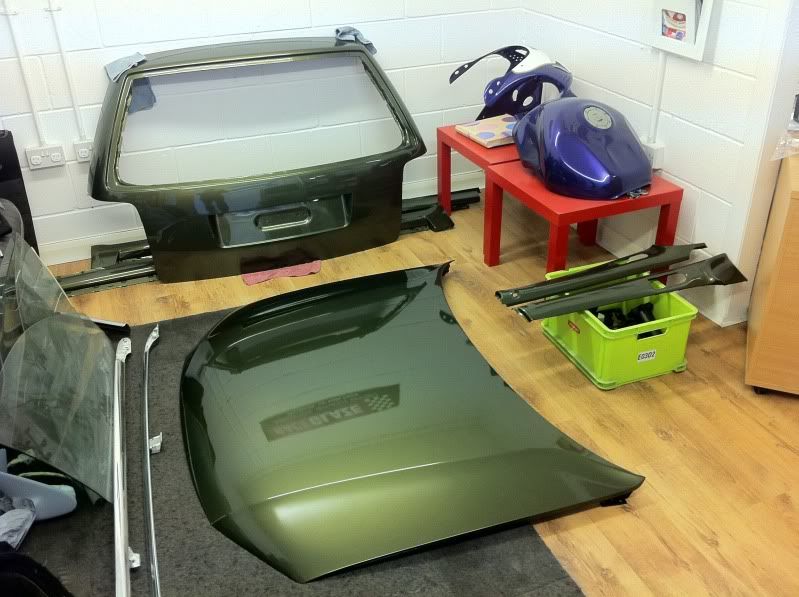
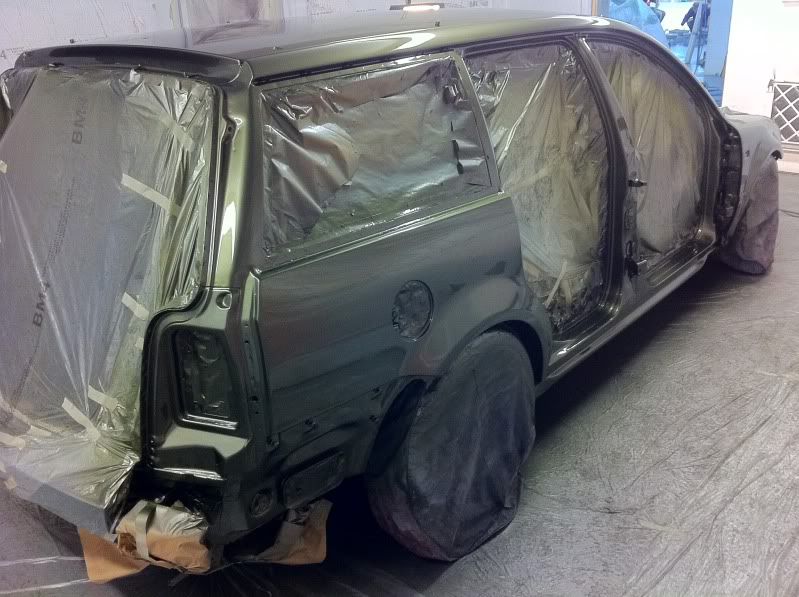
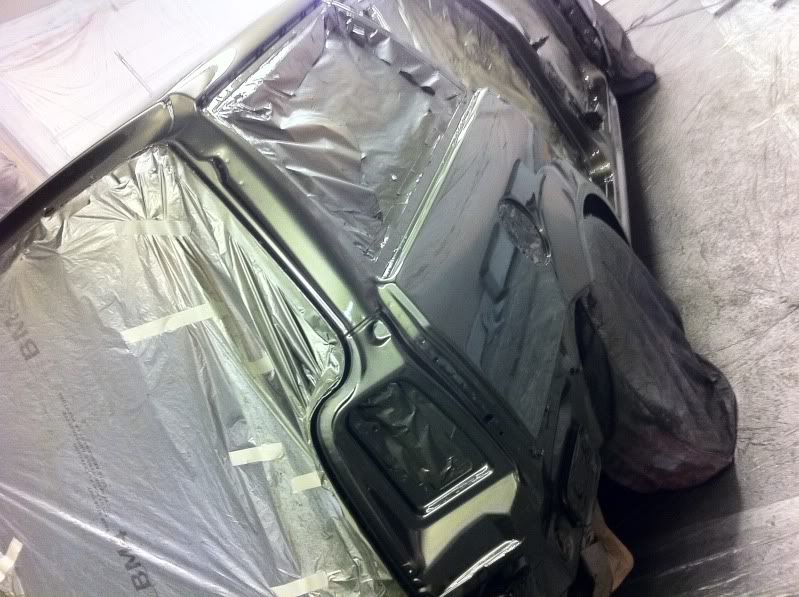
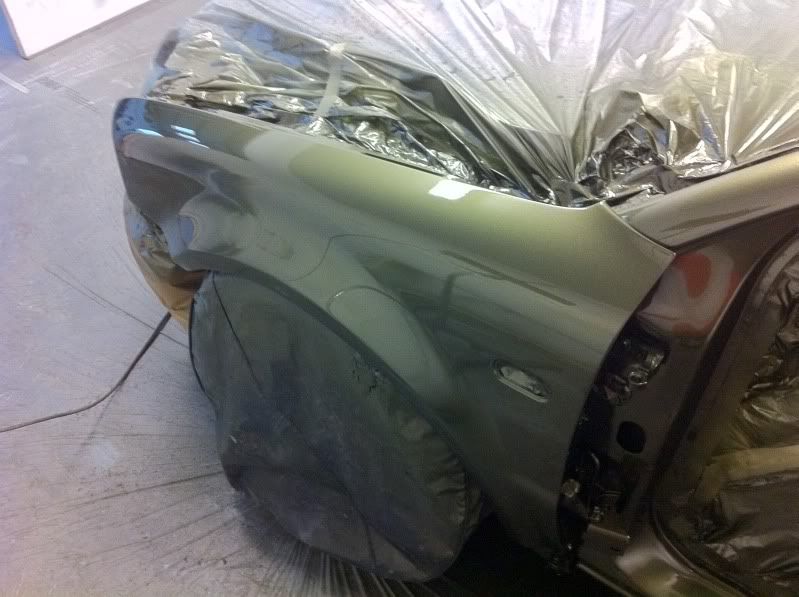
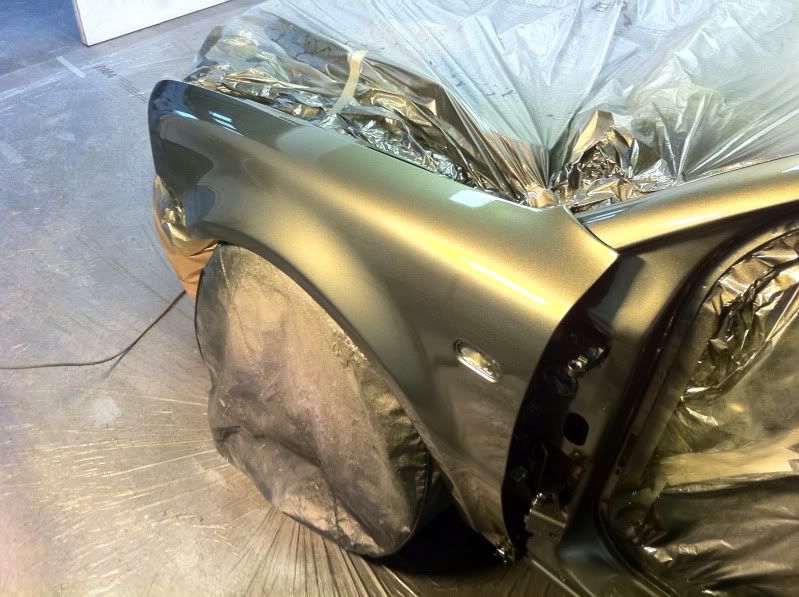
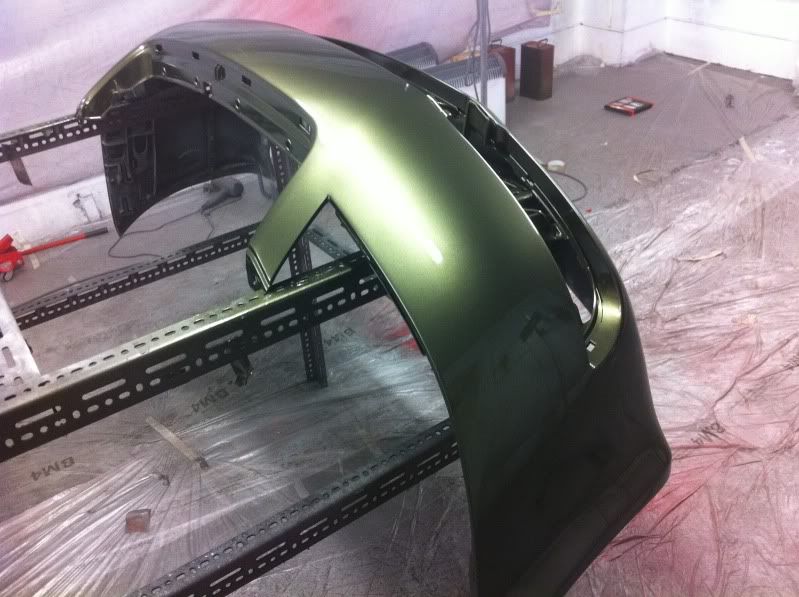
Meanwhile, I got the bonnet, skirts and bootlid in colour. They have now joined the queue for flatting and polishing 8)
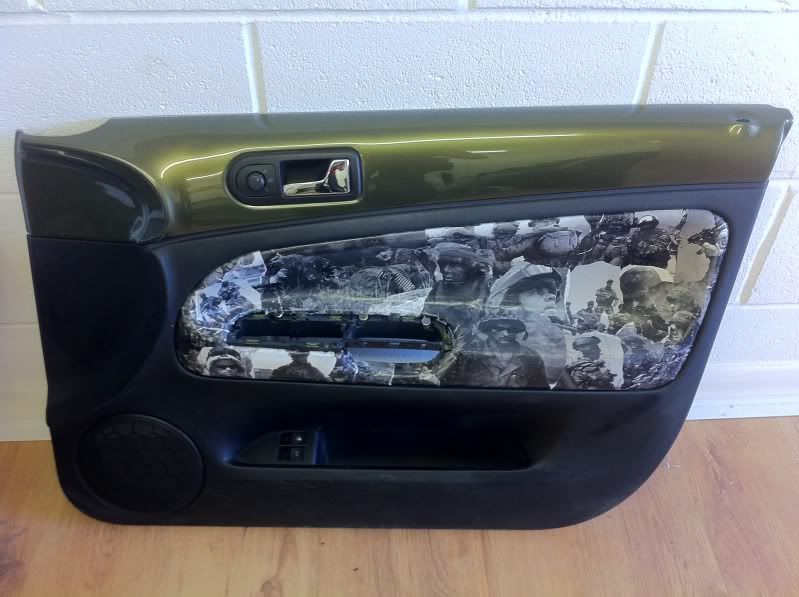
Got my doorcards all flatted and polished up and refitted. This is the drivers one. Really pleased with these!
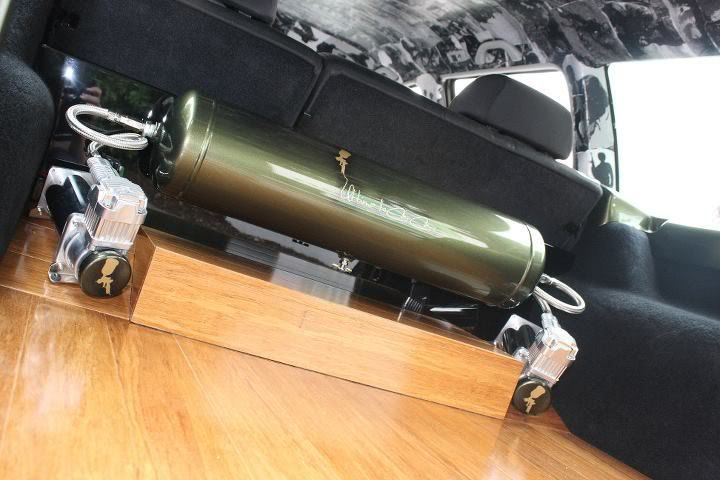
Started work on my tank. After much deliberation, I decided to go for a painted finish, at least for now...
Began rubbing down the tank. The anodised coating is a bit of a nightmare, but got there eventully!
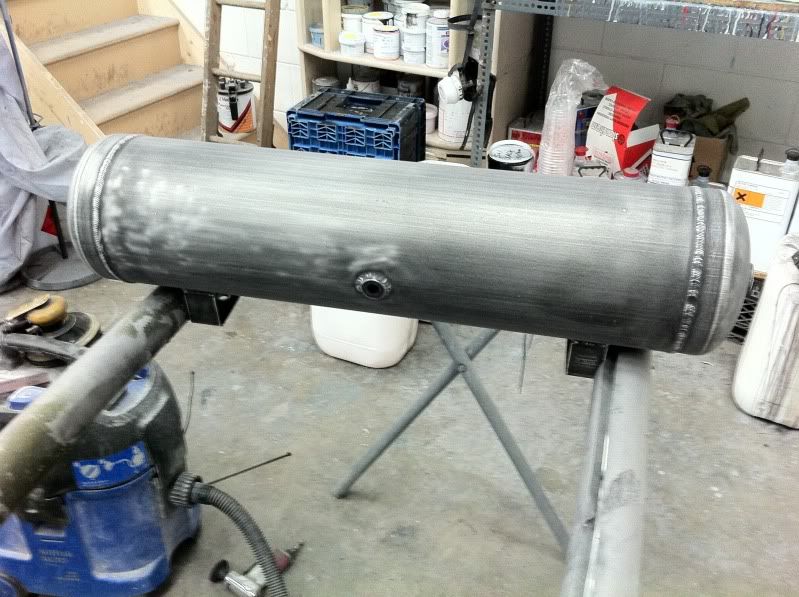
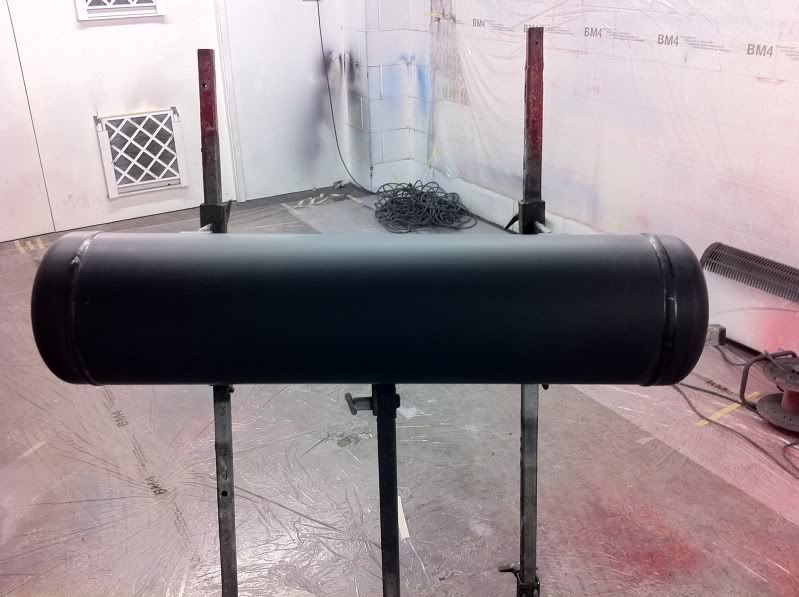
In primer
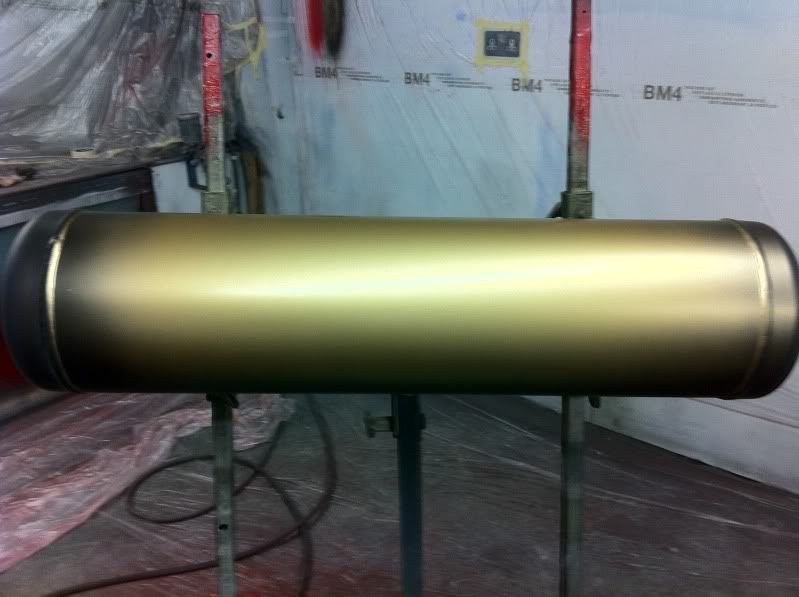
So, onto the painting! First off, I laid down a gold base.
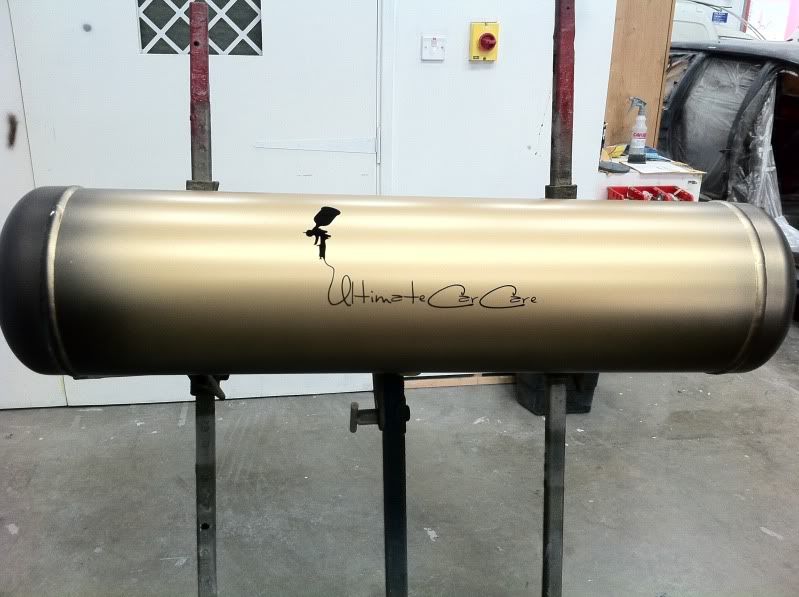
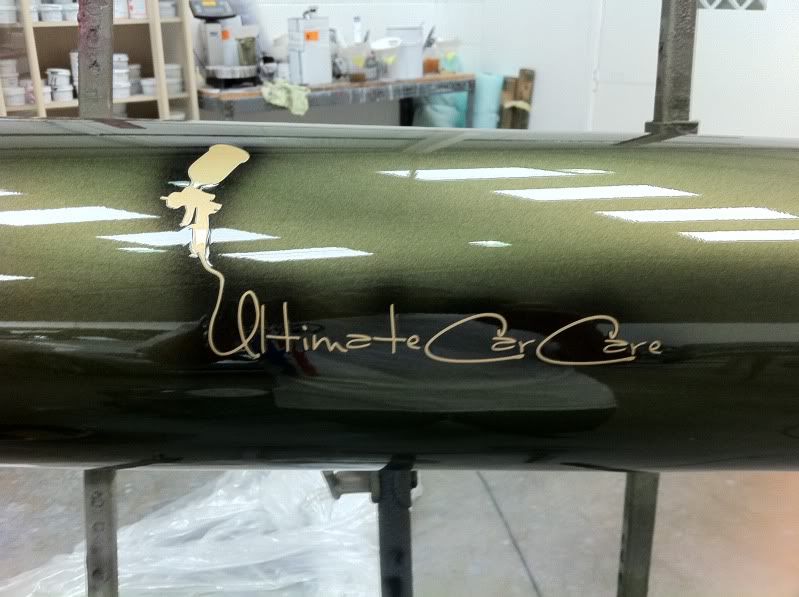
Next, I applied my logo
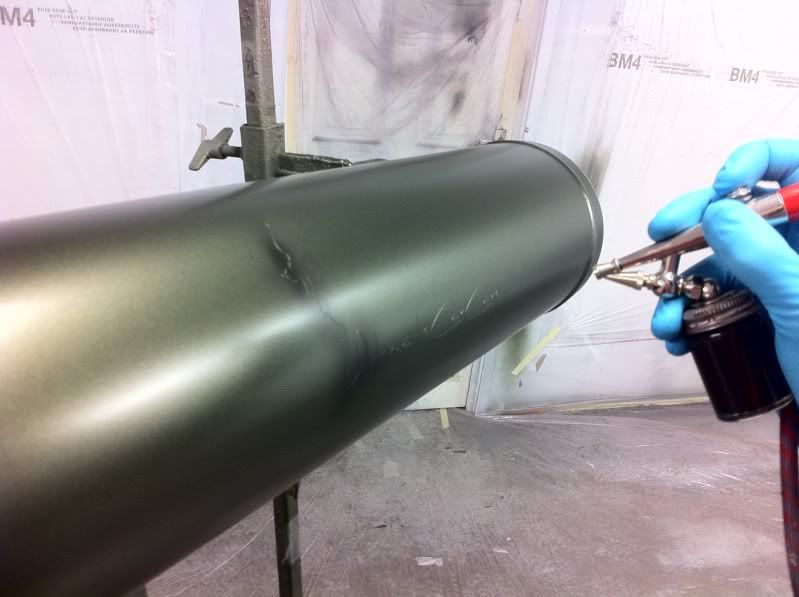
Then laid down the Green base over the top.

Next I airbrushed a straight black shadow around the letters to define them. A low pressure and fine nozzle was used to create a very fine coverage. One final drop of green base was laid over this to difuse the black shadow a little further.
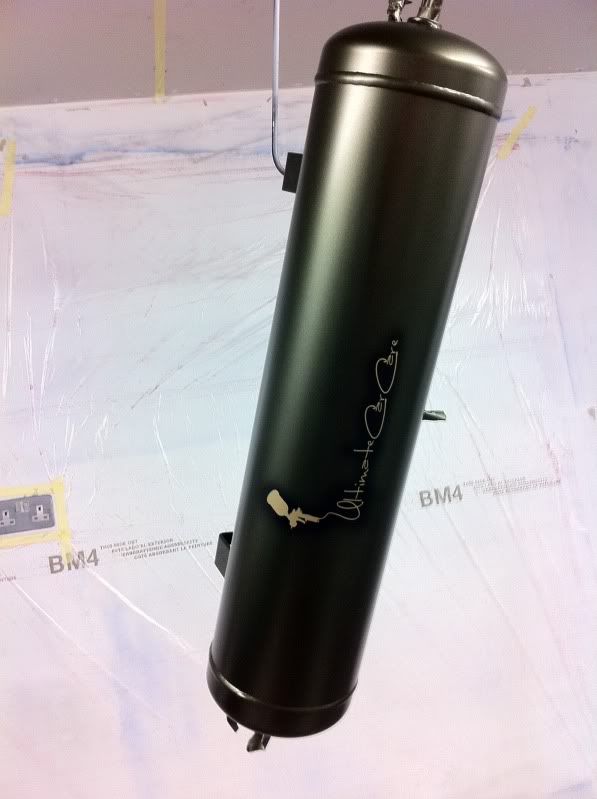
Ready for lacquering
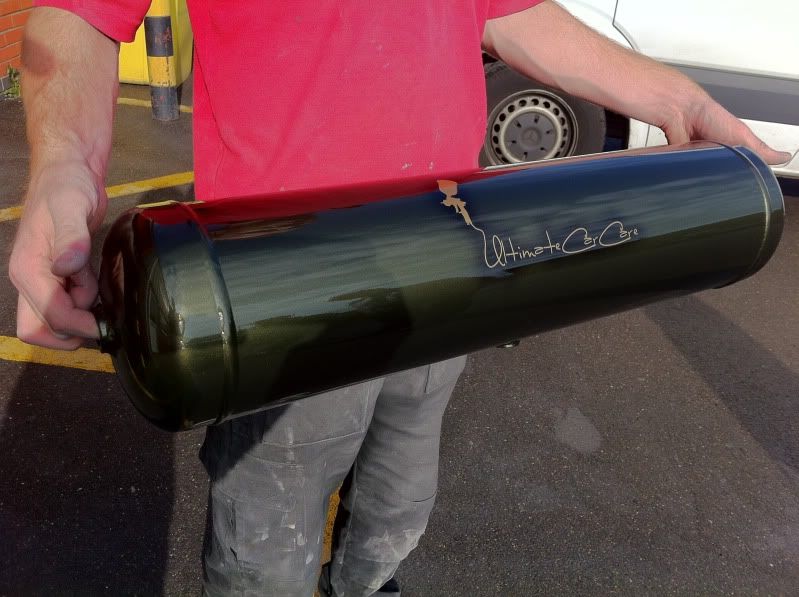
The finished article!
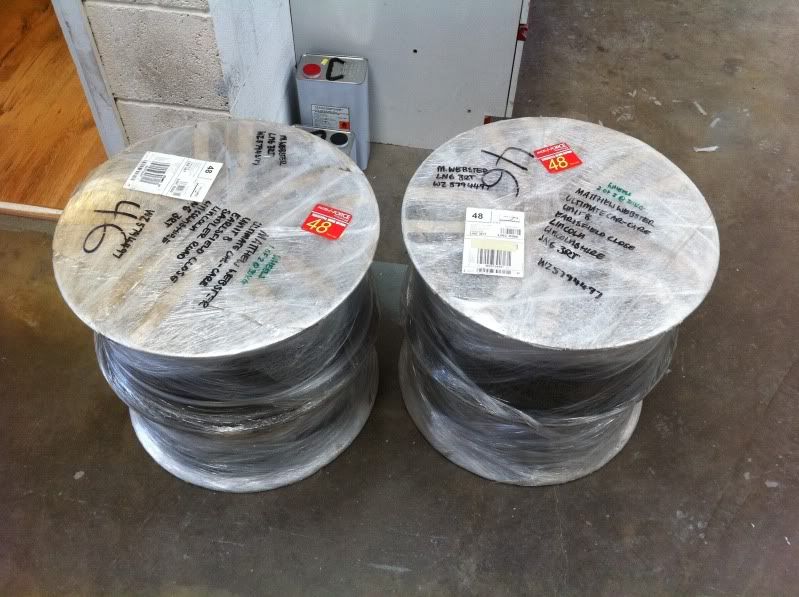
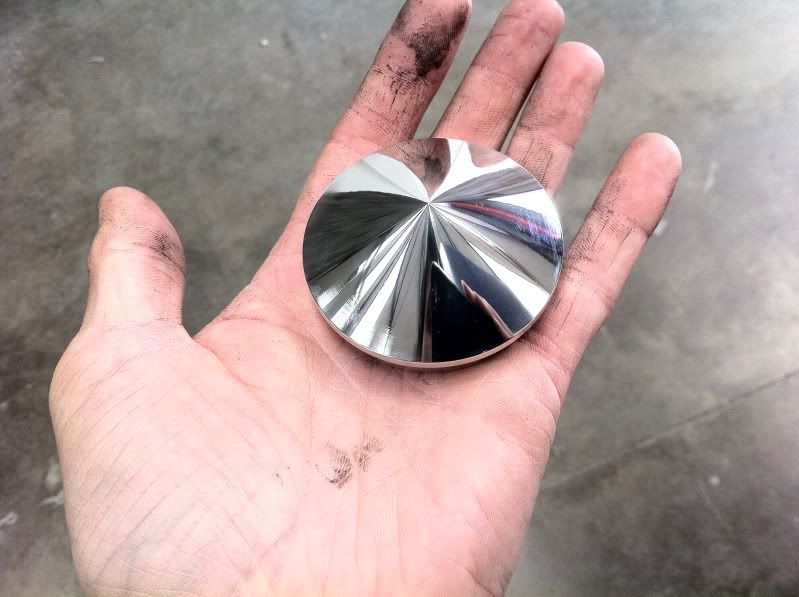
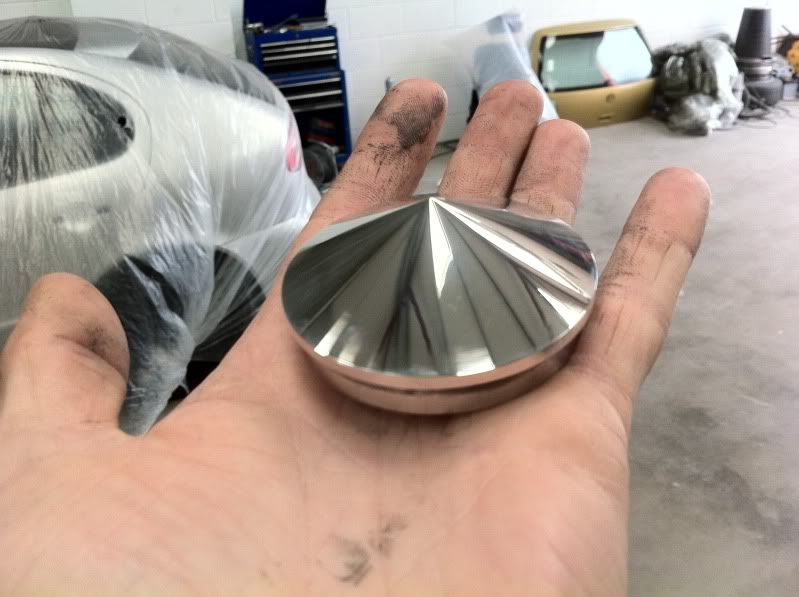
A package arrived.....
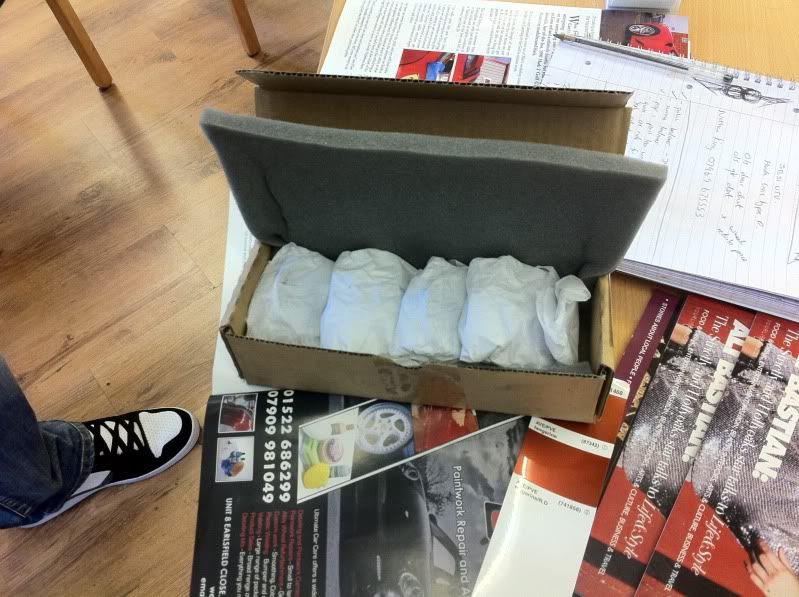
Containing my new custom centre caps! My good friend James worked his magic and machined me these. They are exactly what I had in mind so I am over the moon with them!
The other little update.....


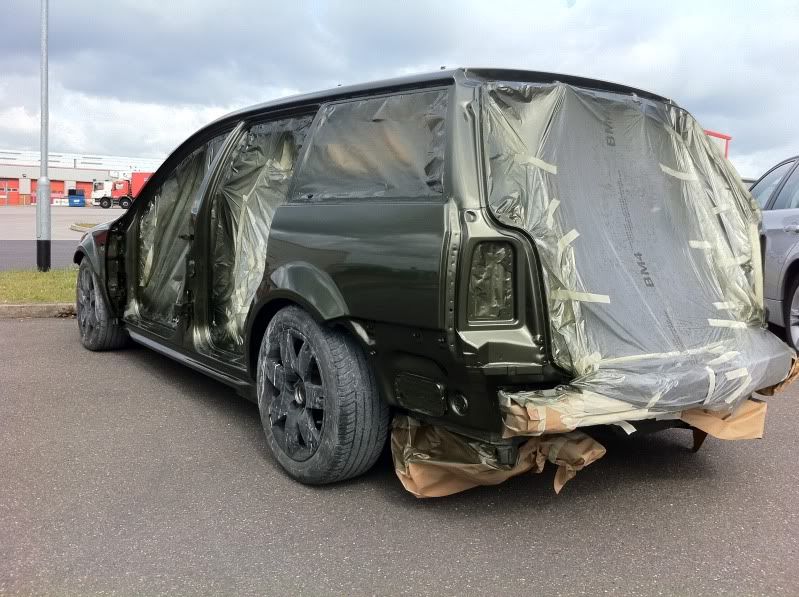
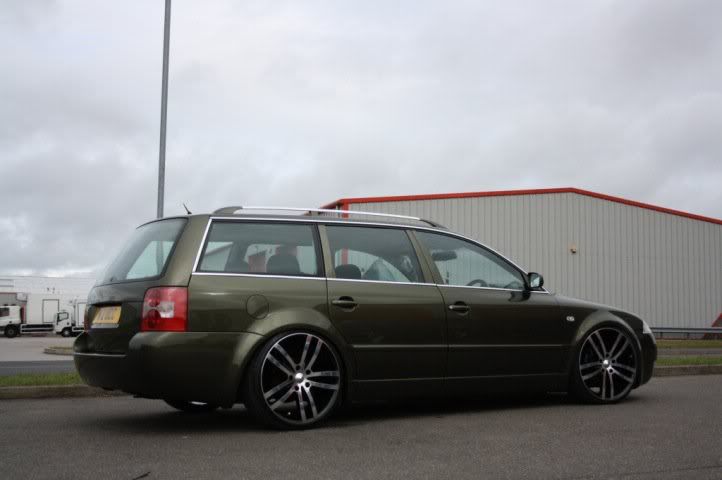
A couple of pics showing off the colour changes. Green
Gold
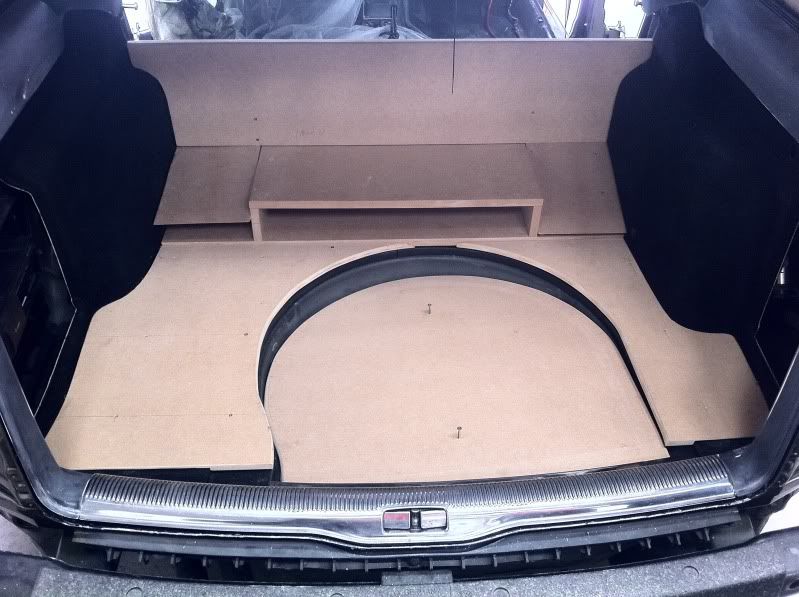
Modelled from cardboard, and then onto MDF. Thanks to my friend Scott for his skills!
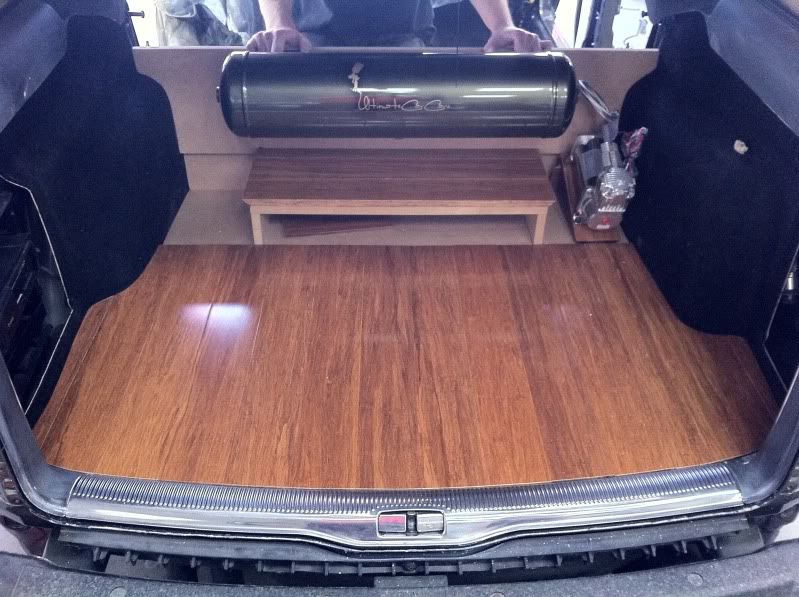
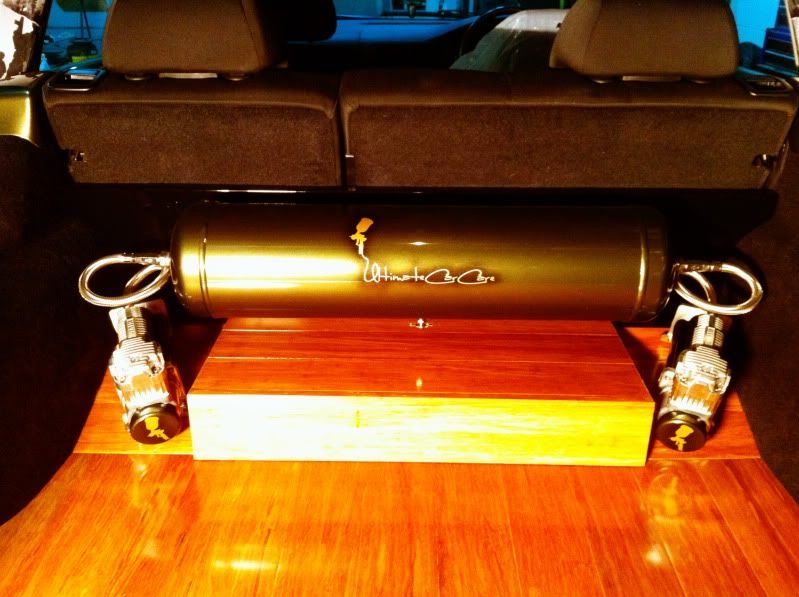
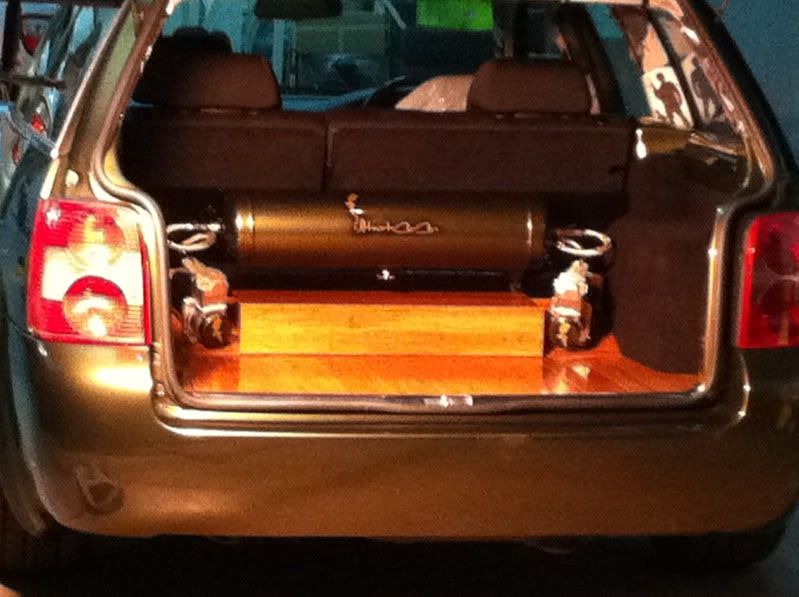
Next up, real wood flooring in the form of polished bamboo.
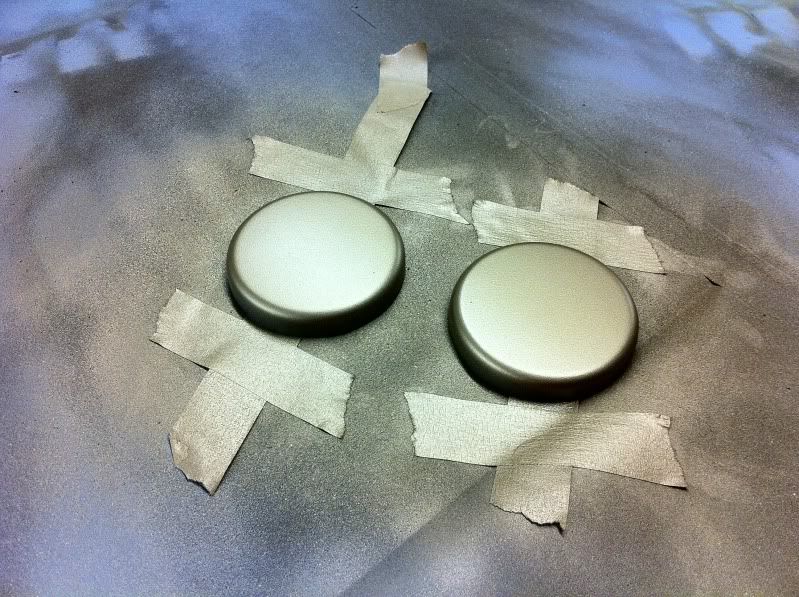
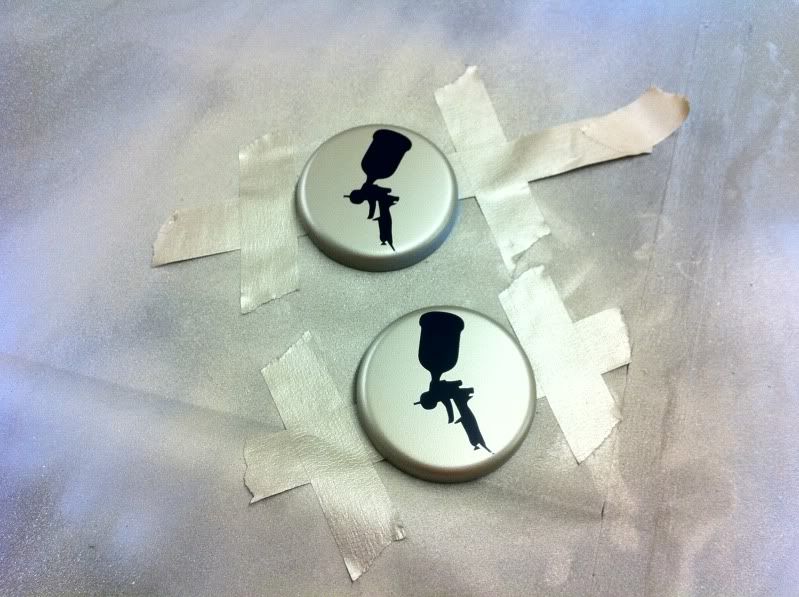
Compressor end caps. These were based in golf, then decal applied, based in green, airbrushed black and then green again before lacquering.
End result! The backboard was painted solid black with a gold metallic dusting to create a reflective surface to emphasise the ‘floating’ tank and compressors. Really pleased with the result on this!!
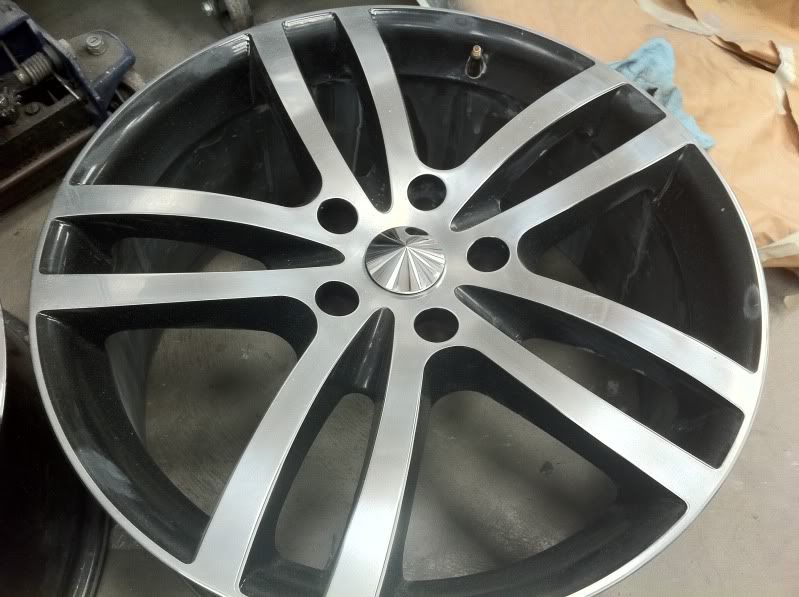
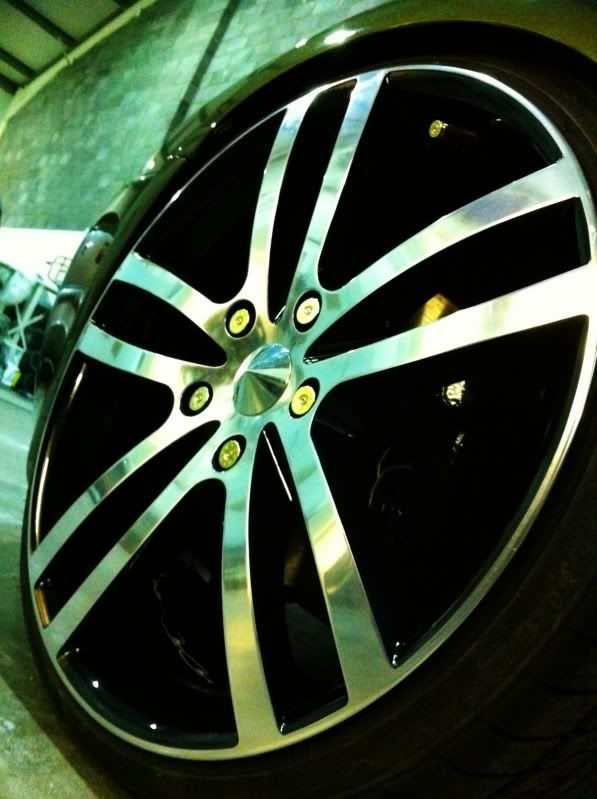
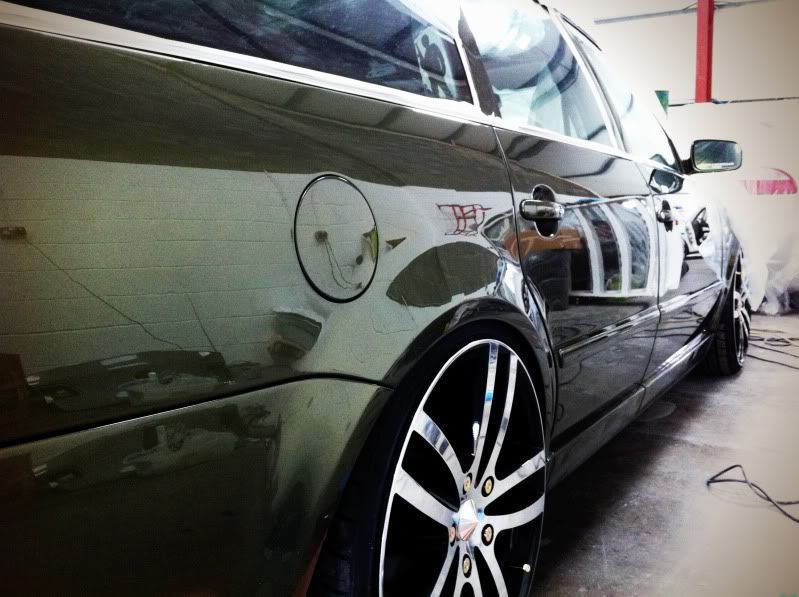
Next up wheels. These were flatted and multistage polished with different wheels to create a mirror surface. The insides were sprayed gloss black to emphasise the size of the rims and the polished face. Next, 7.62 cartridge’s were used for full length valve stems, and then shotgun cartridges were used for stud covers. These are all used and pre fired for that added realism to carry the military theme!
Bodywork!
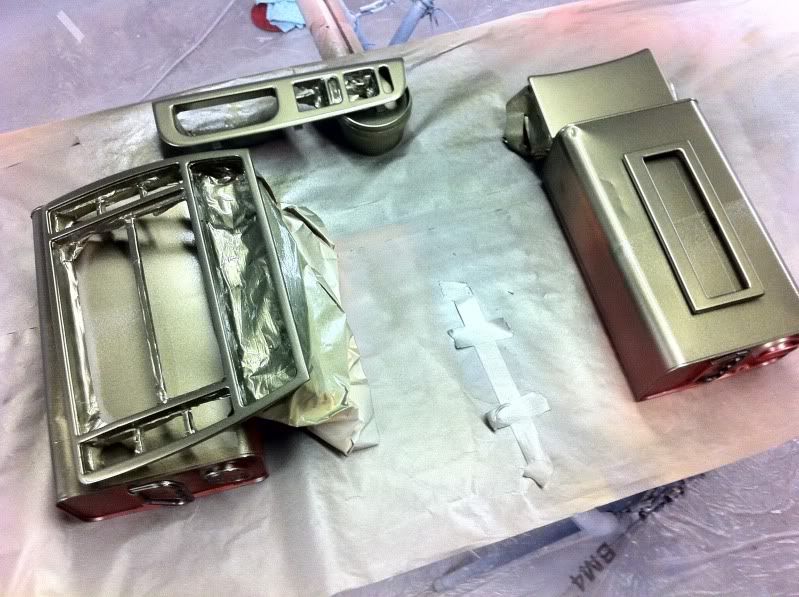
Interior console parts:
I decided to go all out and add the lowest grilles on the front bumper to the smoothed list! I removed the previously smoothed grilles howeever, and painted them gloss black t break up the colour.
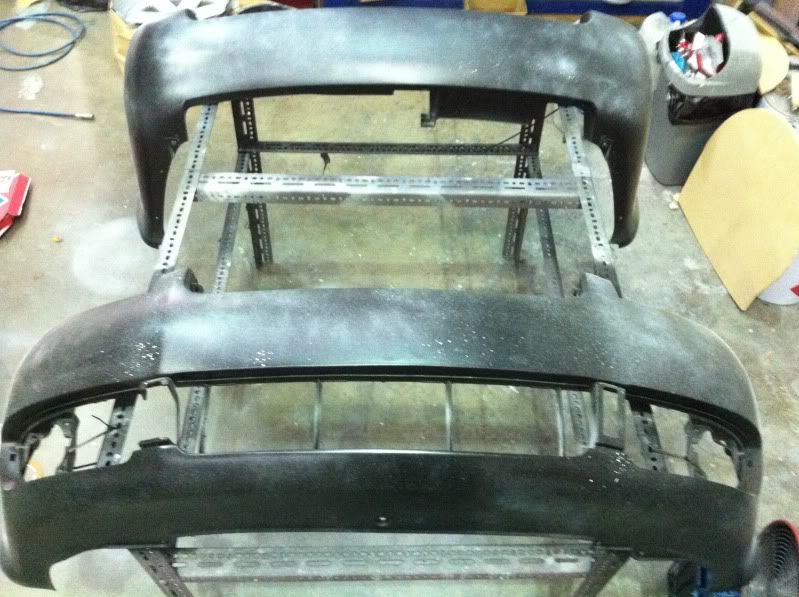

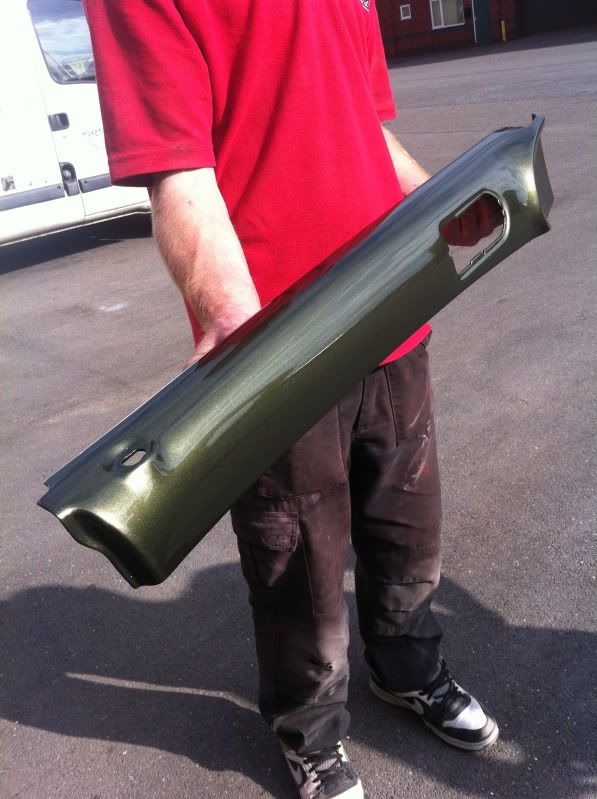
Finish achieved on the rearr bumper
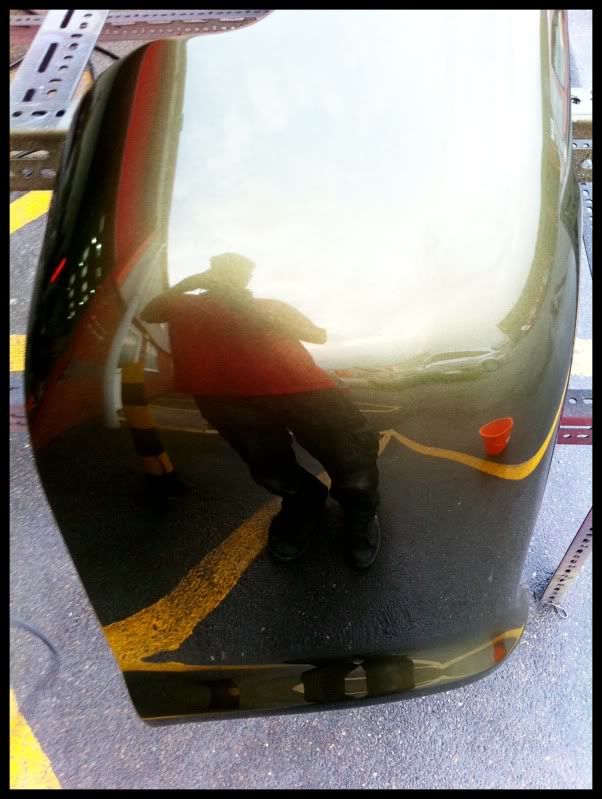
After hours and hours of flatting, compounding, polishing, glazing and waxing, I came up with this finish:
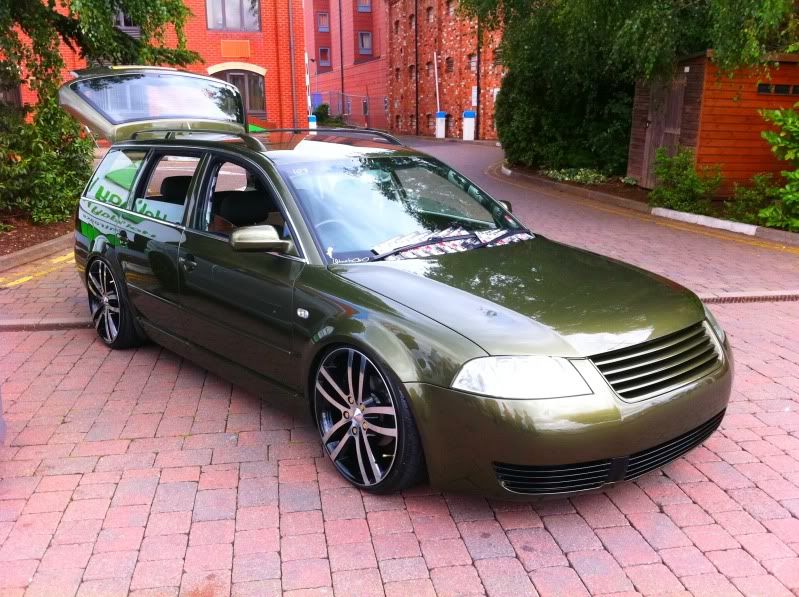
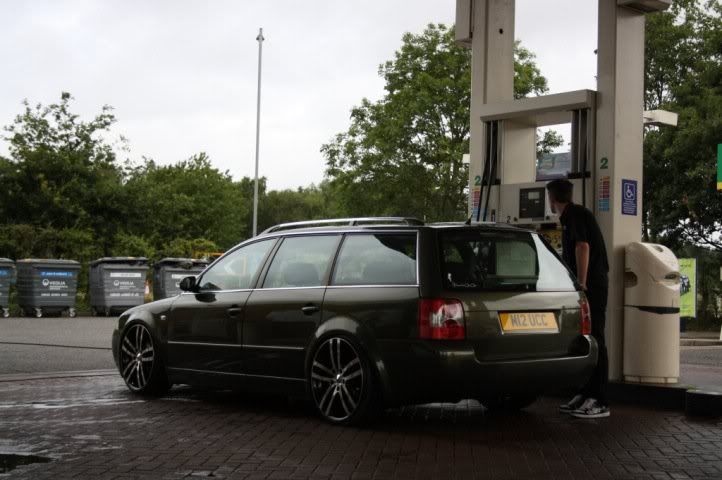
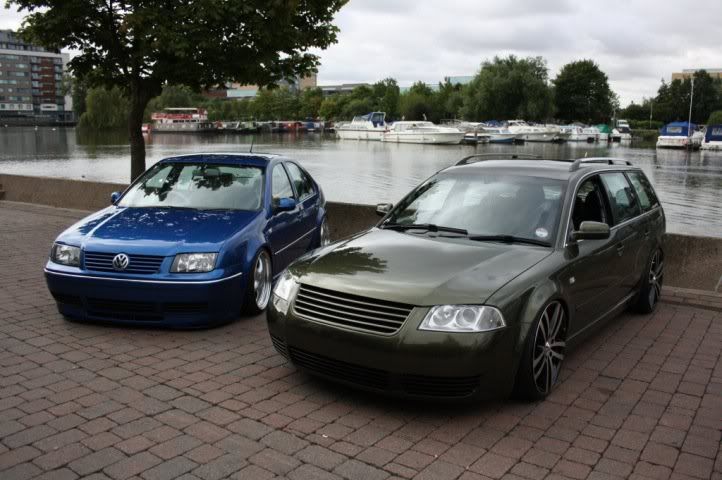
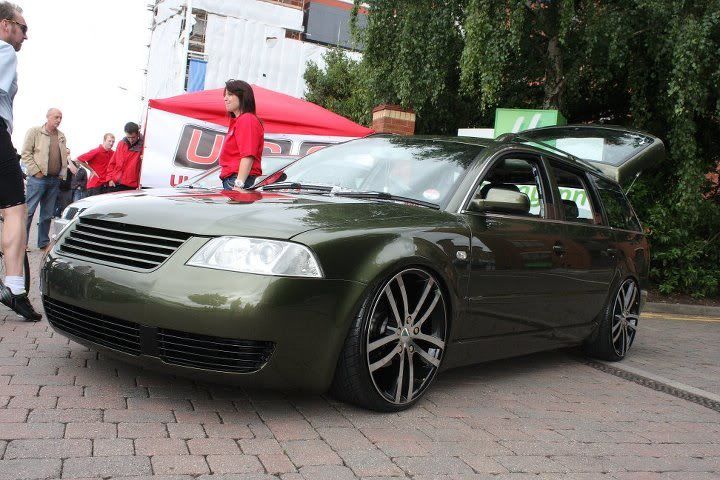
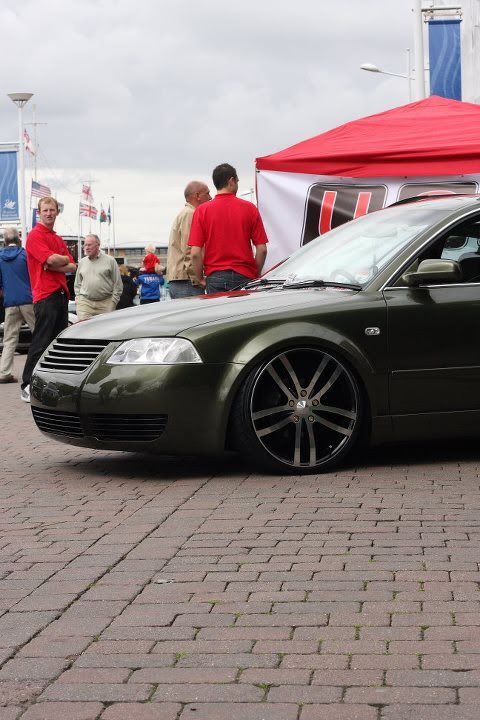
And finally, then end result!! The car picked up best wheels on its first outing, so I am pretty chuffed! Really loving the end result of the colour, interior, install etc etc. Just need to get the air ride installed now!
Thanks all!