
I used all B3 Passat specific parts apart from the hubs and callipers which were B4 items, but I believe they are the same as B3.
2 brake callipers
2 hubs
2 brake discs, pads and bearing kits
2 handbrake cables, disc brake specific
2 flexi hoses, rear brake pipe to calliper
Copper brake pipe and unions
2 rear flexi hose support brackets
Litre of brake fluid
Bearing grease
Copper grease (Used on all bolts apart from those Locktite’d.
Locktite
Tools needed
½â€drive ratchet
¾†drive ratchet
¾“extension bar
½†drive 17mm socket
Small chisel
Flat headed screwdriver
Small round punch
Medium size ball peen hammer
Pointed pliers
Normal pliers
½†24mm socket
Hose clamp or mole grips
11mm brake pipe spanner or open ended spanner
2 x 10mm spanners
¾“ drive 15mm socket
Grinder with soft pad disc, 36 grit, or coarse sand paper
Inspection light (not essential but really helps)
1/2†drive 30mm socket
Brake pipe flaring tool
MIG welder
Brake bleeding gear, I use a length of clear plastic pipe, with a bit of rubber pipe on the end, and a jar of brake fluid to immerse the end in so the air doesn’t go back up into the pipe. You’ll need a helper.
Jack the rear of the car up and place on axle stands, and remove the rear wheels.
You will be met by the prehistoric wonderment that is your rear drum setup.
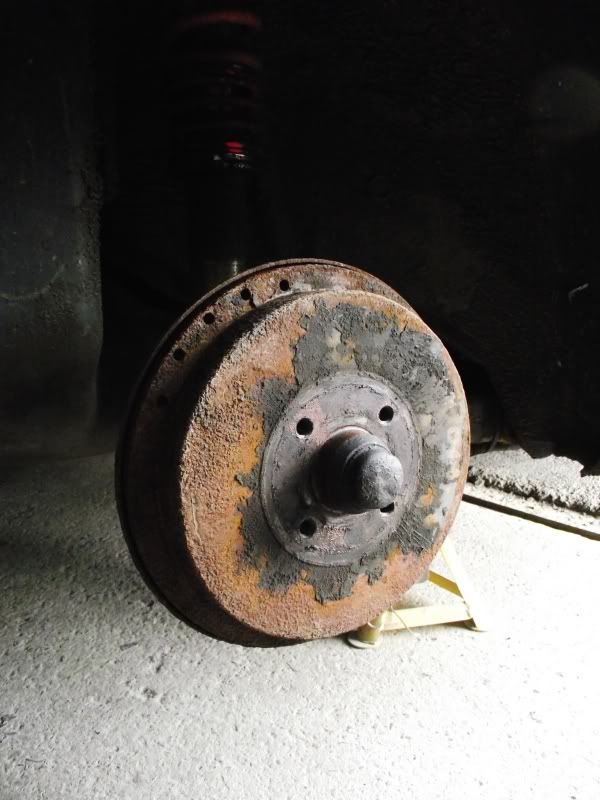
First you need to remove the hubcap, do this by prising it off after opening up the gap with a small chisel. You’ll then be met with the hub nut, held in position by a retaining ring and split pin. Remove the split pin, and the retaining ring. Remove the hub nut using a 24mm socket. It won’t be very tight at all.
Making sure the handbrake is released, it should now be possible to pull the drum off.
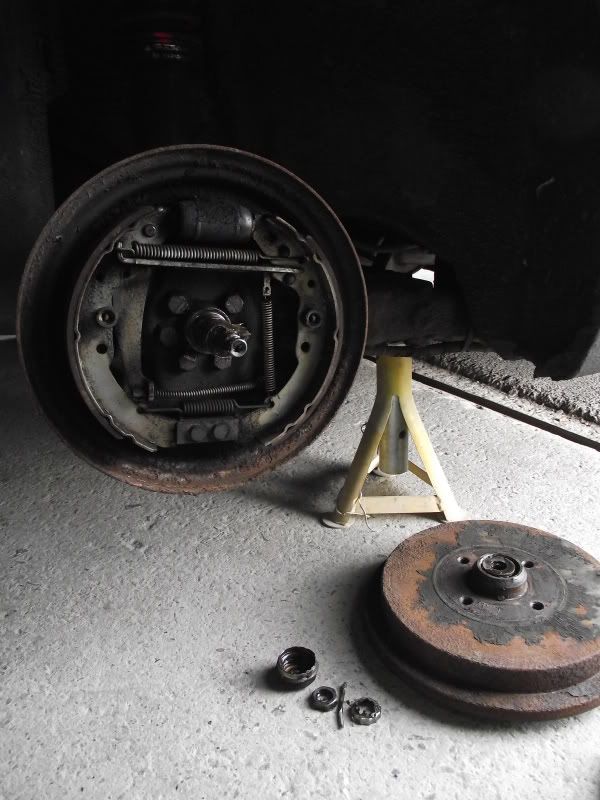
At this point, you want to clamp off the flexi hose behind the axle, using a hose clamp or self grips.
Take a minute to check the condition of the flexi’s, mine were pretty knackered looking so I replaced them at the same time. Using an 11mm spanner, release the metal brake pipe from the back of the brake assy. Release the handbrake cable. Now you need to remove the back plate and hub. It is held on with 6 x 15mm bolts.
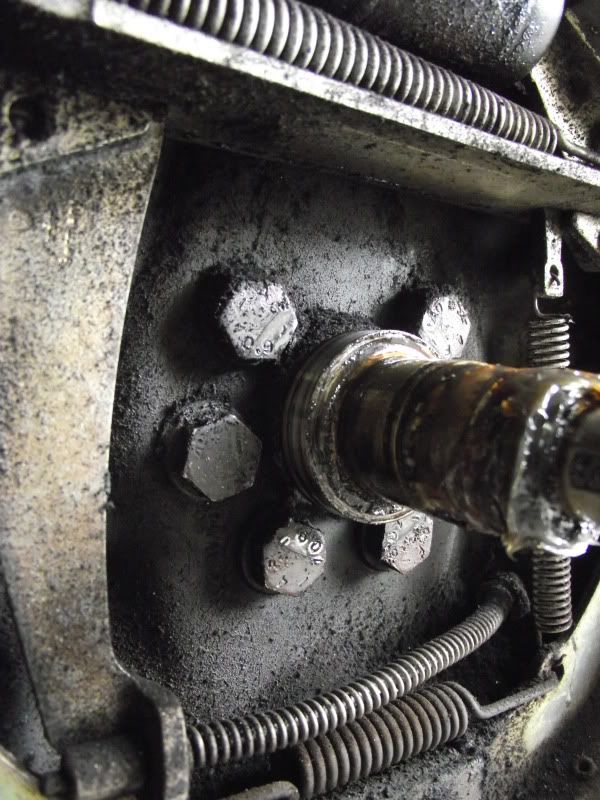
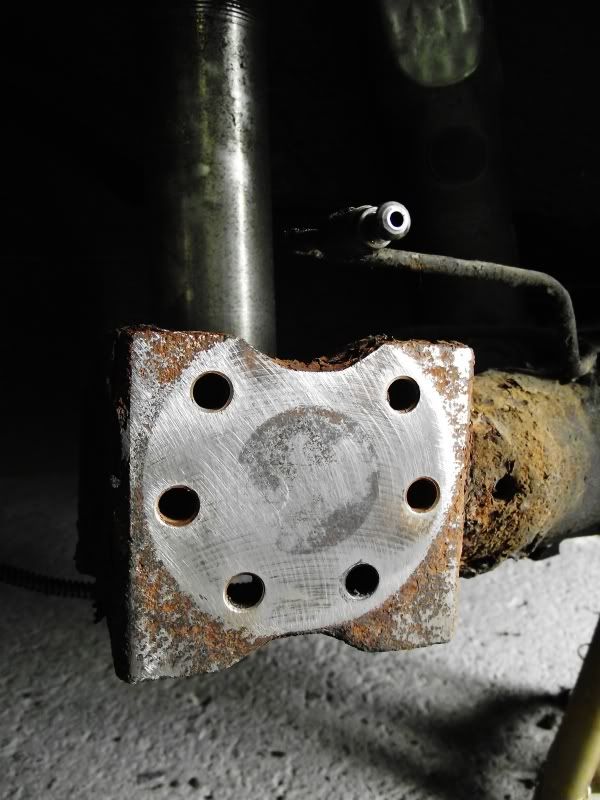
Remove the hub and backing plate and you’ll probably be met with something like this.

I used a grinder with a fibre disc to clean it up, don’t go too nuts, it has to be completely flat for the hub to sit correctly.
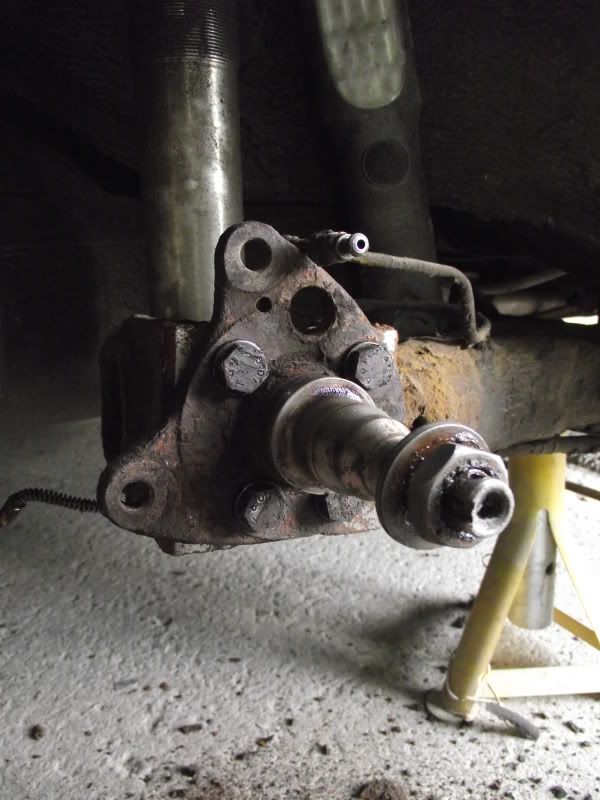
Fit the new hub, you’ll only need 4 of the 6 bolts you removed from the old one. I used Locktite on these, don’t really want them coming loose.
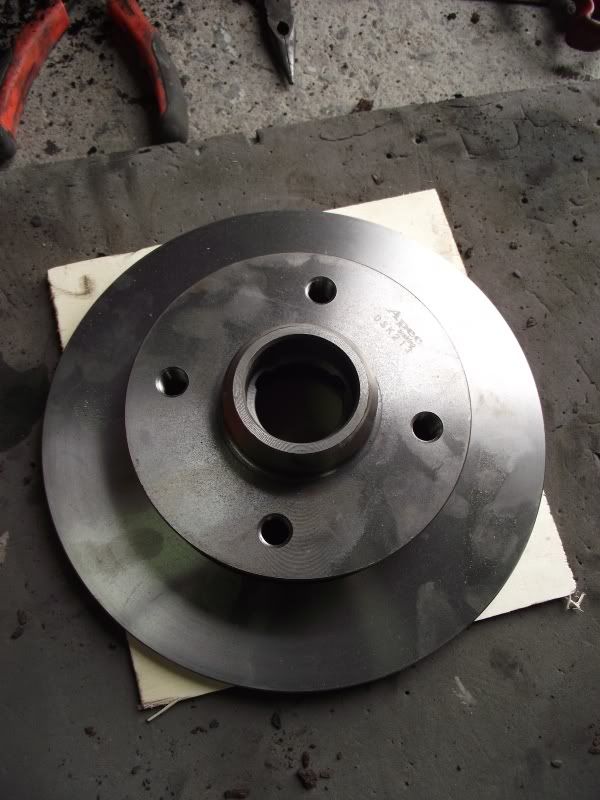
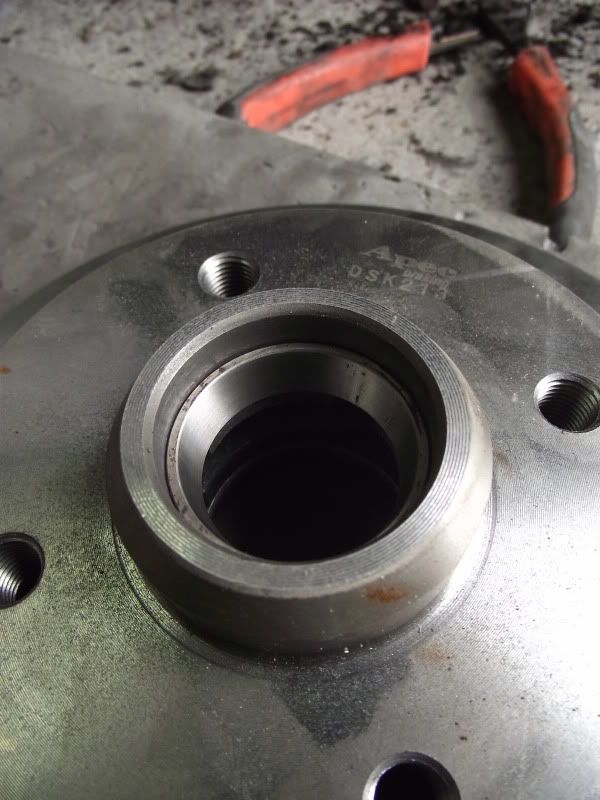
Next up, you need to fit the new bearings to your new discs. Ideally you would do this with a press, but not everyone has one of those, and it’s very easy with a big socket and a bit of patience.
Start with your bare disc, and a bearing kit, which will comprise of both inner and outers, dust seal and split pin.

You will have 2 new races to press in, the smaller outer one is easiest, I used a 30mm socket to press it in.
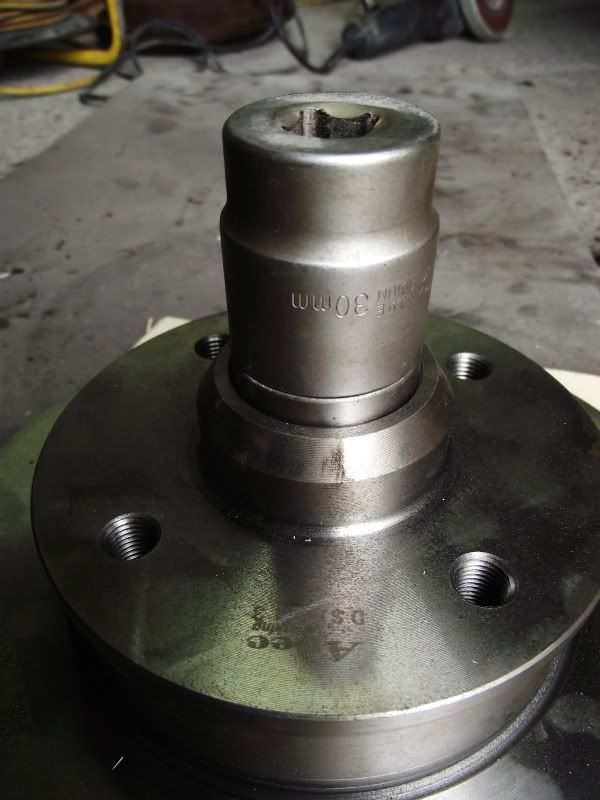
Make sure it is completely level and square and knock it in slowly, keeping it square until it’s seated, you’ll know by the sound it makes, or just a visual inspection. The inner was slightly more difficult as it’s bigger than any of my sockets. I used the same 30mm, just tapping it slowly on one side, then moving it to the other, etc, until it was seated. Both races are tapered and must be fitted as pictured here, with the taper facing inwards toward the centre of the disc.
Pack the rear bearing with bearing grease, I do it manually, it’s messy but works best. Put the bearing in the race, and fit the dust seal.
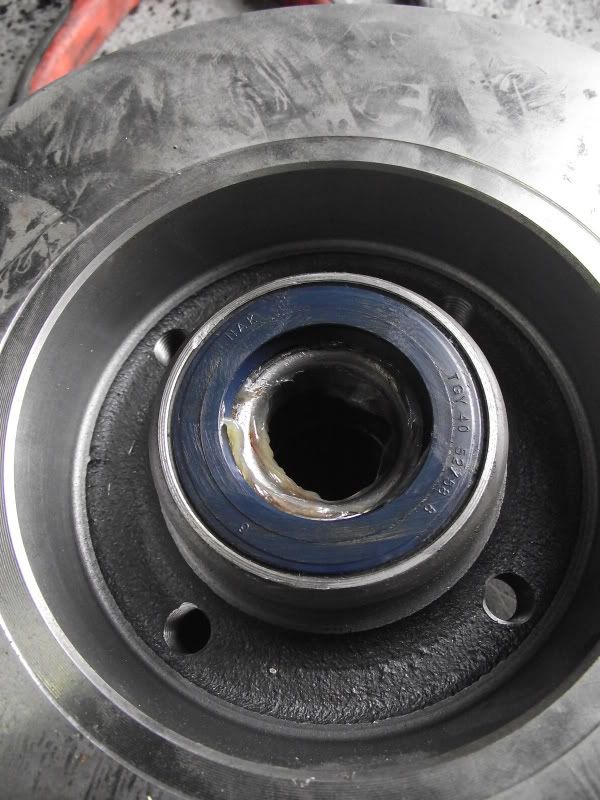
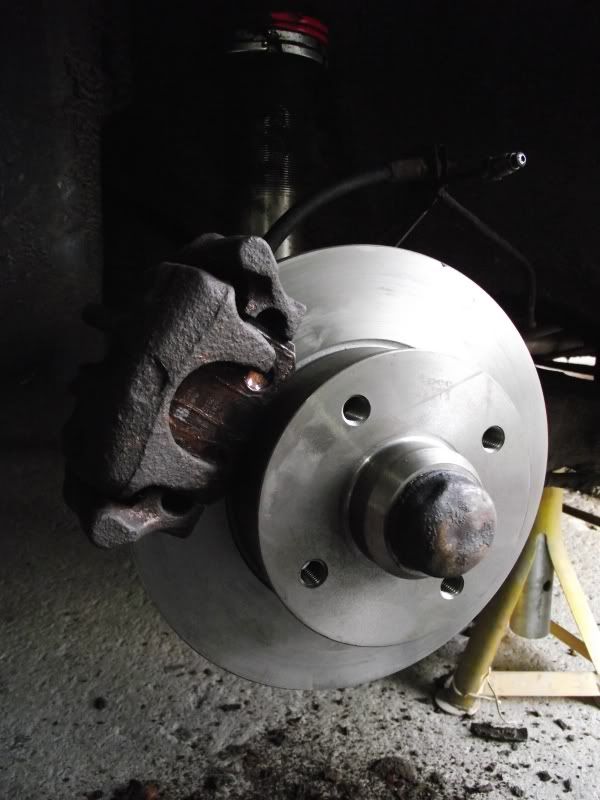
Place the disc on the hub, pack the outer bearing same as the inner, and pop it on.
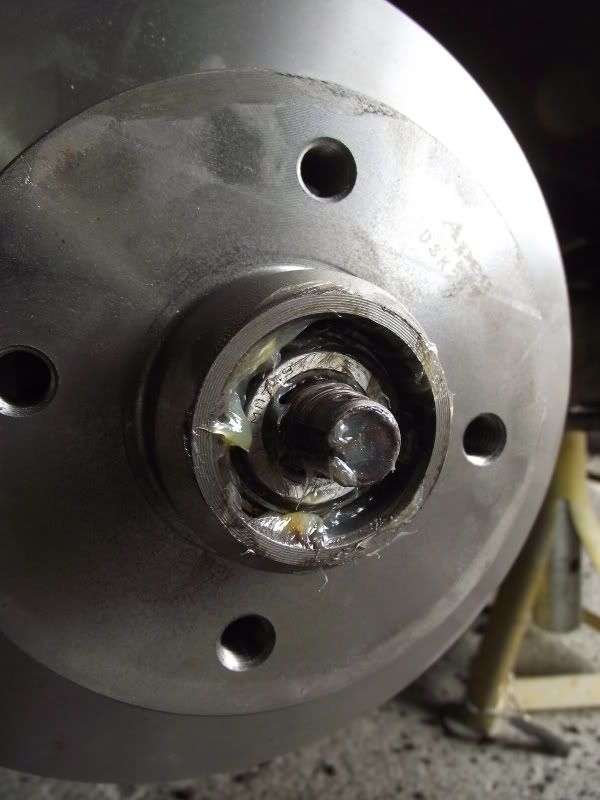
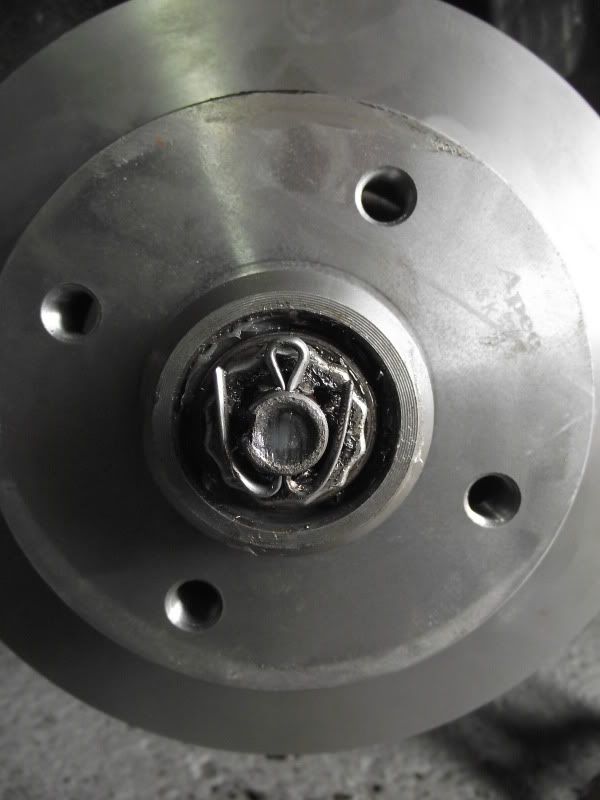
You now need to fit the washer, nut, retainer ring and split pin. This part is very important and has to be done a certain way to ensure long life of the bearing.
I’ll use this diagram of a B3 passat rear disc set up as a reference point.
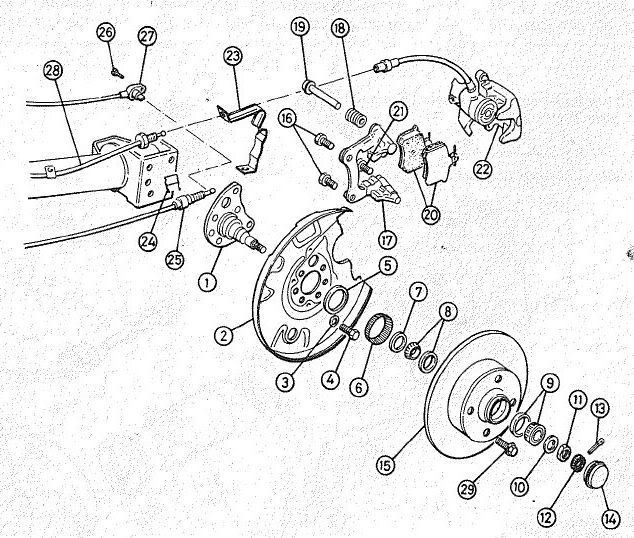
Fit the washer (10) and nut (11). Tighten the nut until the disc becomes stiff to turn, this is to ensure everything is seated properly. Loosen the nut again, and refit the road wheel, making sure the wheel bolts are tight. Retighten the nut (11) until there is no play whatsoever when you grab the top and bottom of the wheel and rock it back and fore. When you get to this stage you should be able to move the washer (10) side to side if you lever it with a screwdriver, and the wheel should spin freely with no binding. If you’re doing this with the calliper fitted, remove the pads so that nothing is touching the disc. Refit the retainer ring (12) split pin (13) and hubcap (14).
Now time to fit the callipers.
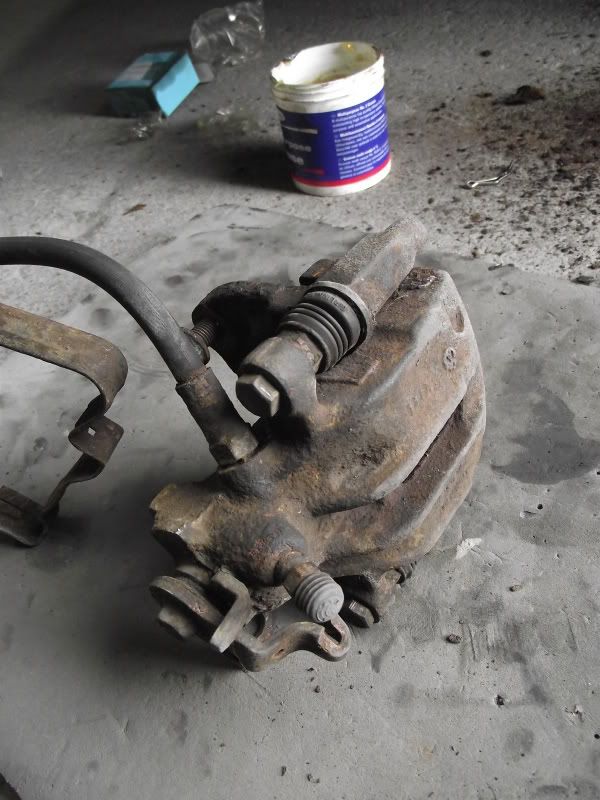
Check that the piston is free, and the handbrake adjuster works. Fit new pads, if the piston is too far out to fit new pads and the disc inbetween, you adjust it down by turning it clockwise, and visa versa.
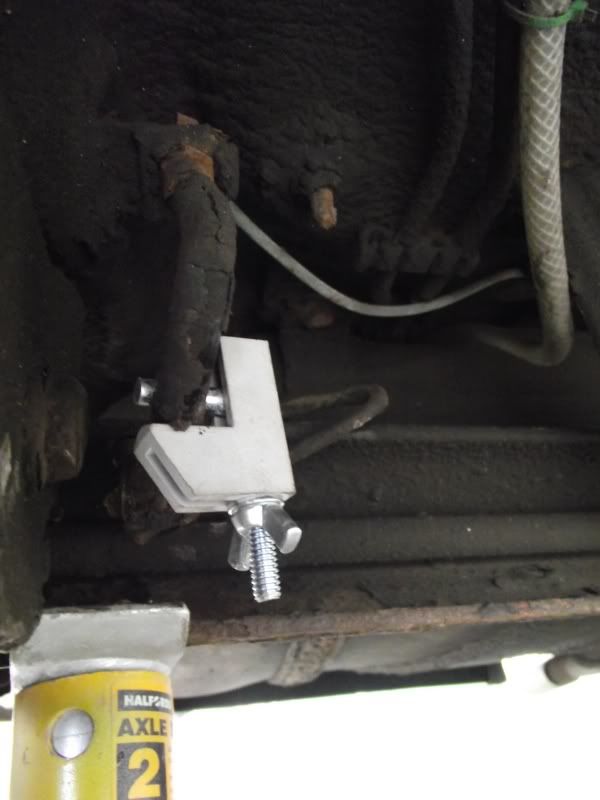
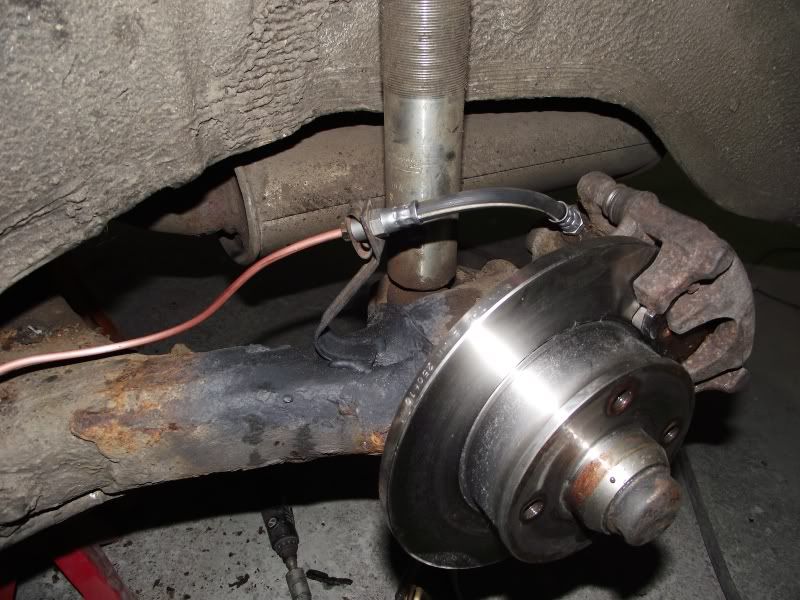
I fitted new flexi hoses, which must be supported at the end where they join onto the metal brake pipe. Mine came with the correct bracket, but I couldn’t figure out for the life of me as to how it fitted, don’t know if drum brake axles are different. Anyway I welded it to the top of the axle, which worked well. I also made up new copper brake pipes, as the original ones that lead to the drum were too short, and were looking past their best. I also changed a few other sections of rear brake pipe whilst I was at it.
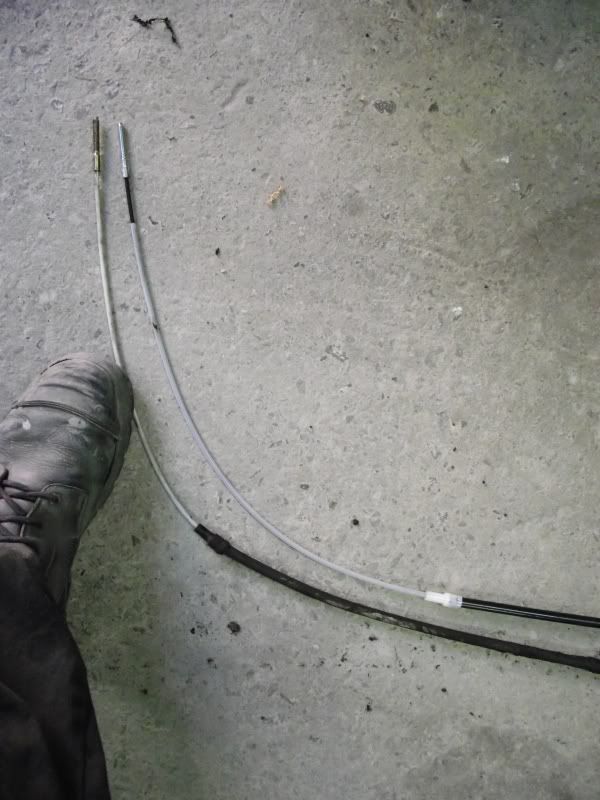
Next you need to fit new handbrake cables, disc type ones are different to drum ones, so new ones will be needed. B4 passat cables do not fit, B3 cables are shorter than B4 cables, as I found out..
Remove the plastic handbrake cover inside the car, both the grip and the lower section come off with some vigorous tugging. The larger plastic cover is held on with 2 screws underneath the rear ashtray, also be careful to remove the wire for the ashtray light if you’re lucky enough to have one.. You should now be able to get at the handbrake cable ends. Remove the lock nuts using the two 10mm spanners. The handbrake cables should now simply pull out off the tubes, from the underneath.

Refitting is a reverse of the removal. When you have fitted and adjusted the new cables, (4 clicks on the ratchet to being tight is about right) and locked the two 10mm nuts together on each cable, adjust out the handbrake by putting it on and off a few times, keeping your finger on the button. This turns the piston in the calliper so it sets itself to the optimum distance from the pad.
You’re then pretty much ready to rock, just need to bleed the system. I had never changed the brake fluid on the wagon so bled the whole system. Start with the corner closest to the master cylinder and work back. So, O/S/F, N/S/F, O/S/R , N/S/F. I’m sure you all know how to bleed brakes, but carry on bleeding until there is no air whatsoever present in your clear bleeding pipe. Any air in the system and hitting your brakes will feel like stamping on a fairy cake.
Good luck!
