So, to summarise the problem statement: There is no Aux in connector on a bog standard Passat Diesel SE.
And to summarise the resolution: Fit one, using one of the Connects 2 kits, in as tidy a manner possible.
So that's what I'm attempting to do - let's take a look first of all at what tools I used.
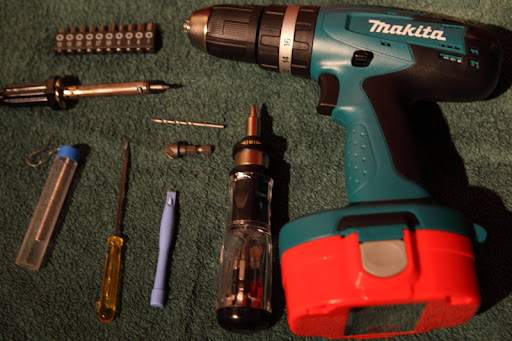
Torx bits, drill, ratchet screwdriver, plastic widget (perhaps the most useful...), small screwdriver, solder, soldering iron, and drill bit and countersink.
In addition to the tools in use, here are the parts used:
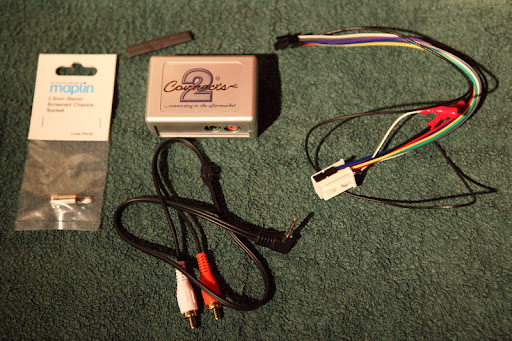
The 3.5mm socket itself (in the Maplin bag), a small length of heatshrink, the Connects 2 box (Part number CTVVGX004 for a B6 Passat), the interface cable (between stereo and Connects 2 box, and the MP3 player cable (phono connectors at one end, and currently a 3.5mm plug at the other.)
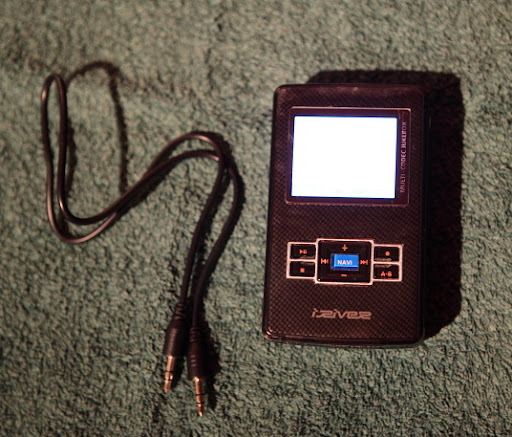
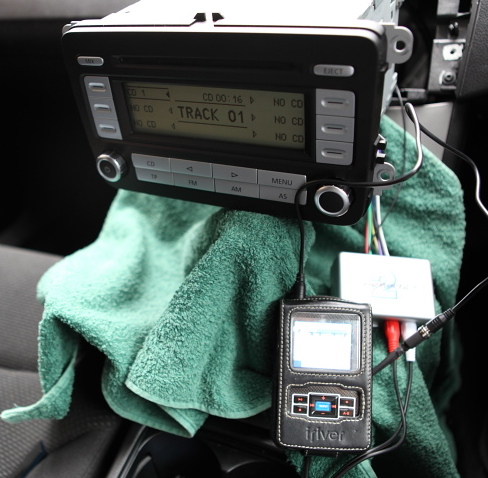
As I mentioned, this is a vanilla 3.5 socket set up - and here is why - this is a (very poor) pic of the iRiver H340 player - the reason for all of this in the first place. I personally prefer it to an iPod - although it only has 40GB space, and I can see going down the iPod path eventually.
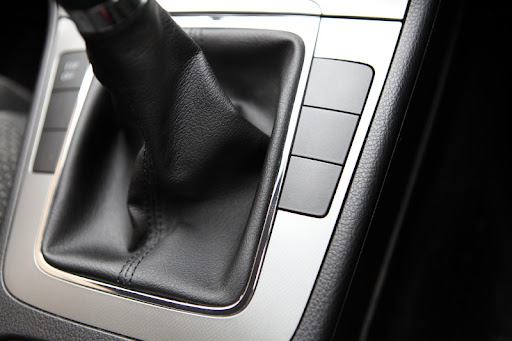
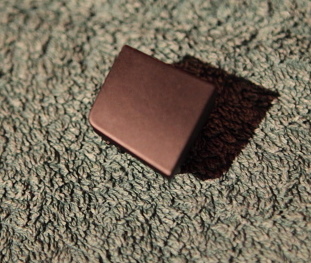
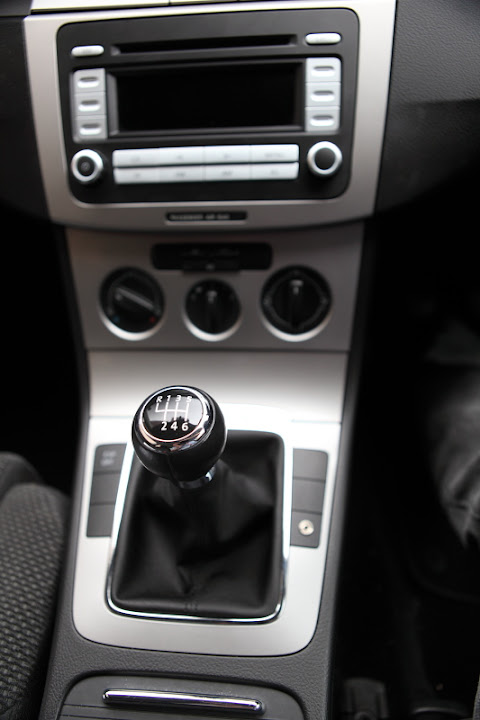
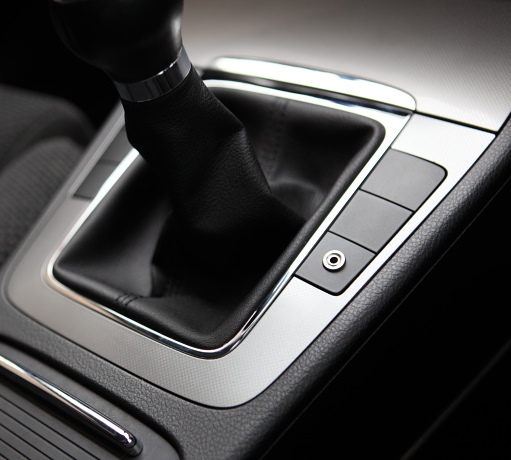
So, now to the car - the target place for the 3.5 socket is the bottom right blanking plate in the following picture:
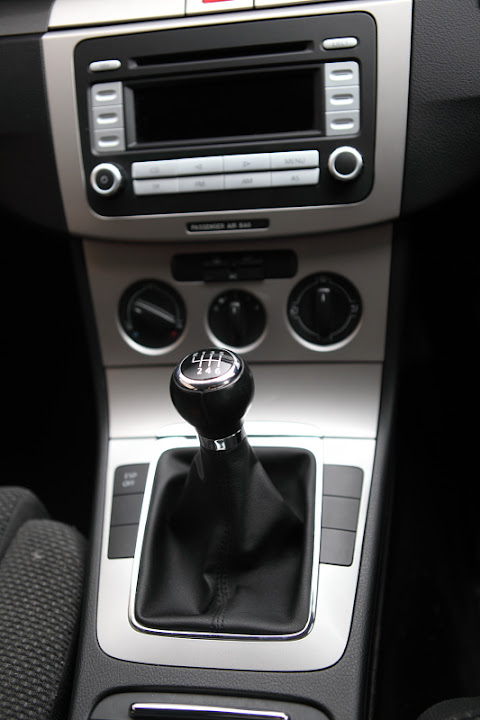
And here's a close up, showing the clean lines of the whole thing - don't worry, we'll soon put paid to that....
Now this is where the blue plastic widget comes in, as pictured in the tools shot. It is actually a freebie provided with replacement batteries for MP3 players, and is designed for prising apart the two halves of the player to get at the battery.
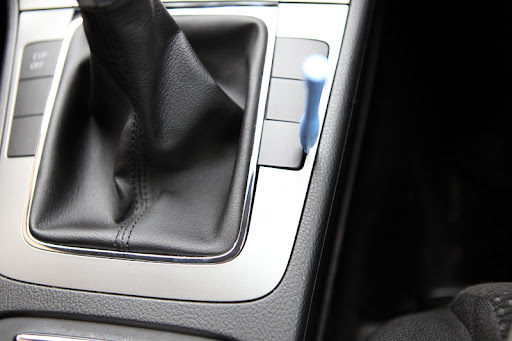
Being made of soft plastic, it is ideal, as it does not mark the blanking plates or trim, whilst affording suitable leverage to pop out the blanking plates - like this:
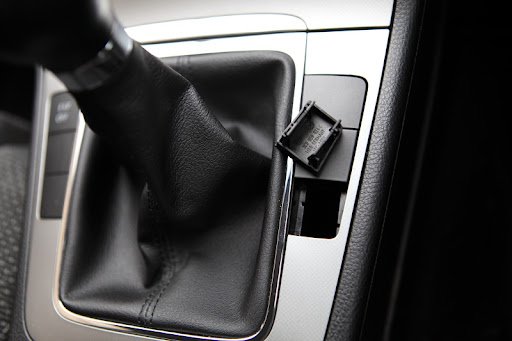
We'll come back to the car shortly, but for now, back inside, taking that blanking plate with us - we now need to start hacking up cables.
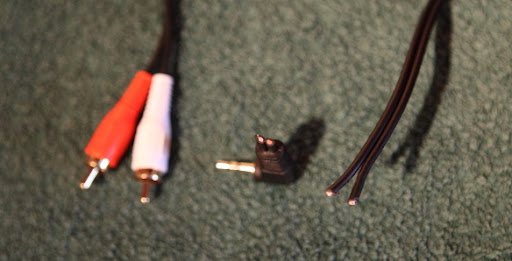
Simply slice off the 3.5mm plug off the end of the cable - remember, we want a socket, not a plug. Here's a picture with the plug lopped off:
The following bit is a little fiddly - it involves soldering the cable to the socket. If you are familiar to this, then you won't need me to tell you how to do it - and if you are not familiar with soldering, then here is possibly not the easiest place to start (guitar jacks are the easiest to start on, as they are much bigger - but I digress...) If you are not too familiar with a soldering iron, then practise on something else first.
The end result should look vaguely like this:
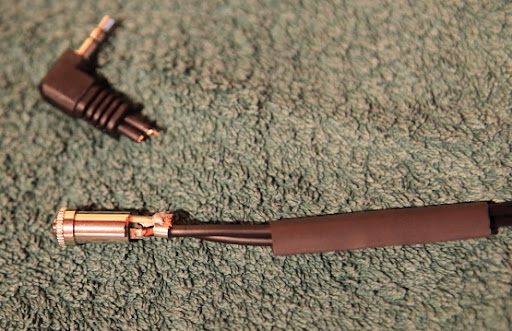
(and yeah, I know it's not the tidiest soldering ever, so please don't feel the need to tell me.
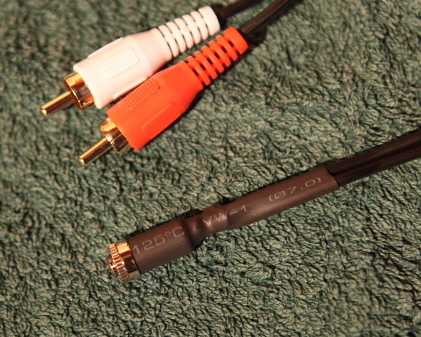
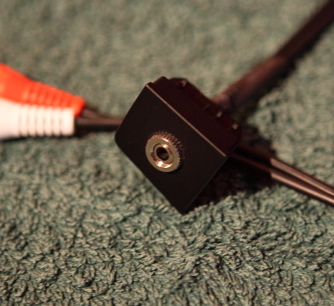
Once you have it all assembled (and tested - always wise to check the thing works on your home stereo) then you can apply the heat, to get the heatshrink to do it's stuff. Hairdyers work, as do gas hobs - just be a bit more careful with the latter - you are trying to warm up the heatshrink, not incinerate it. Once it's done, it should look like this:
So that's the cable dealt with - now back to that blanking plate:
Now it's time to bust out the power tools, and drill a hole through that plate so the socket can be attached.
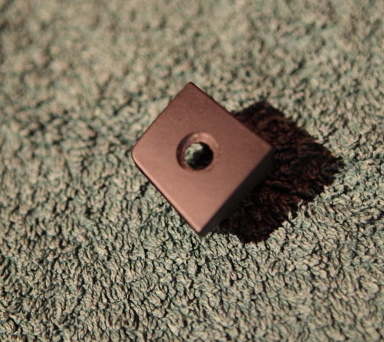
As you can see, it's been countersunk as well - you need to go carefully at this, as if you overdo it, the hole will be too big, and the securing nut will just pass through with nothing to secure on. So go steady.
Here's a quick shot of it in place:
This is purely for checking the fit - we have to take it off again before installation, as the cable will get routed down the back of the stereo and out the bottom of the lower console - and you don't want that blanking plate on when that is occurring.
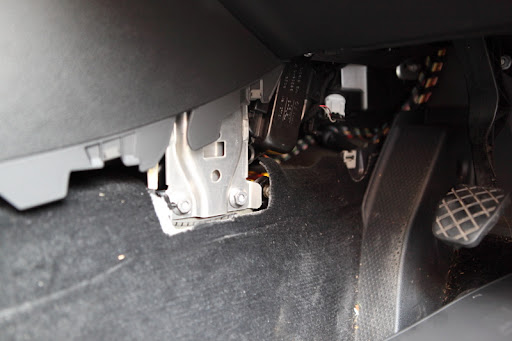
Speaking of lower consoles - back in the car, undo the driver's side lower console, using a Torx 20 bit. The cover slides free relatively easily - you could theoretically manage without taking this off, but it does make access easier. And anything that makes stuff easier is good...
From here on in, it's all pretty quick. Pop the trim from the stereo. Start in the bottom right corner, and be prepared to use some force. I'm always cautious of snapping the plastic, but if you don't use enough pressure, then the thing just won't budge. The Passenger airbag light is held in a very lightweight bracket - so free that, and just leave it flapping - being careful not to drop it down the back later!
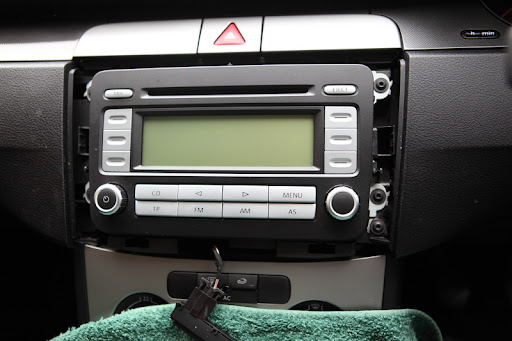
The towel you can see is just a precaution against scratches to the trim. No point in dinging stuff up pointlessly.
Once you've got the Torx screws out, the unit just slides out easily - like this:
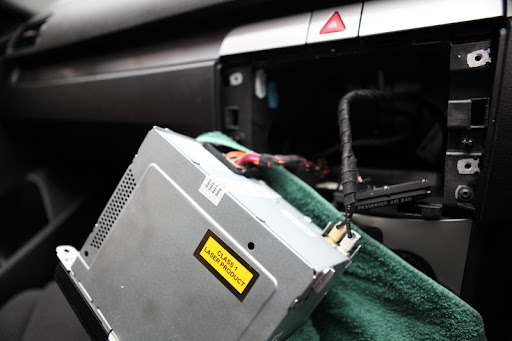
Plug the interface cable into the back of the head unit, and into the Connects 2 interface box. Plug the player lead into the Connects 2 box as well, and then test the wiring. Make sure you have not unplugged the airbag warning light - although as we are not putting the ignition on, you should be OK anyway.
At this stage, everything is working - a second press of the CD button on the head unit now plays direct from the MP3 player - so all is good. It's a useful check to undertake at this stage, as it allows you to make sure the Left and Right channels are aligned correctly. (I do this by using an audio editor - Audacity in this case - to hard pan a music track all to the left, and label the track "left" - I then do the same panned hard to the right, and labelled "right" - so when you test the wiring you can play those tracks back and know you haven't wired it up back to front. Hey, it's easily done....)
From here, it's just a case of routing the cable down the back of the stereo, and out of the bottom of the lower console. You can then route it up under the blanking plate, and attach it to the plate drilled earlier. That plate will just snap back into position, leaving you with a neat and tidy aux in socket.
Replace the lower console cover, tighten up the retaining screw, and you are done! Here's what it looks like when all done:
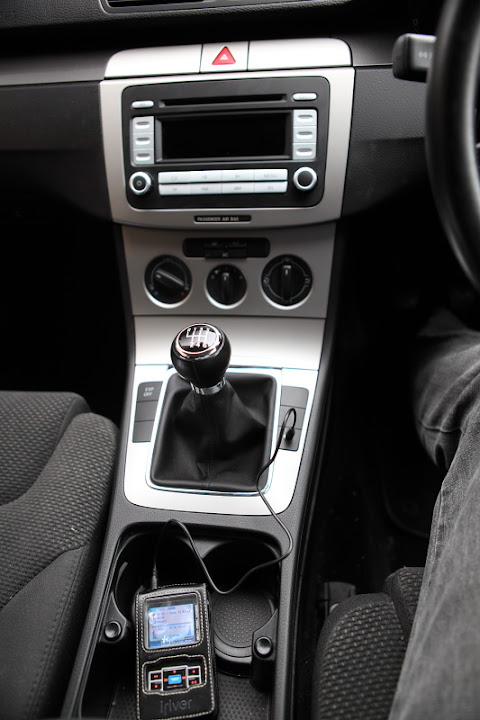
As you can see, you'll need another cable to link the MP3 player, or phone or whatever to the socket, but these are easily obtainable - I happened to have one kicking around that is about a foot long - always thought it was a useless length - actually - it's perfect for this!
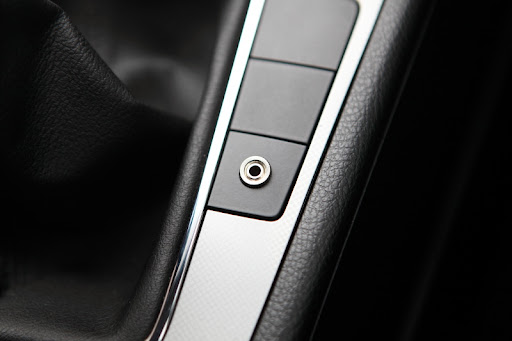
And when not in use, it remains tidy and cable free - like this:
The close up version looks like this:
Or, for a slightly more "in context" view:
That's it - all done. The whole process is a couple of hours - and that's including messing around with a camera to capture the "blow by blow" stages.
And the cost?
Assuming you already have access to the tools, the whole thing cost me under £35 - £32.94 for the interface, and £1.59 for the socket. (admittedly, I had some heatshrink lying around. If you don't, then again, Maplin supply that as well.)
I hope this has been useful, feel free to post any thoughts/observations in the I.C.E forum. The thread referring to this is viewtopic.php?f=32&t=26820
Cheers,
Treerat