
(This how-to is based on screens you buy already mounted in headrests. I have mounted screens into Passat headrests and will do a how-to for that another time but this is the best way for a neat and easy install.)
Whilst I was fitting my new dvd head unit the Parcel Force man very kindly delivered my headrest screens right to the car and then asked for £11.58 import duty!
To start with, you'll need to get your dvd player out so you can get to the wiring on the back. Most dvd head units have the wiring for 2 screens.
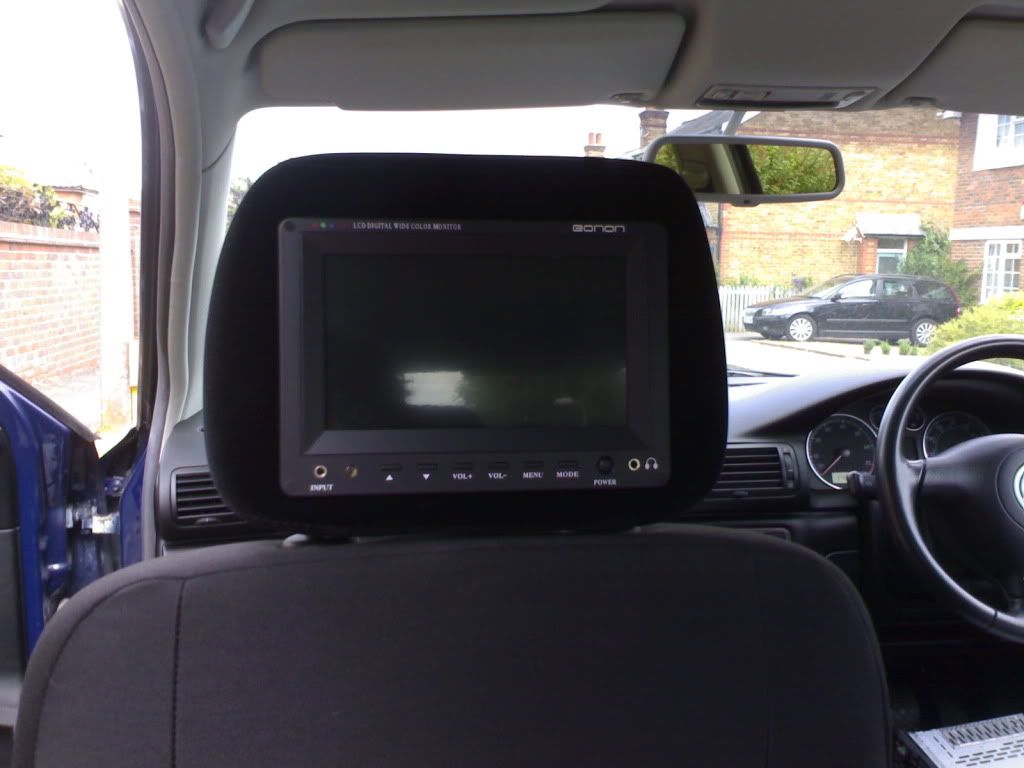
The screens I bought were Eonon 7in Moquette headrest screens and come in a pair. They were off Fleabay for a very reasonable £104 the pair! You can buy 7in Veba screens on their own for around £140, so you're saving quite a bit and they already come mounted in headrests.
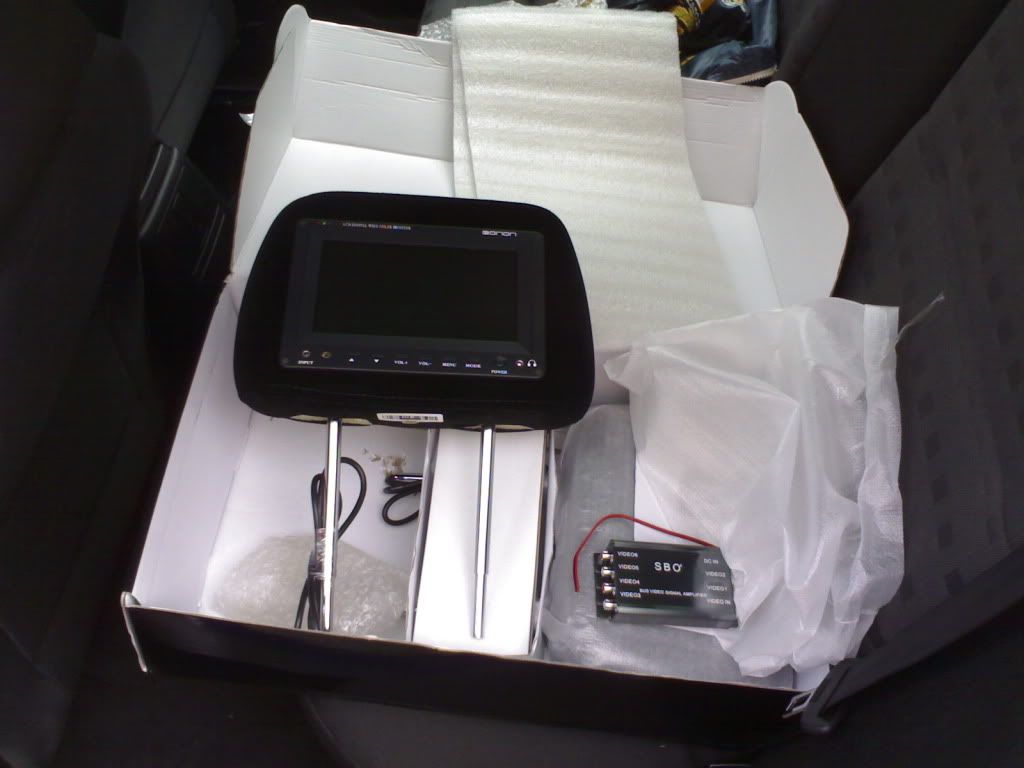
Here is one of the screens, pre-wired, ready to go. The little box to the right of it is very useful but more of that later
First thing I noticed was the poles on the new headrest were much thinner than the Passat ones. I thought I was going to have to put tape around them until I figured out what to do. They are adjustable for different width seats by means of being able to slide horizontally on a hexagonal bar going across the headrest and are fixed in place by a large screw pressing against the bar. What you have to do is fix the poles in a position too narrow or too wide for the seat and then as you squeeze them into the seat holes the pressure keeps them in tight.
The first thing you'll want to now do is feed the cable which cames out of the bottom of one of the poles through the pole hole in the seat and out the bottom of the back of the seat, near to the centre console. The first Passat I did this in, I used a coat hanger to feed it through and it was a nightmare! This time it was easy.
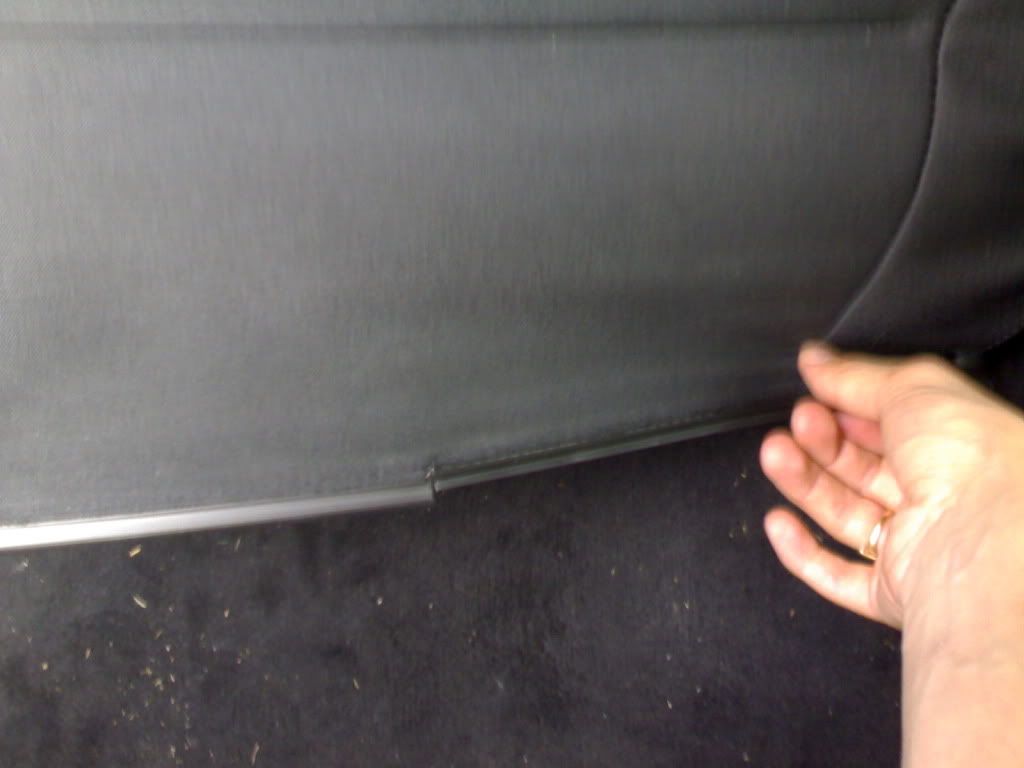
The bottom of the trim on the seat back folds up out of sight and is held in place by a plastic runner. Just unclip it with yours hands (it's easy to do, even if you can't see what you're doing) then you'll be able to lift the bottom of the seat cover up around a foot which makes all the difference in the world.
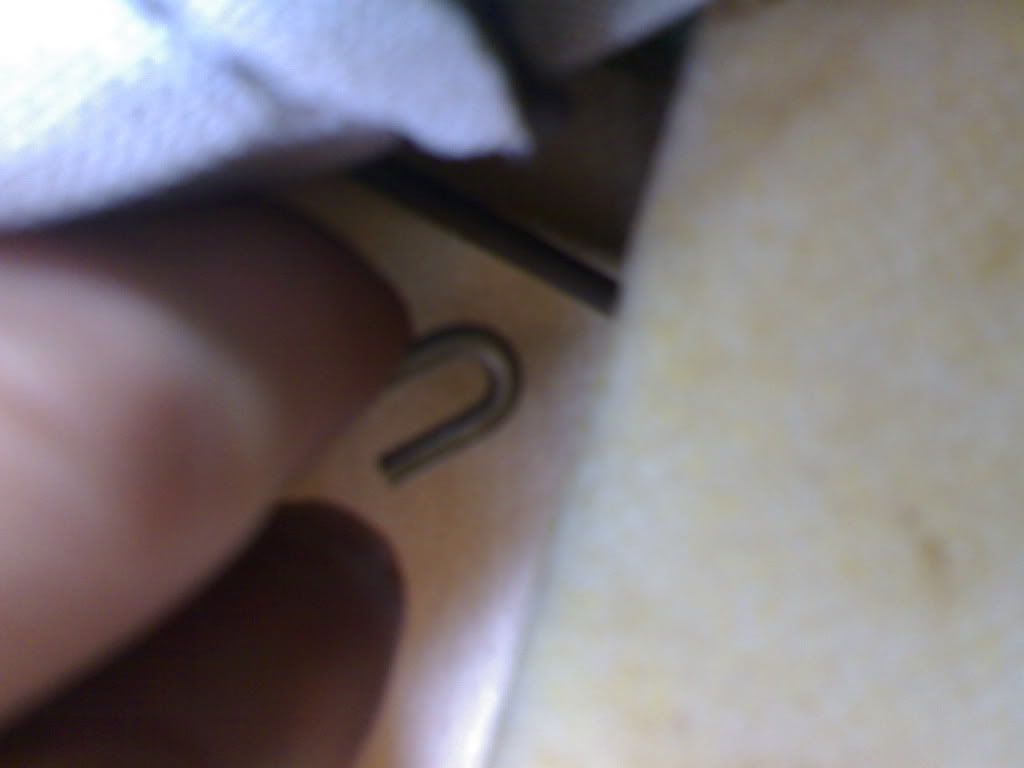
There's a metal wire like a straight coat hanger, hooked at both ends that is held in place by two vertical cables around half way up the back of the seat. Unhooking this from one end will make life easier too. It's quite hard to do though so you may need some thin nose pliers.
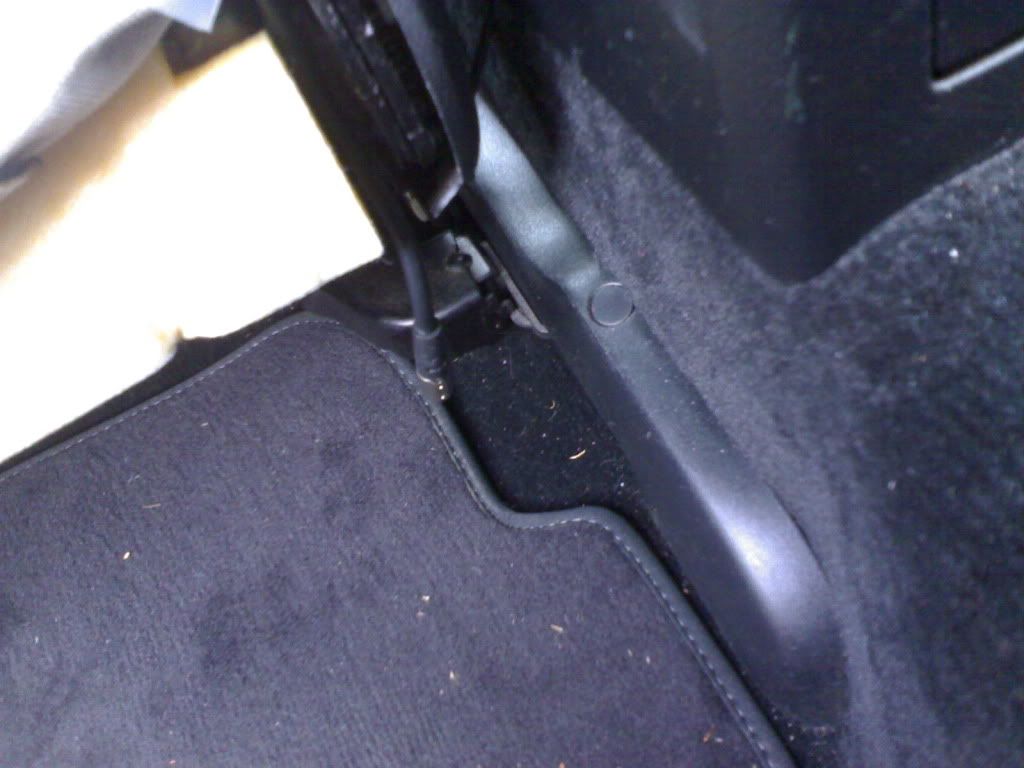
You should be able to reach up and feel the cable coming down through the seat and be able to easily pull it down and out of the corner. Then reattach the hooked wire making sure it hasn't come off the other vertical cable too and then clip the seat cover back in place. Easy!
You should now have something looking like this
Next get your RCA cables which are supplied with the kit. Even if you have just bought screens on their own, they should still come with cables. These ones have cables for video, sound and power and earth. They also have a video-s cable but that's of no use to anyone, so we can forget about that.
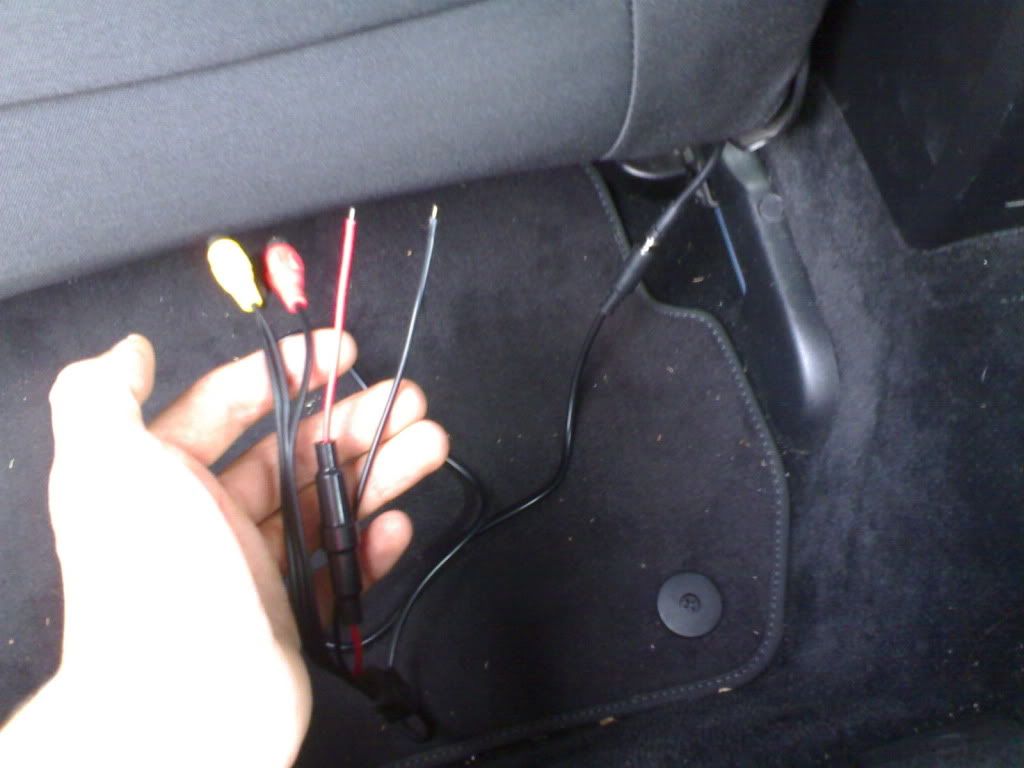
Here are the cables you need plugged into the cable from the headrest screen. You can see the live is fused already which is handy.
Now you want to run your cables to the front of the car going down the middle as it's nearer to the head unit. You'll want to tuck the cables out of sight under the centre console and this is a lot easier if you remove the rear cigarette lighter, take the tray out of the arm rest (if you have one) and loosen the three main bolts holding the console down and remove the two bolts attaching it to the gear lever section of the console.
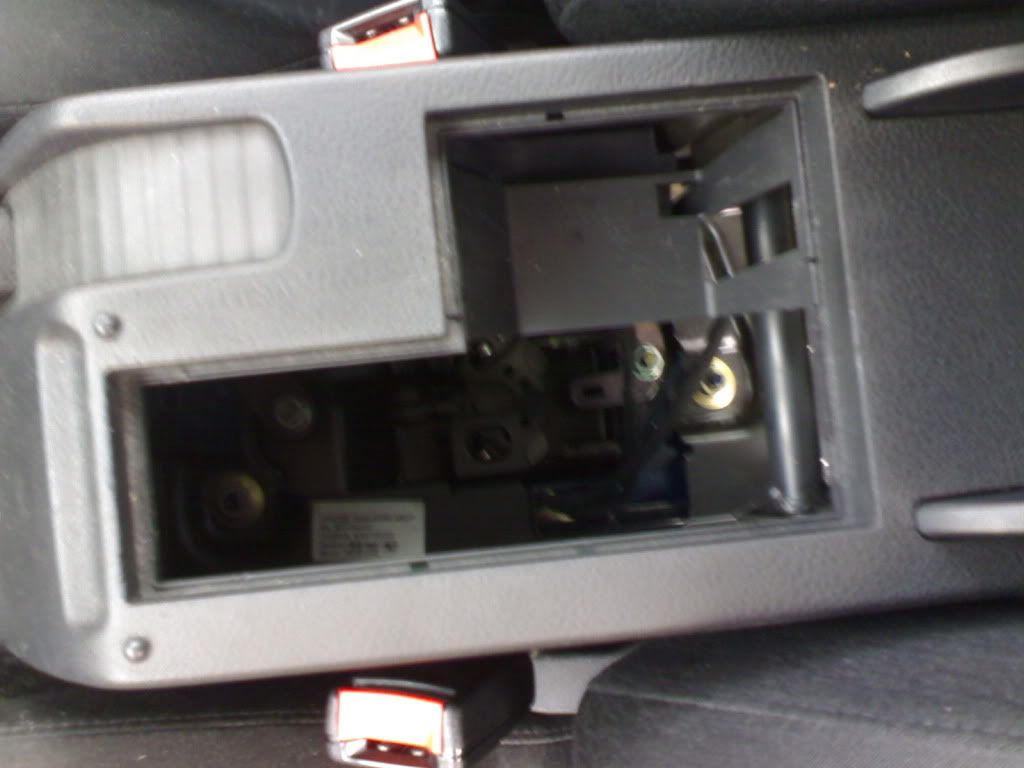
You can see two of the main bolts here (one is obscured). They're the ones with the big brass washers under them.
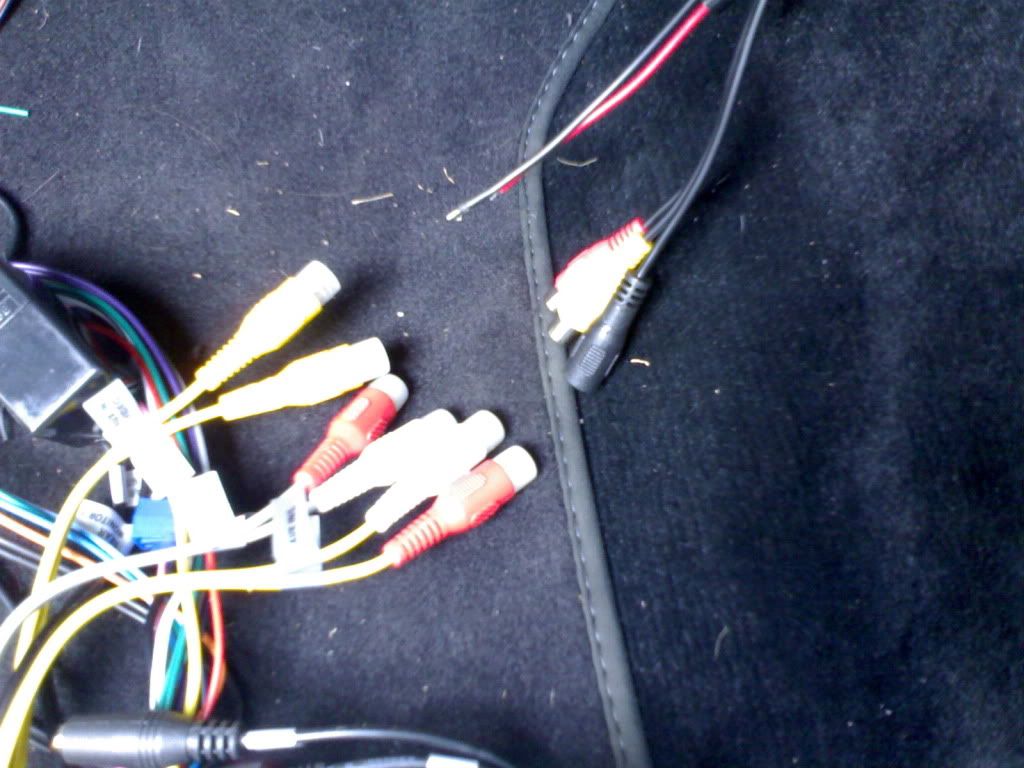
Here you can see the cables are now at the front of the car, nicely hidden but here's my first problem. The supplied cables are too short to reach behind the stereo and the head unit cables are of normal length meaning they're too short to reach as well. This is the most time consuming bit as Stereos have a lot of wiring and Passats have little room for them.
The next problem is that the connectors on both the RCA cables and the head unit are female! To get around this problem I went to the local Maplins and bought a handful of male to male connectors.
Now if I was happy with just two screens I would have either bought longer RCA cables, bought connector cables or spliced an extra foot of wire onto them and fed them up through the back of the stereo hole in the dash (a lot easier than trying to feed the head unit cables down) and plugged them into the audio input and video output cables from the head unit. Then I'd just connect the fused live wire the the head unit ACC wire and the earth to the earth wire. Always use blade connectors in case something happens and you have to take anything apart again.
I, on the other hand, am craving for more than two extra screens and this is where the small box you see in the first picture comes in handy. It's a 1 into 6 video signal amplifier and means you can run up to 6 screens off one video output cable from the head unit. This came free with the headrest screens but took some working out as it had no instructions. It too was easy once I figured it out.
First I bought a foot long male to male single RCA cable and plugged it into one of the video output cables from the back of the head unit. This in turn plugs into the 'video in' jack on the amplifier. You then wire the live and earth it's supplied with to the ACC and earth wires on the stereo as you would have with the screens, then plug your video cable from your headrest screen RCA cables into one of the video output jacks.
There is no sound option on this box, just video but that suits me fine as I prefer the sound to come out of the cars speakers rather than the tinny ones in the headrests. You then wire in the live and earth from the headrest screens which you can see in the above picture and you're ready to roll!
For the opposite side you may need to extend your cables to reach. I used a couple of feet of cable on the live and earth to give me some room to play with and bought another male to male single RCA cable to reach the amplifier box. You should now have two screens ready to go. It's very important though to make sure everything is fused and your connections are really good as there will be a lot of wiring and it all has to get crammed somewhere!
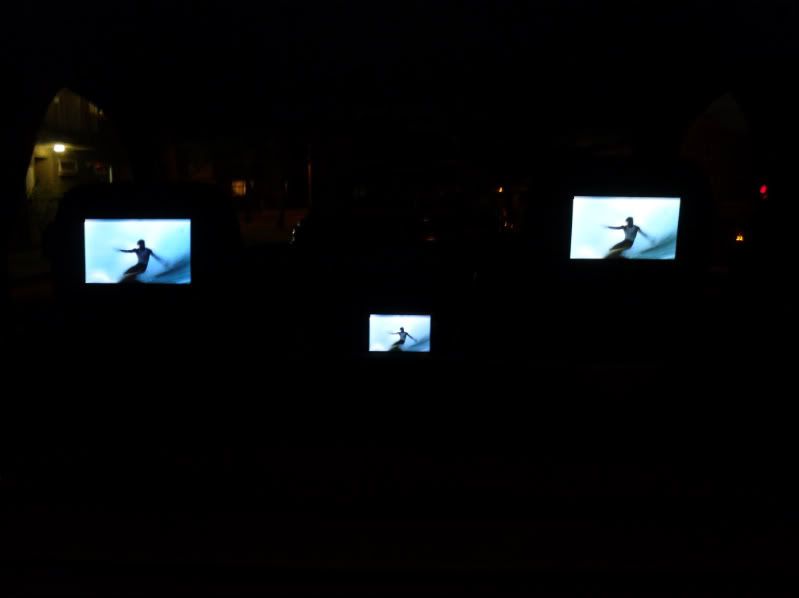
This is the stage when you realize it was all worth it!
I'm afraid I don't have any pictures of the amplifier box wired up but I will try and get some up soon.
This sounds like a lot but it's really straight forward once you've got it all in front of you. I'm by no means an expert but managed to do it fairly easily.
This method of wiring it up applies to loose screens as well as ready built headrest screens. I will do a how-to on mounting screens in Passat headrests when funds allow.
Hope this helps you out and any questions or comments welcome.
Giles