Right here goes
Start of by jackin the car up and take the wheel of.
Use a 16mm spanner or socket to undo the pinch bolt
Next is the fun part, getting the pinch bolt out, this took me 2 hours of heating the area up with a blow torch and hitting it hard with a hammer, heating it, hitting until it finally came out. WD40 made it a little bit easier for the bolt to come out
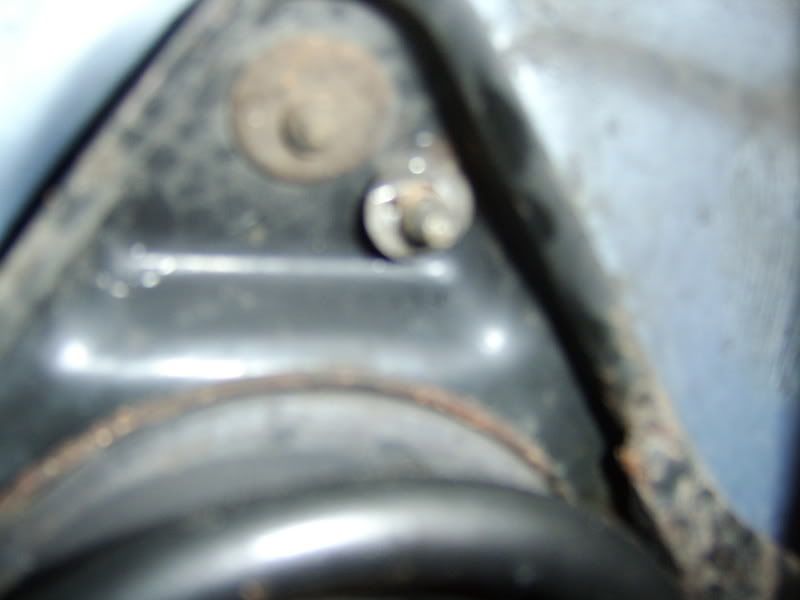
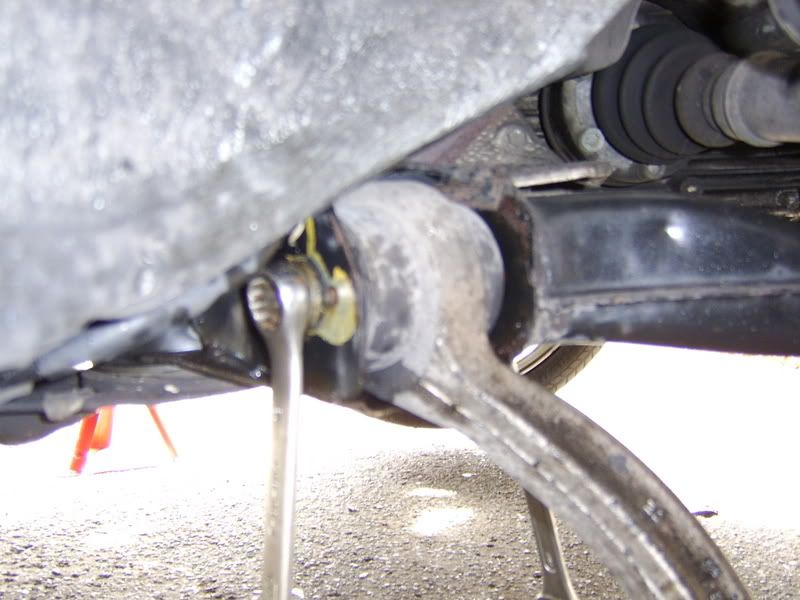
Next remove the spring clip on locating bolt on the upper mounting bracket
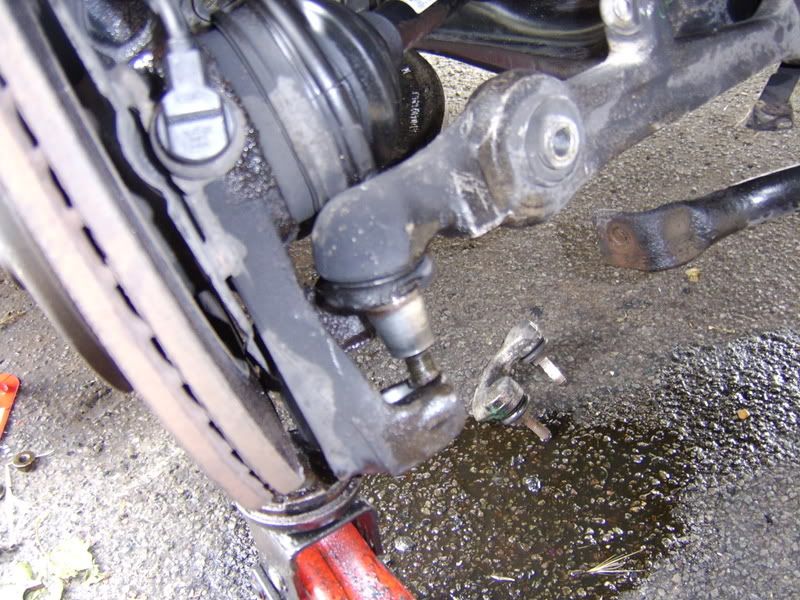
Then seperate the upper suspension arm balljoints from the main hub carrier. Now lift the bonnet and undo the 3 upper suspension bolts in the rear of the engine bay in the scuttle area using a 16mm socket. Now remove 18mm nut and then remove the bolt from the lower suspension damper connected to the lower front suspension arm. Now you can remove the suspension bracket/upper arms/ damper assembly.
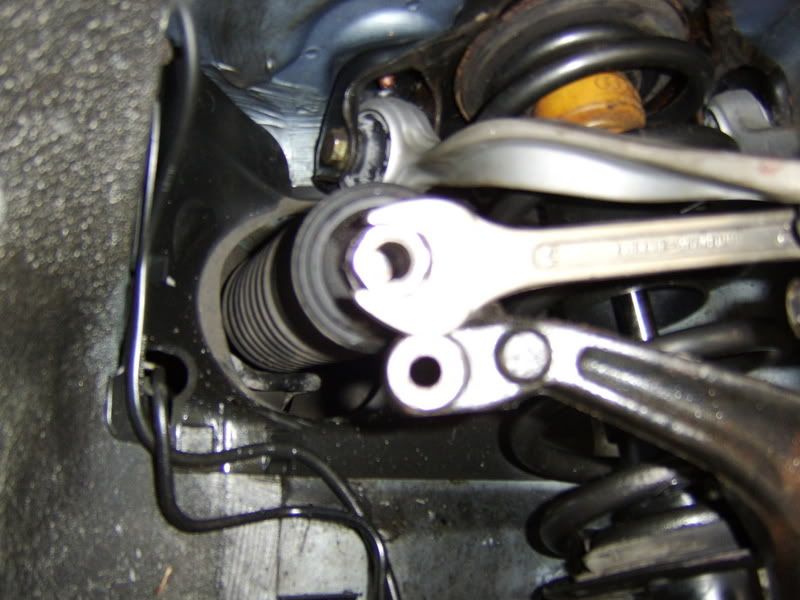
You will find there are 2 13mm nuts holding the upper damper to the mounting bracket, you can remove these if you want, i removed em to make it easier to take upper arms off
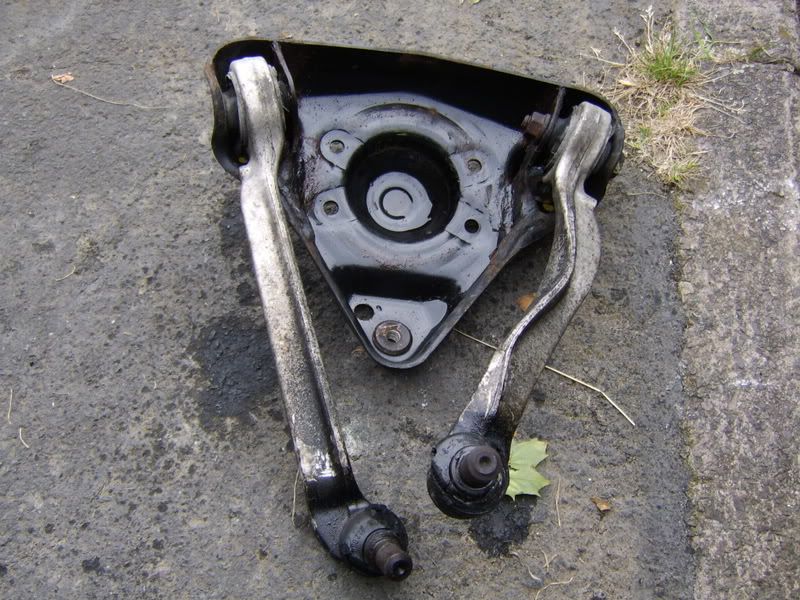
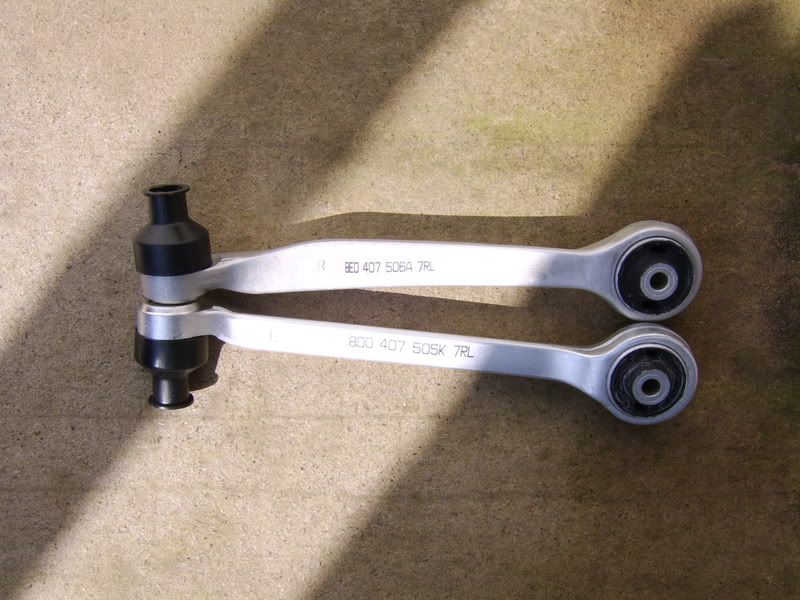
Next remove the upper arms from the bracket with 16mm spanner and socket, this will be really tight so be carefull
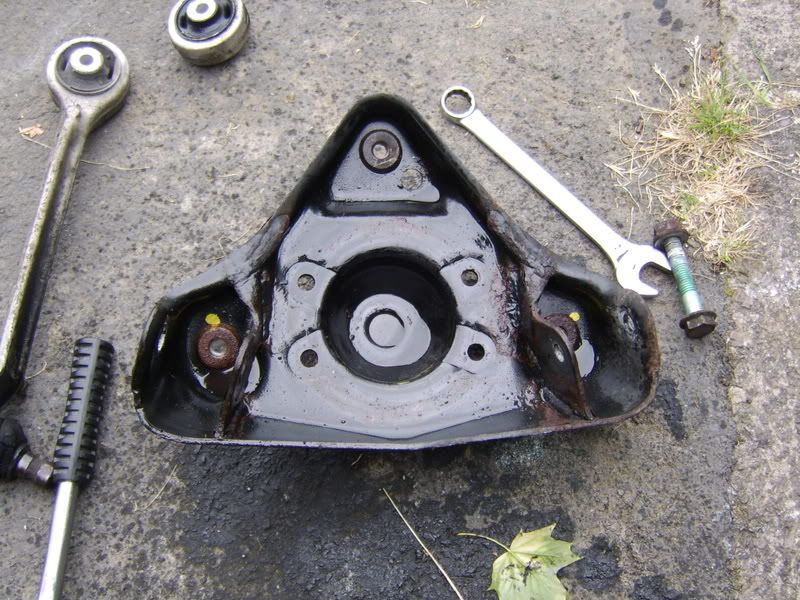
Reassemble mounting bracket with new arms makin sure the correct arms are in the correct place then mount the bracket back on to damper/spring assembly making sure it is the correct way round
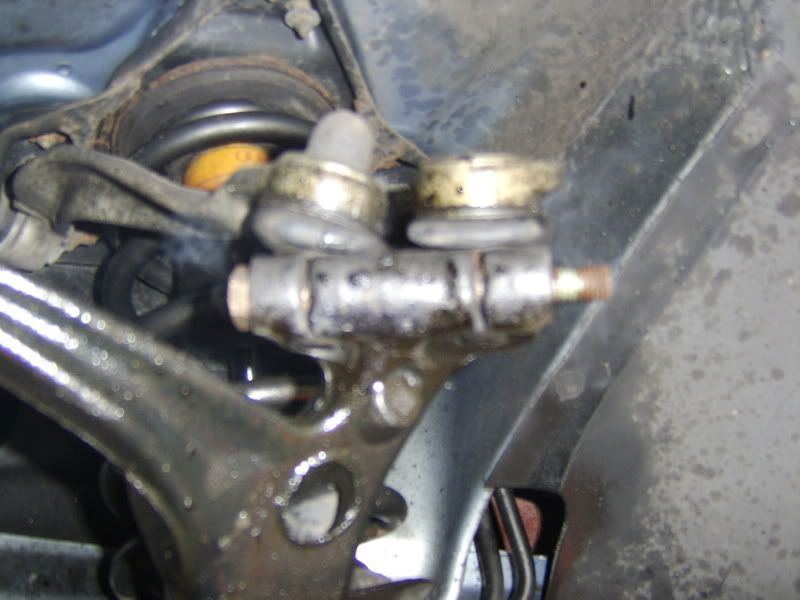
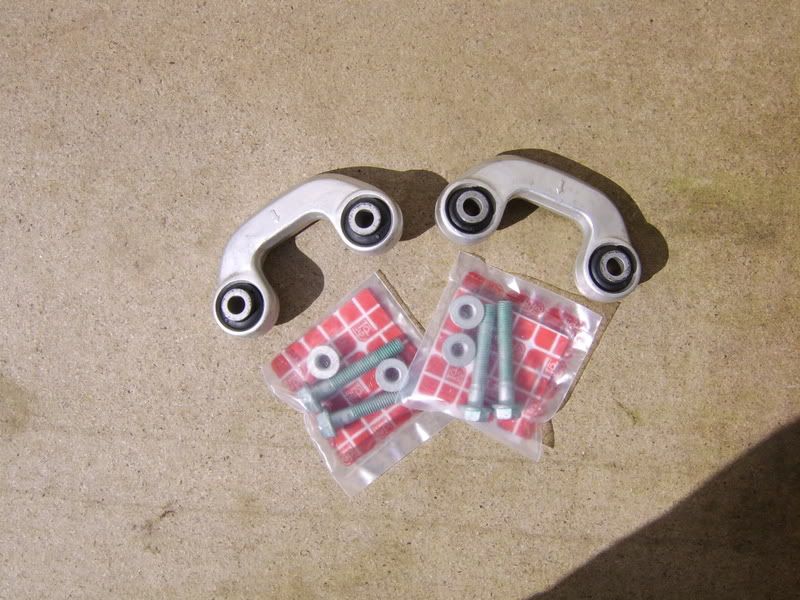
Next job was to remove the anti roll bar C link using 16mm socket
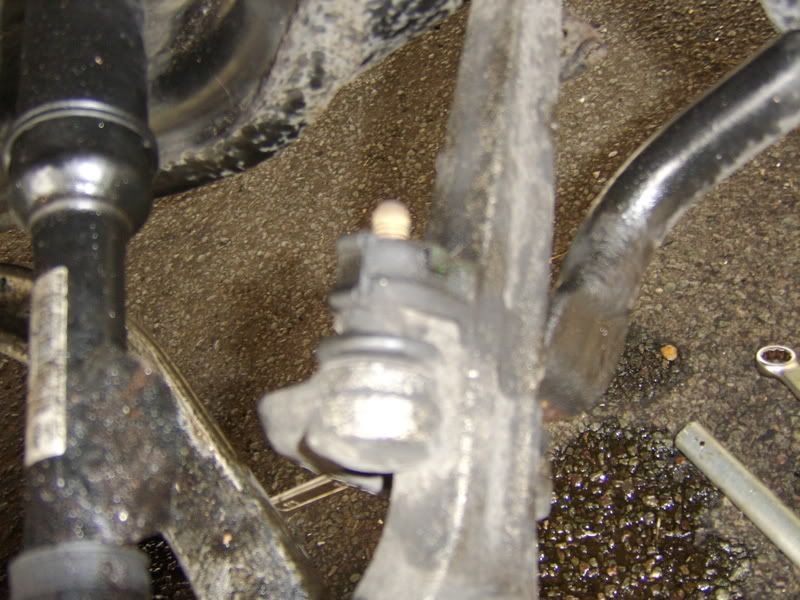
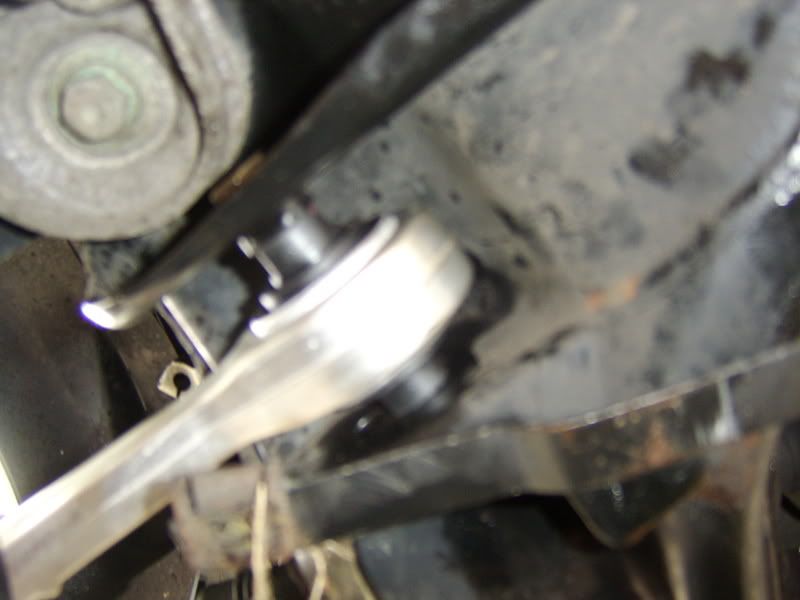
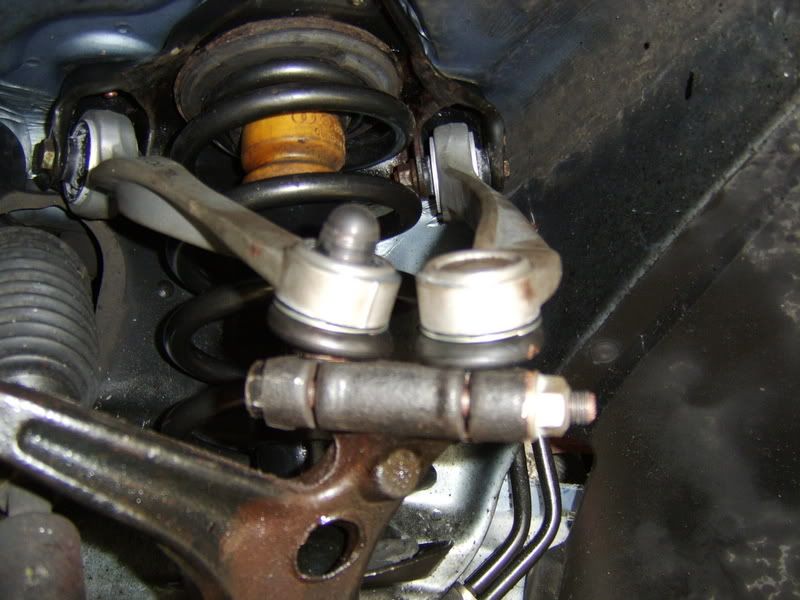
Next i removed lower front suspension ball joint from lower hub carrier. This is a tapered bolt and gave me a bit of a problem gettin out, my ball joint splitter wouldnt fit so i resorted to heating up the lower hub carrier and striking the bolt with a hammer to release the ball joint (took an hour)
Now undo the securing bolt connecting the other end to the subrame using 2 18mm spanner (there is just enough room to undo this bolt with 2 spanners but will take a little time)
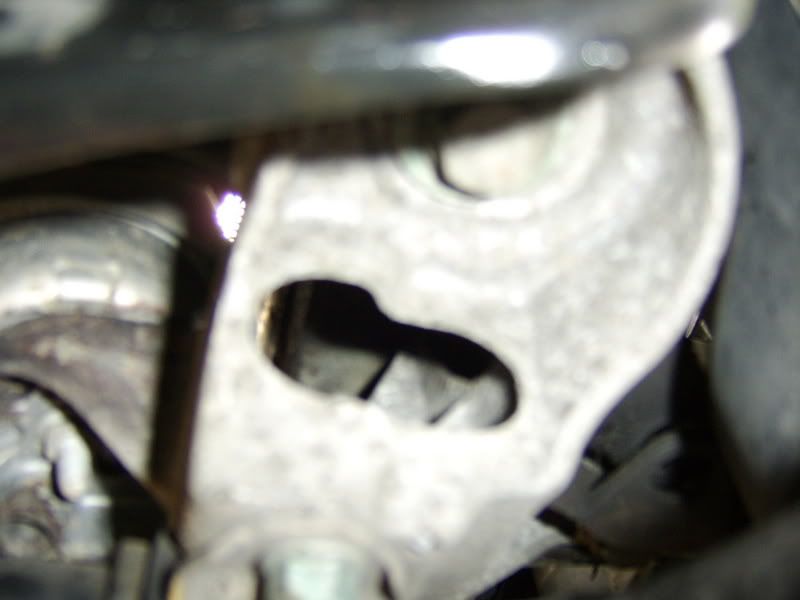
When removing this bolt there is a small access hole so u can fully remove the bolt completly out without having to undo anything else
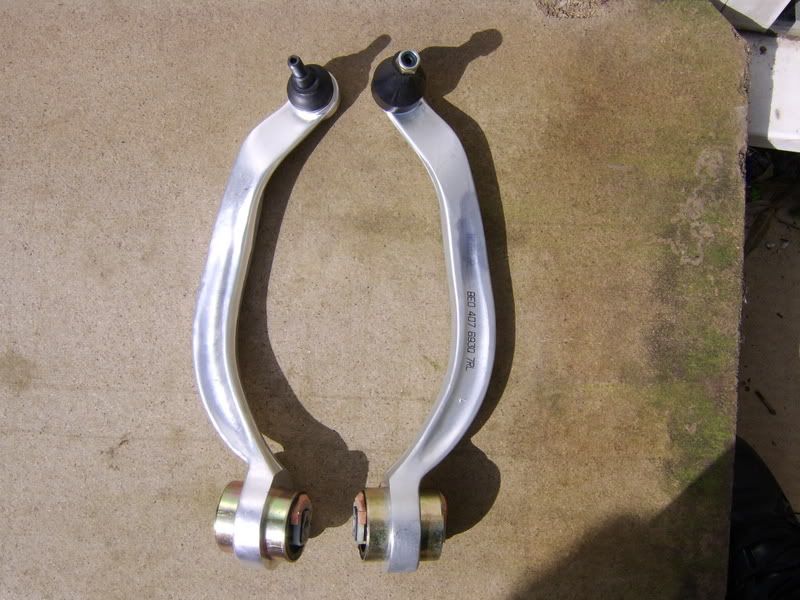
Next remove rear lower suspension ball joint from hub carrier using an 18mm spanner, then remove the nut and bolt from the opposite end connected to the subframe using 2 18mm spanners (same again with this 1 there is a small acess window to get spanner into the nut
Next is the difficult part, removing the bolt. To do this you will have to first undo 2 x 13mm bolts holding the rear subframe bracket, now undo the 18mm subframe bolt (remove it if you want too).
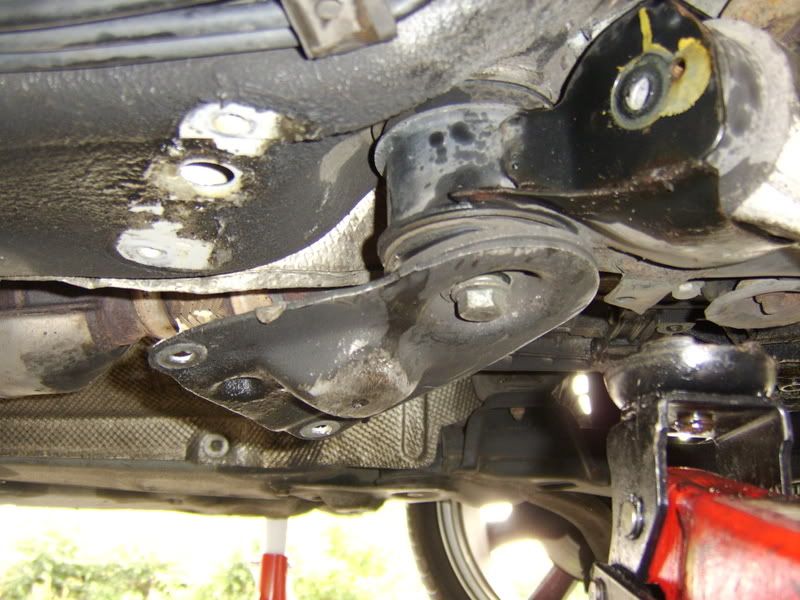
I found the next bit easier using a long bar to slightly lower the subframe so you can remove the bolt from the rear lower suspension arm

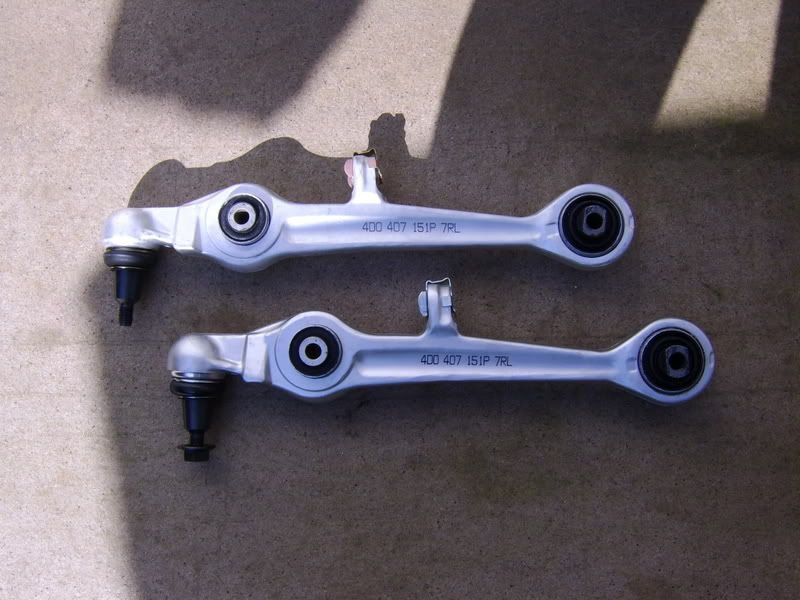
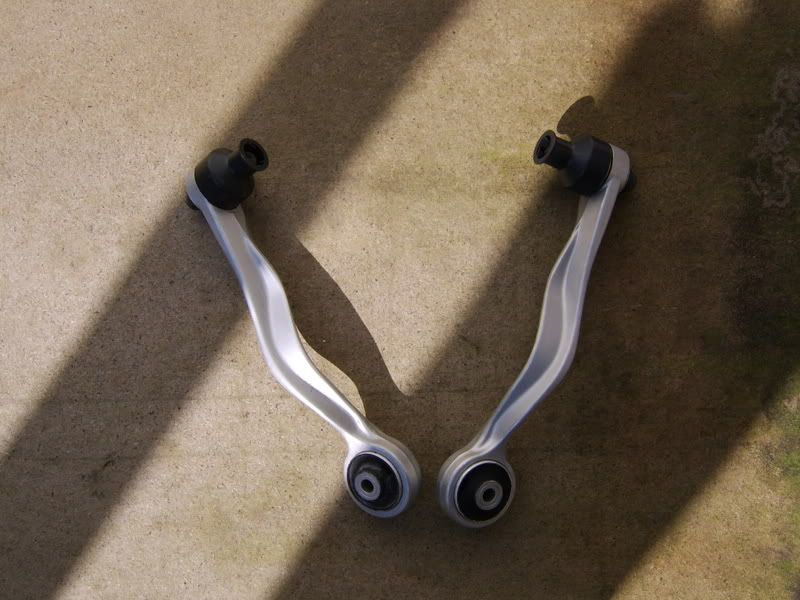
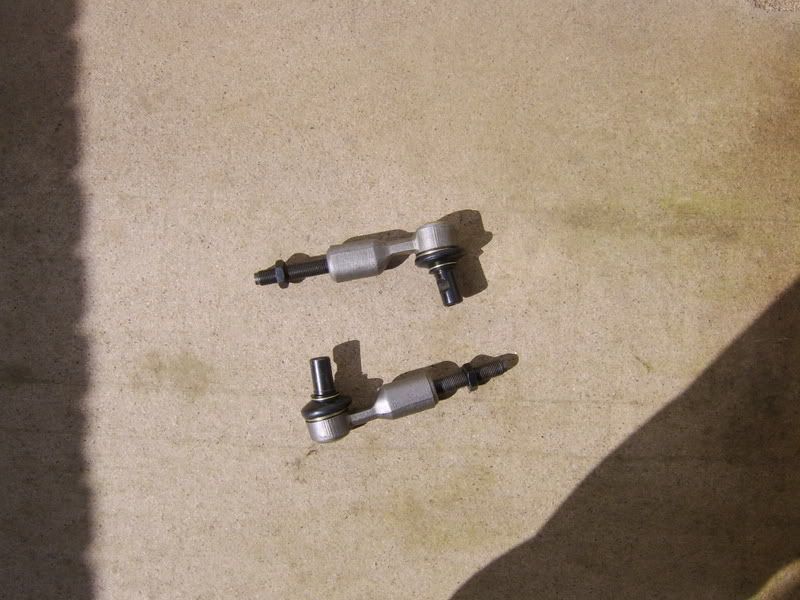
After this was done i began replacing with all new suspension arms and refit everythin in reverse order
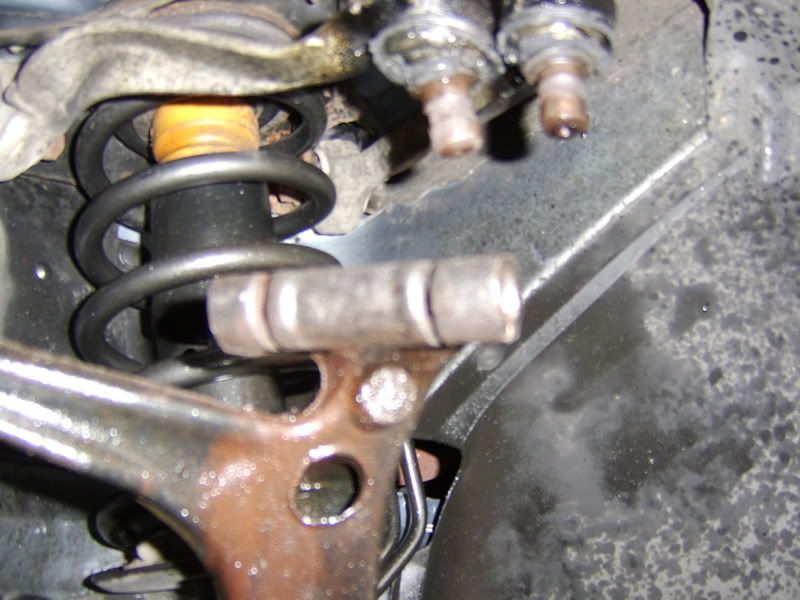
Damper/spring/bracket/upper arm assembly in place
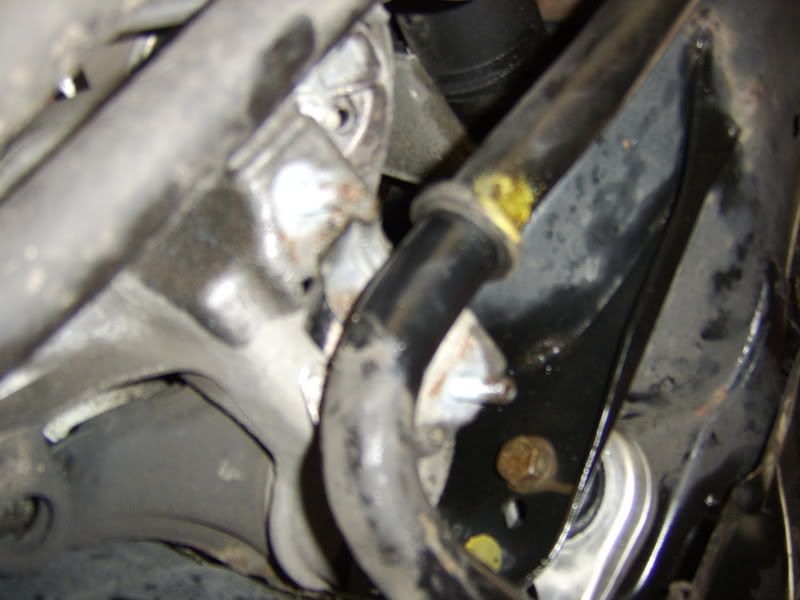
Lower front arm and C link in place
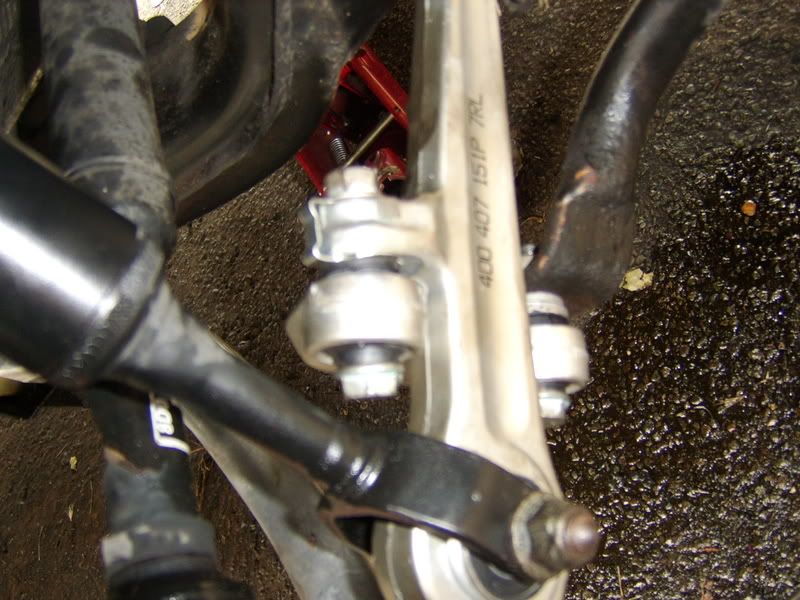
Last arm to replace was the steering track rod end, the best way to do this is use a 16mm spanner to undo the track rod end pinch bolt and remove the 13mm bolt on top holding the ball joint in place. Now use a 20mm and a 22mm to slacken the adjusment bolt. with the ball joint pointing upwards begin to twist out the track rod end counting how many turns till it is removed. Now replace with new track rod end turning the same amount of turns it took to remove the track rod end, re insert the ball joint back into the hub carrier and replace the pinch bolt and the ball joint retaining bolt
Job done, take to nearest wheel centre to have suspension re-alignment checked
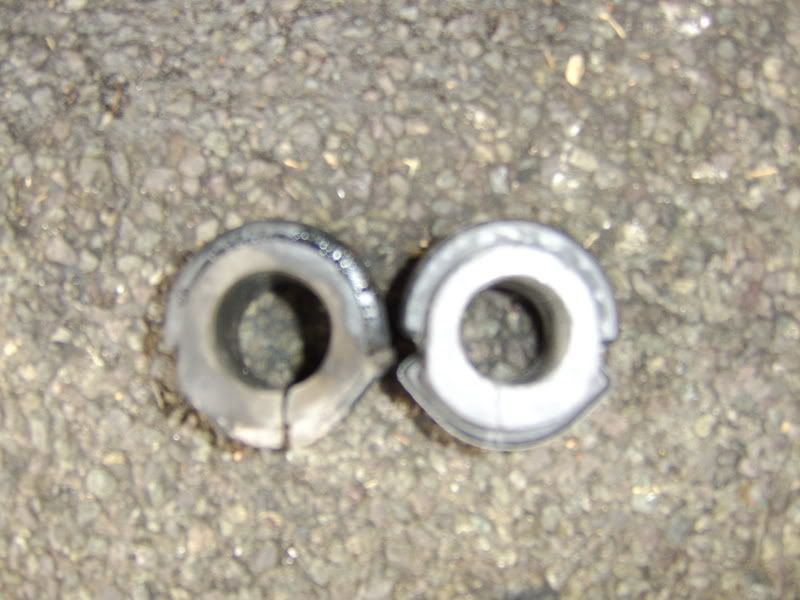
Also while the car was up in the air i replaced the anti roll bar bushes
To do this first undo the 2 13mm nuts, then remove the anti roll bar clamp, remove the rubber bush.
Now replace with new anti roll bar bush, re position clamp and re apply the 2 13mm bolts
old and new anti roll bar bushes