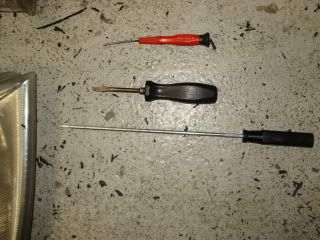
1.Tools that i used.
Very small flat screwdriver like a watch repair one,long flat blade about 4mm wide,short flat blade.
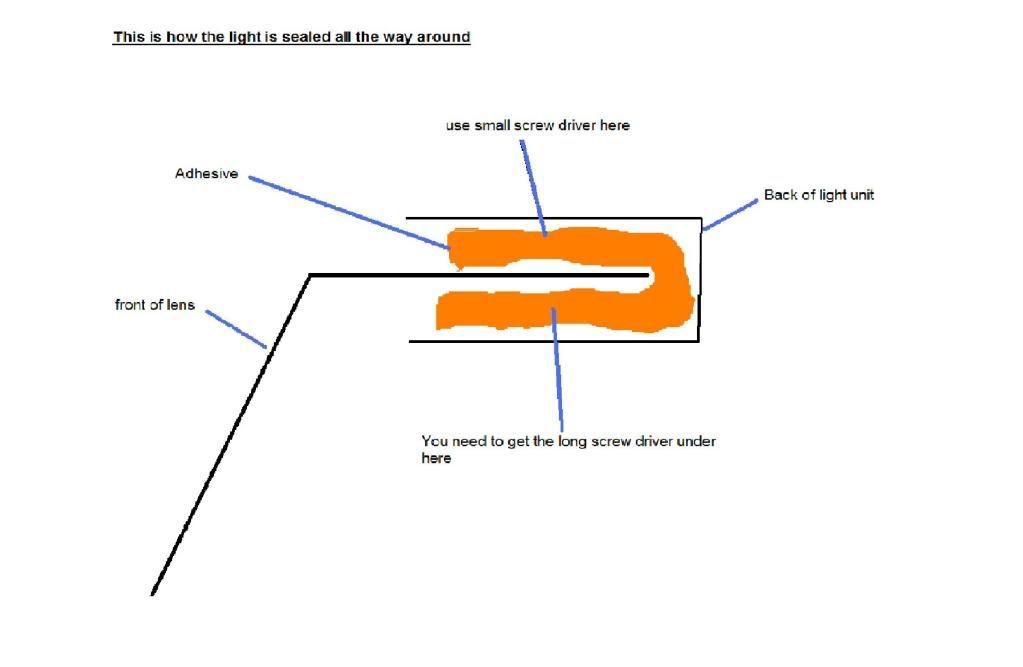
Ive heard about people putting them in the oven but didnt want to do this so i used a heat gun and heated them along the joint to the point where they where difficult to handle ,this doesnt melt the adhesive(sicoflex think thats how you spell it,i tried heating a piece removed from the light and it didnt even burn never mind melt or become soft)i think heating the plastic helps limit the damage i.e bending where you need it too rather than cracking.
2.First of all i just started to go round with the small screwdriver between the backing and lens.
Then once i had done that i heated up the plastic around the area that goes behind the grill when on the car,i did this until i could bend back the plastic to get the long screwdriver underneath the lens to split the bound.
Do this along the top edge,bottom edge and the inner edge but do not do the indicator edge.Try to push the screwdriver down the seal and you should hear the bond breaking and then just try and pull them apart but but not use too much force as you could do more bad than good.Pull slowly and gradually the bond around the indicator will break
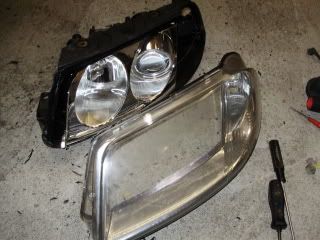
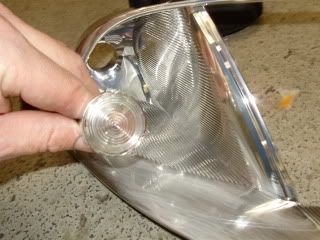
This picture shows the long driver underneath the lens.

Eventually you should end up like this about 30mins up till now.
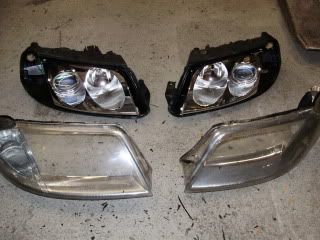
Then this about an hour later.
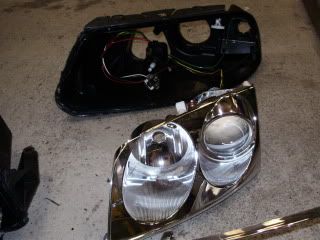
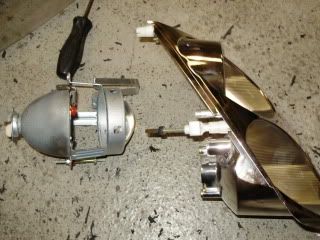
3.Unscrew the lenses from the outer chrome surround.(pic to follow if required)
4.Now remove the reflector/projector from the housing by gently pulling it off the ball joints of the adjusters.And unplug the bulbs.
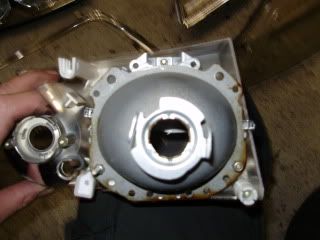
5.Now remove the projecter lamp from the reflector,this is held on by 3 nuts 7mm(could be 6.5mm)
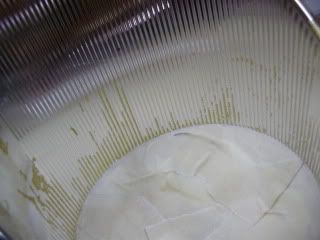
6.THIS IS WHERE IT ALL WENT WRONG FOR ME
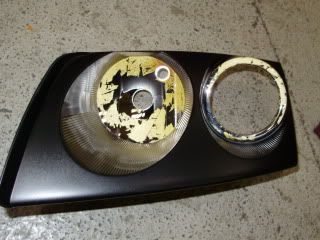
I then went on to mask up the parts where i didnt want to paint as i i trimmed the excess masking tape this is what happend.
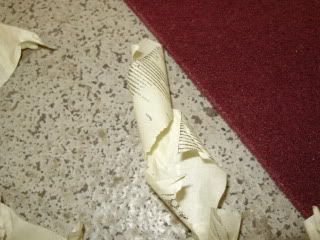
YES that is chrome(if thats what it is)being pulled off by the tape.
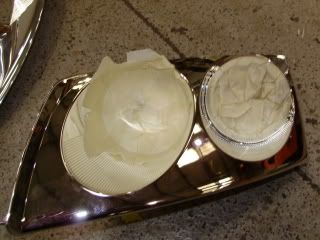
7.I used a scotch pad to rough up the surface,and i also removed the indicator thingy just by releasing its clips from behind whilst pulling on it.
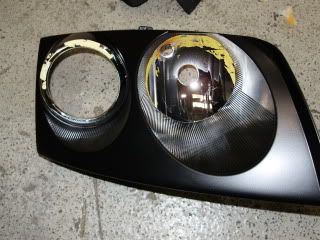
8.I then used 1K adhesive(adhesion)promoter(U-POL) wait 15 mins and then satin black paint doing several layers.
9.This is when i nearly cried.
Remove masking tape fingers crossed considering what happend earlier.
This is where i am upto but i dont know where to go from here!