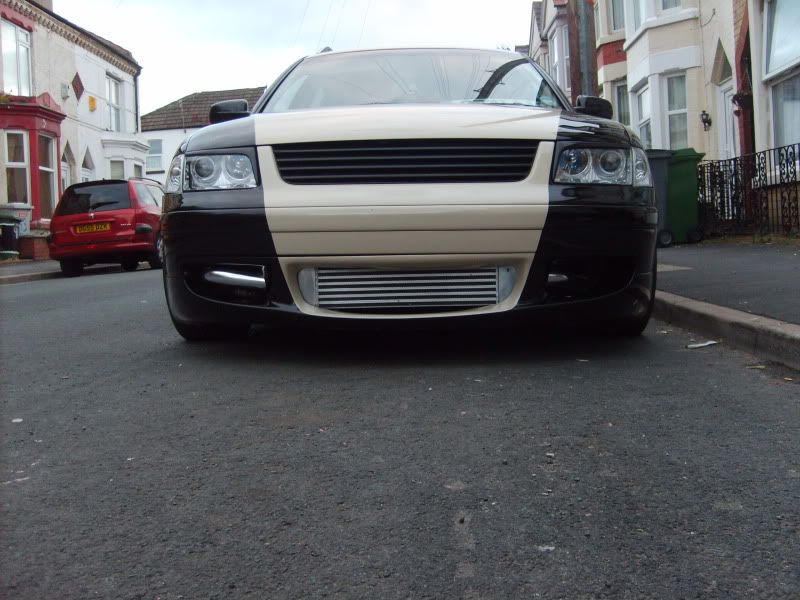
As most will know I recently fitted a front mounted intercooler (fmic), with the help of Karl - smiffy.
The kit I got was new, but wasn’t an Audi A4 as described, so I’m going to list a cheap ‘how to’ alternative.
This is based on a B5 1.8T model.- without the sensor.
So here goes, I reckon anyone with a bit on knowledge could build a fmic for app.£150!!!! Fitted.
I’m no mechanic or engineer, and although it takes time to do, its not beyond my limits.
I know kits can be bought for £225ish, but other than the cooler, the clamps etc are poor quality.
STAGE 1-----
Start off by building a basic kit:
1.The intercooler- There are stacks of these for sale on Edition38 forum, Ebay, MIGWEB (Vauxhall),etc. A good size intercooler can be bought for app £50.
Make sure the inlet/outlet are facing outwards.

Mounting holes are often on the top and bottom, but can be on each side. This makes no real difference.
2.Either buy a length of 2â€Â- 3â€Âali / stainless angle bar or some “L†brackets. And some sturdy bolts around 5-7†in length. Beware B+Q are very expensive for these bits. I know they always have them in stock, but I would try and source elsewhere first. Pay no more than £15 all in.
At this stage I would have a go a mounting the fmic, to see what your up against.
i. remove bumper (there is a guide on here somewhere)
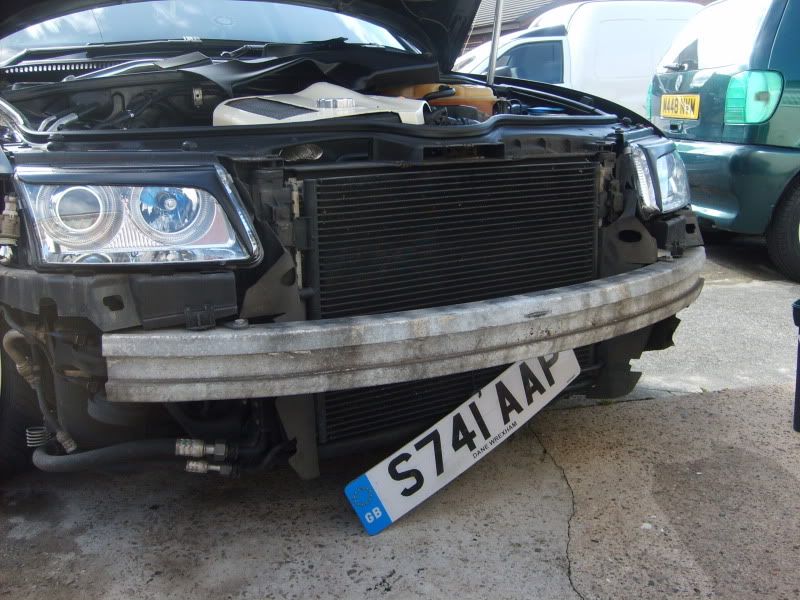
Mark out the centre of the bumper bar, remove the bar via the 2 x 13mm long bolts, accessible from near the headlamps, these can be a pain.
The bumper bar only goes on one-way, as on the rear of the Off side. There is a locating notch.
Once the bar is removed,
Removed the lower horn of the 2 on the drivers side, this is to give room for the fmic boost pipes.
Drill an 8mm hole at the back of the bumper bar 1†in from the drivers side end. Mount the lower horn on there.
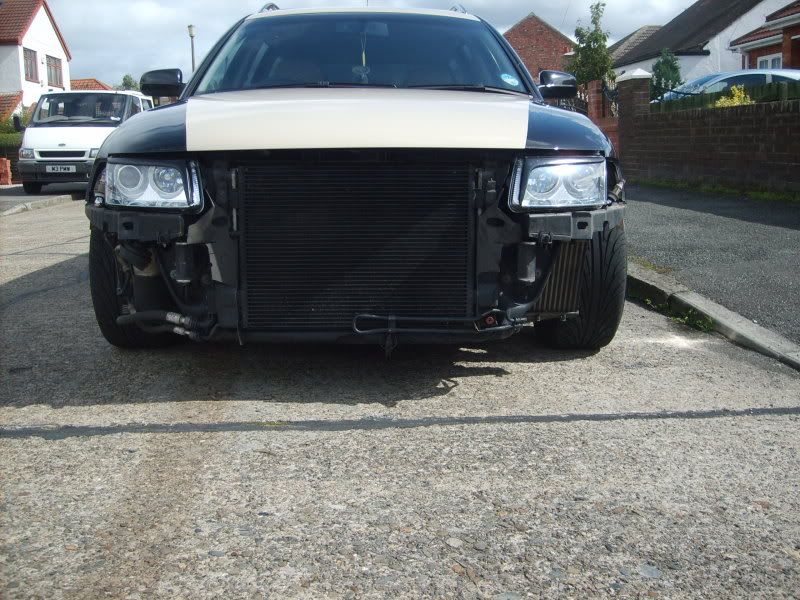
Offer the intercooler up to the bumper ‘centre mark’ and work out how the angle bar or ‘L’ brackets are going to bolted to the bumper crash bar.
Beware this will take some time to get right, I made 3 attempts before I was happy.
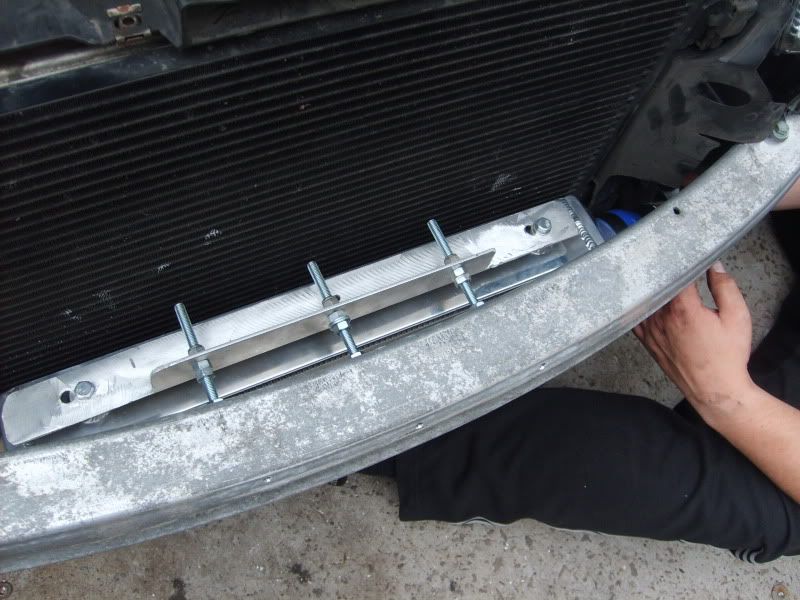
Due to my bumper having a lower spoiler, I had to mount mine as far back as I could. With a standard bumper, I’d guess you would have an inch or two to play with.
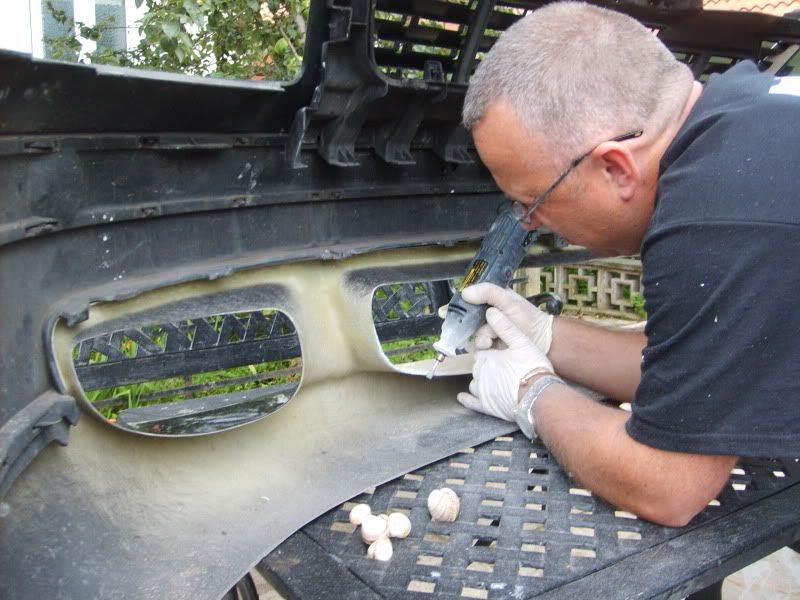
Once mounted, offer your bumper cover back up, so you can work out how much of the inner bumper will need trimming. A dremel comes in real handy here.
Chances are so far this procedure would have taken upto 4hrs. (at this stage its advisable to have a bacon and egg butty). PLEASE be aware, when dunking biscuits into your cup of tea, that no dunk should last more than 5 secs.
STAGE 2---
Remove the standard intercooler from behind the wheel arch liner, this can be a pain to get out, often bending the upper mounting bracket will aid this no end.
Take off the 2 hoses that lead to the old ic.
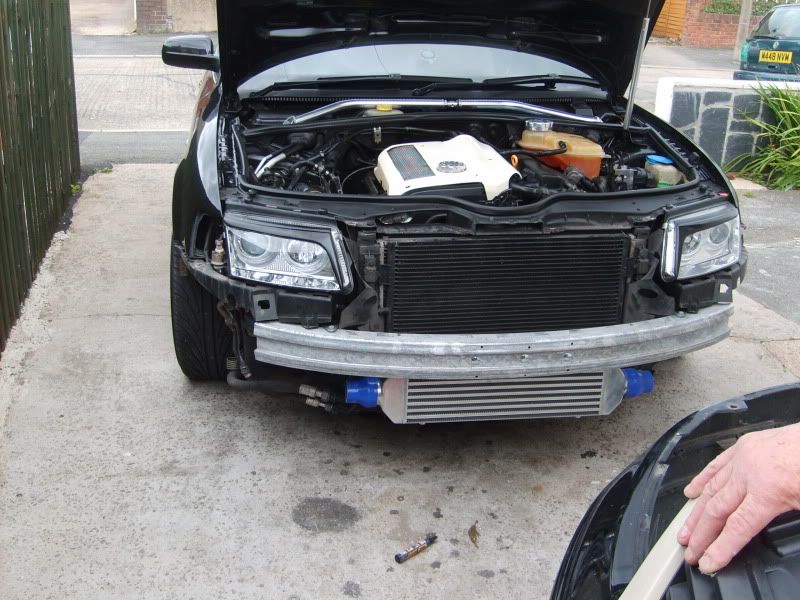
Once all the original poo is out of the way, you will find a nice clear run to send the new boost pipes around to the fmic.
The kit I got was complete but pretty pants quality, so I had to renew most of my pipe work.
Based on using 51mm pipe work.
The throttle body is 63mm, so a 63mm to 51mm straight reducer is needed.
£23 samco or £14 unbranded
68mm-73mm mikalor clamp for the throttle body £4-£7

(the ones supplied with my kit where poo, these mikalor ones are double boss!) , yes jubilee clips could be used all around, but quality counts.
Straight 51mm boost pipe £8-£12
51mm 45degree elbow – £23 samco - £12 unbranded.
At this stage you must decide wether to make up the rest of your pipe work with silicon pipe elbows or metal pipe. Either way it should cost no more than £25.
Stage 3--
Remove the pipe from the turbo/dumpvalve/lower pipe.
This is a much smaller length to make up, but the dump valve (dv) must have a take off point.
The dv section can be bought ready made for app. £10 as the dv pipes are much smaller, most decent jubilee clips can be used here.
A 45 or 90 degree bend will be need to take the boost pipework through the space made were the horn was situated. £23 samco - £12 unbranded.
Once all the clamp and pipes are secure, fire up ya beast. Some advise to disconnect your battery for a while to rest the ecu.
I will prob add to the detail as and when I get chance.
But I would defiantly keep an eye on ebay for samco pipes etc, a pile of 8 or so pipes and elbows went this week for £15!!!!!
If you play it cagey and took your time buying pipes/clamps, I think this build could be don for under £100-
THE BEST BIT,>> original intercoolers usually sell for £50-£65 on the net