
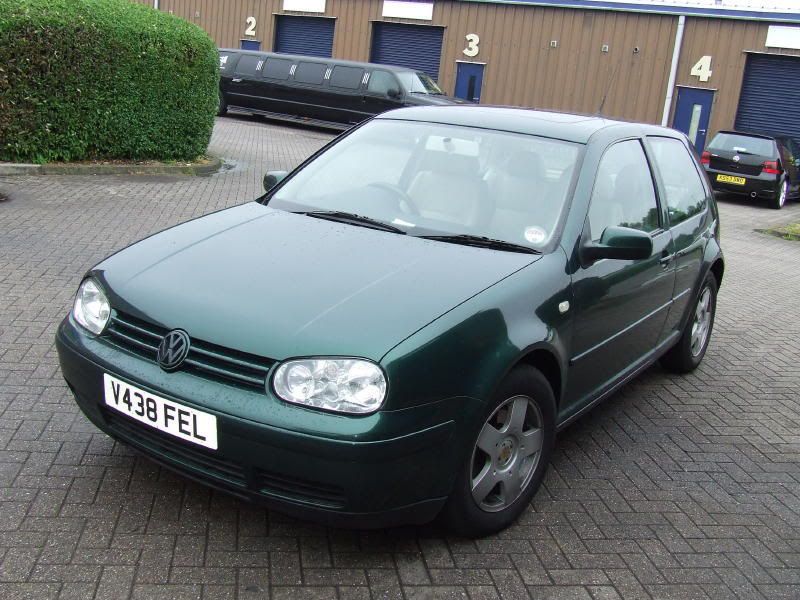
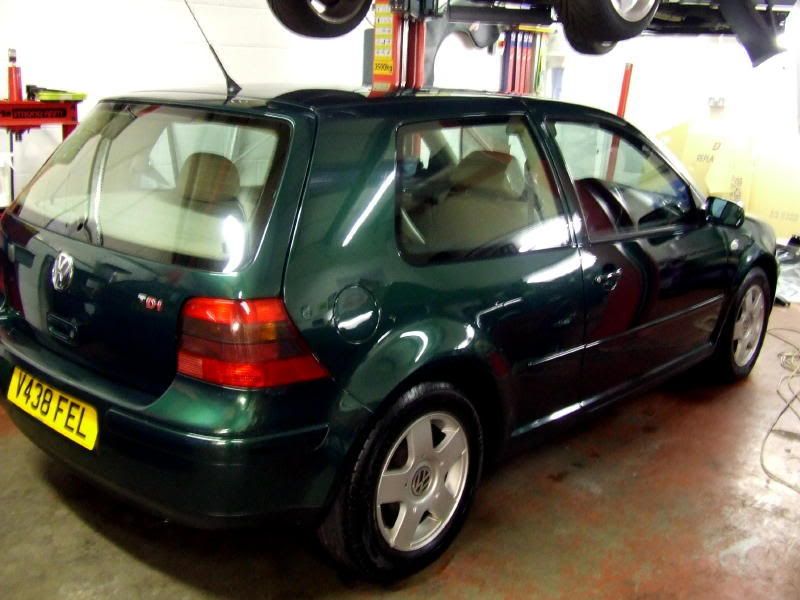
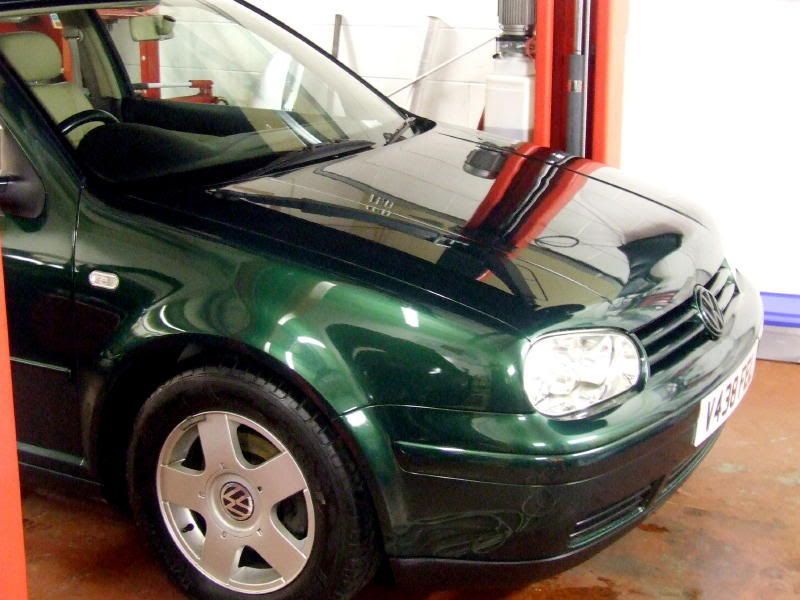
Here she is first thing Saturday:
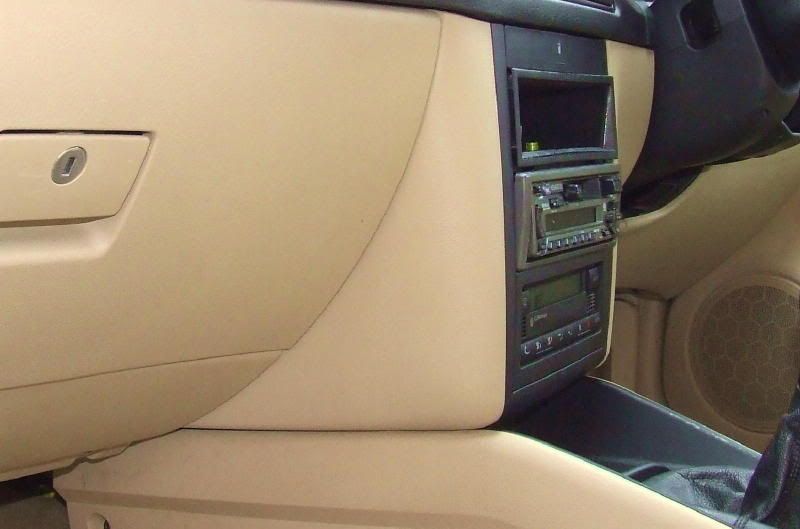
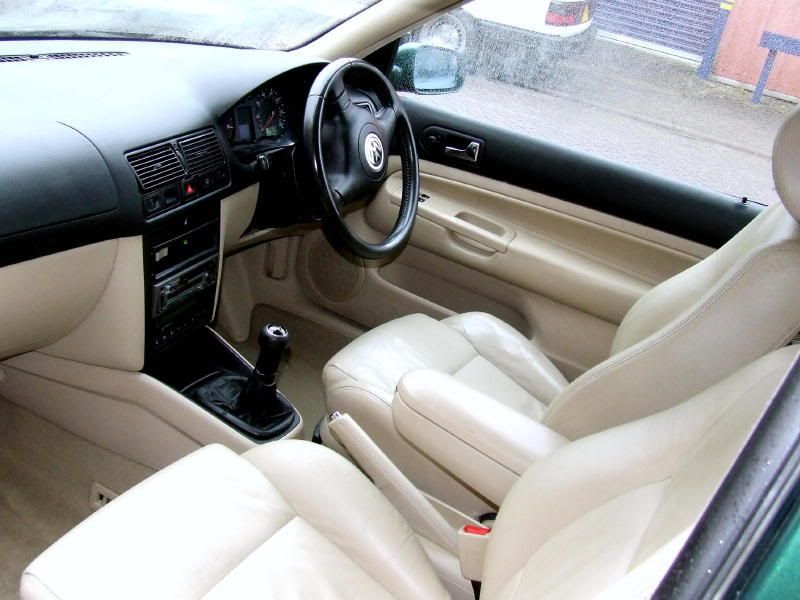
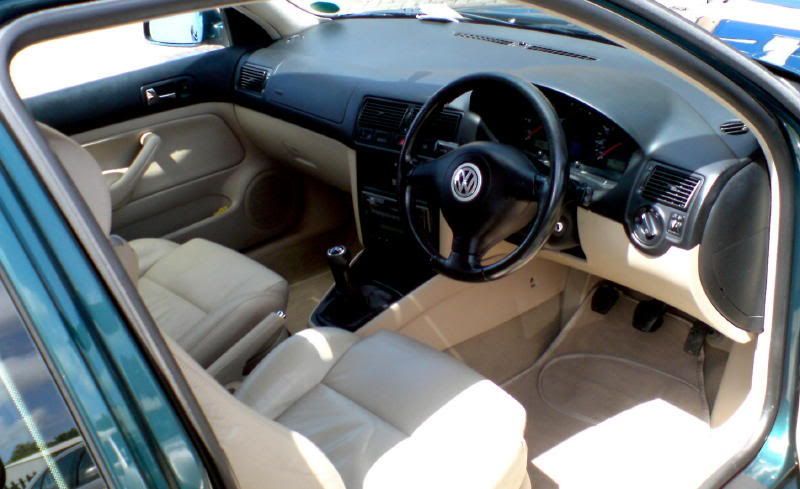
While I was waiting to get a spot inside the garage I cracked on with the interior. The beige leather and trim looked great with the green paint, but needed a bit of freshening up. First up was a thorough hoover out and spot treatment of carpet stains with Meguiars All Purpose Cleaner. Most of the trim had staining and grime, (which didn't photograph too well!)
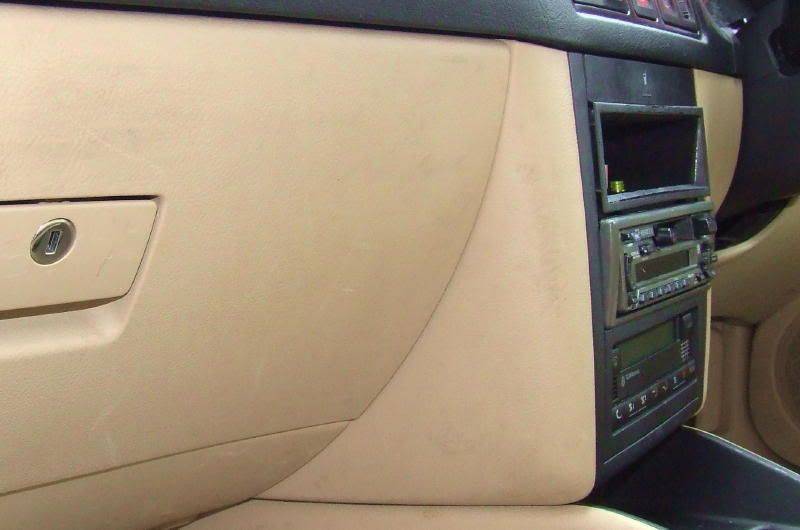
This was sorted with a Meguiars APC wipedown to all hard surfaces, with a Meguiars slide brush helping to sort the inaccessible areas like vents and panel gaps.
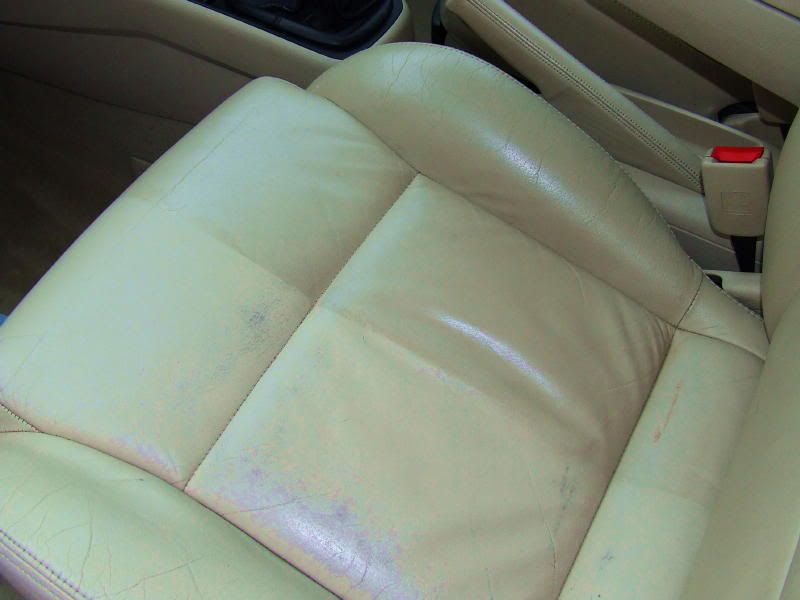
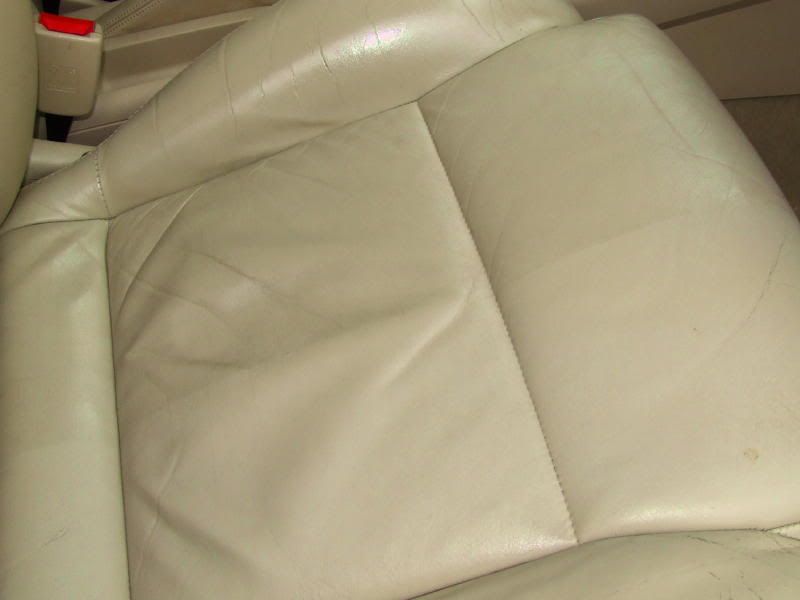
Then it was on to the leather, cleansing with Zaino Z9 and feeding with Z10.
The Z9 was worked in with a soft brush before being removed with a fluffy Microfibre cloth, then the Z10 was worked in sparingly with a Microfibre applicator and left to dry. Very impressed with these products, as they really brought the suppleness back to the leather, along with the smell. Cracking and staining was also highly improved, as shown in the front seat 50/50s
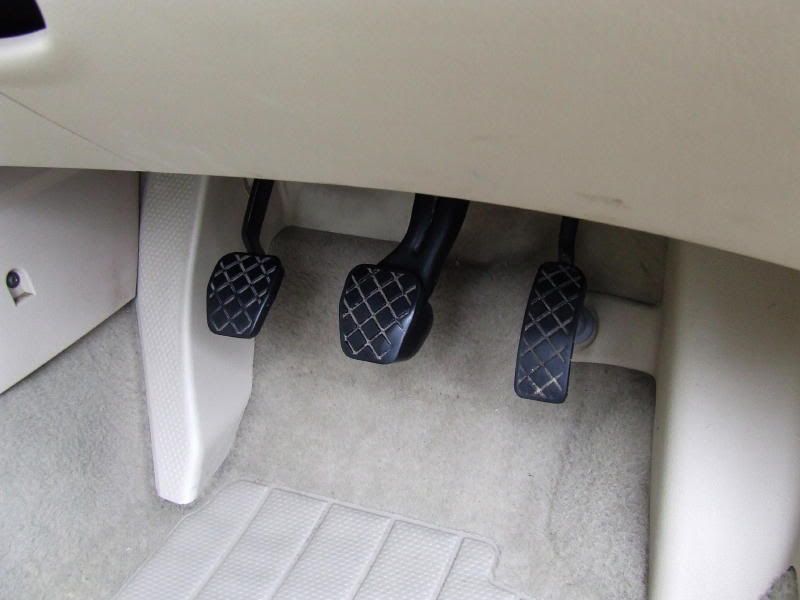
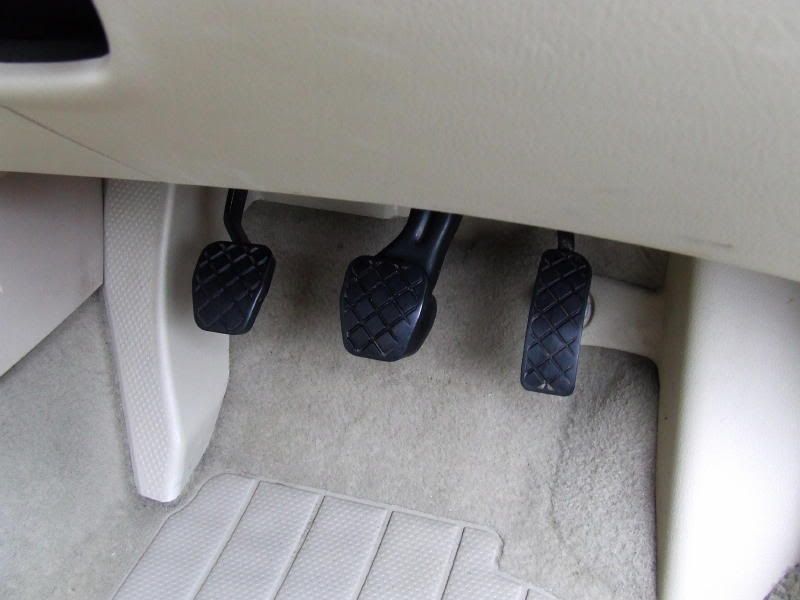
Once the leather was sorted, the hard plastics were treated with Poorboys Natural Look, and the pedals given some attention with APC and detailing swabs:
Before:
After
Finished!
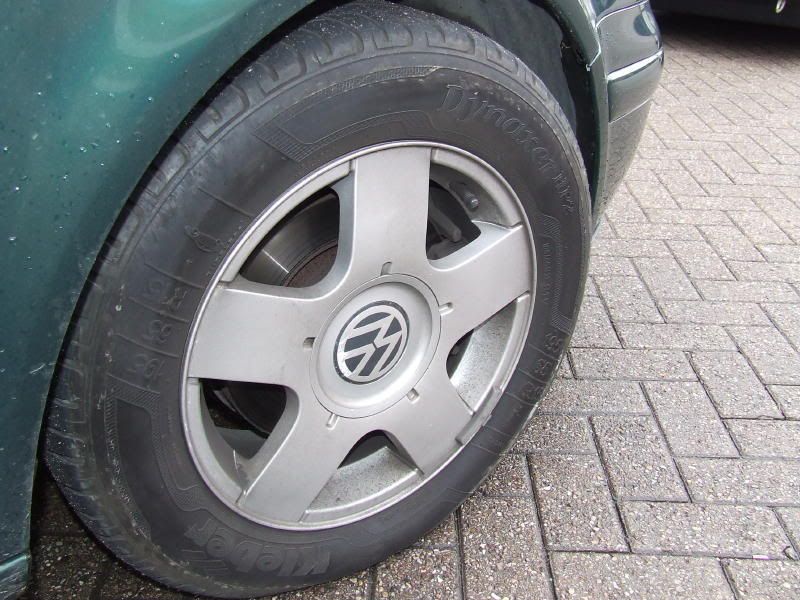
With that tackled it was on to the paint. The car was pre-rinsed with Traffic Film Remover and an industrial karcher, washed with Zymol auto wash and a sonus lambswool mitt (two bucket method) wheels were cleaned with Meguiars Wheel Brightener and a selection of brushes, and the paint was clayed with sonus green clay and Meguiars Last Touch spray. The car was then brought inside for a look at the defects:
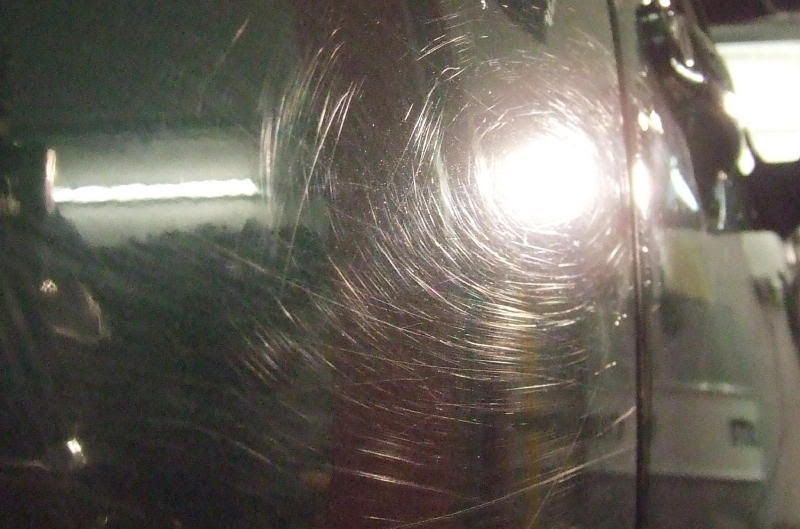
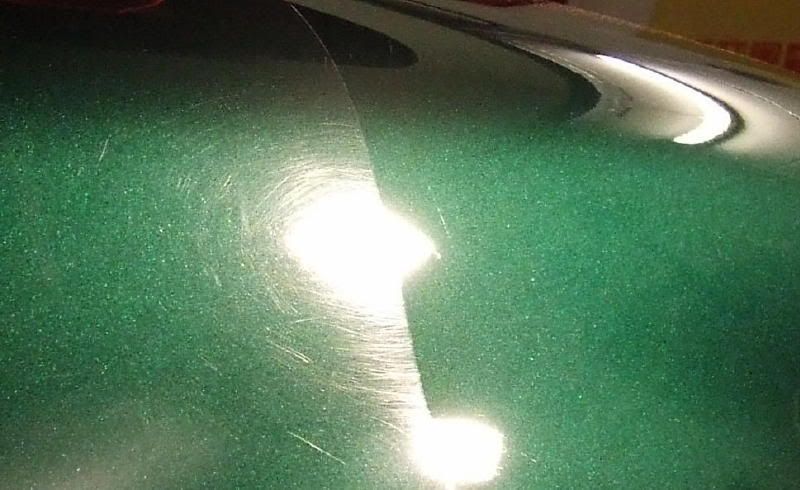
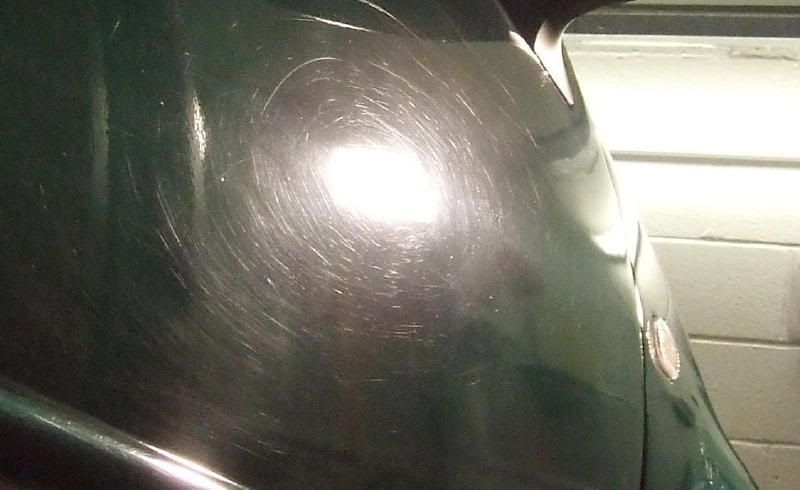
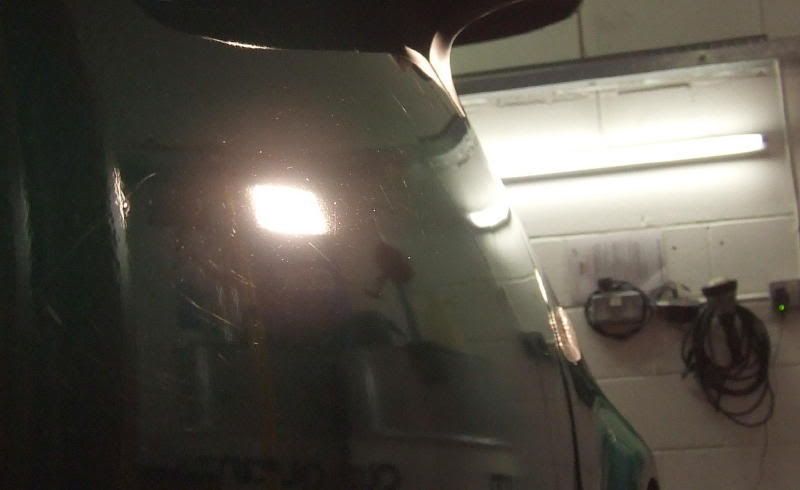
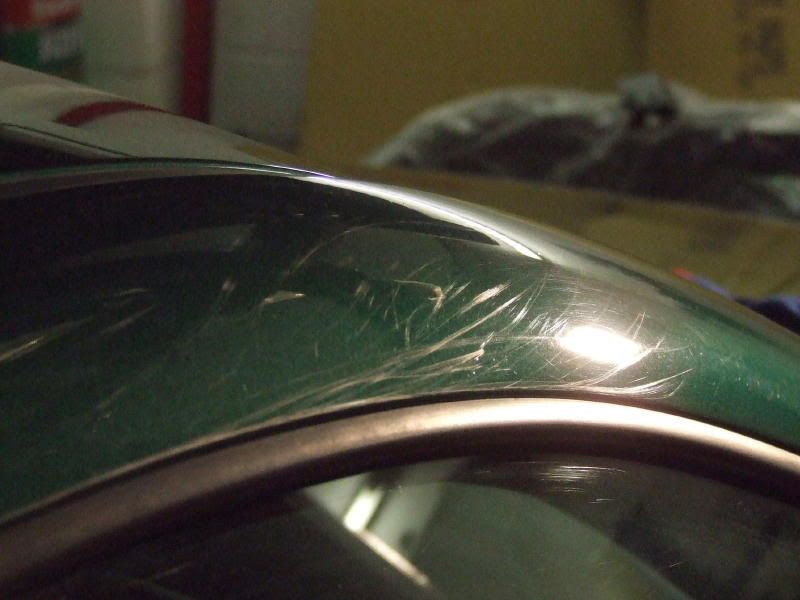
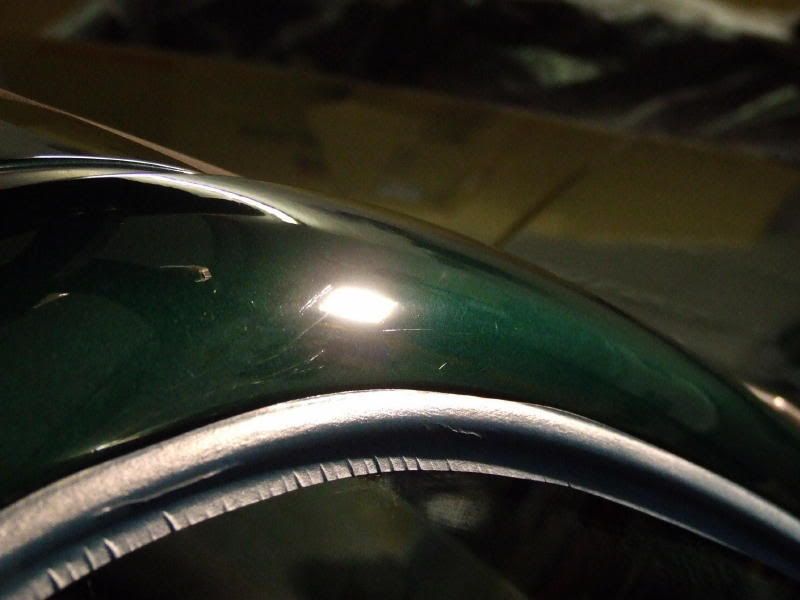
From previous inspection I knew the paint was dull and swirly:
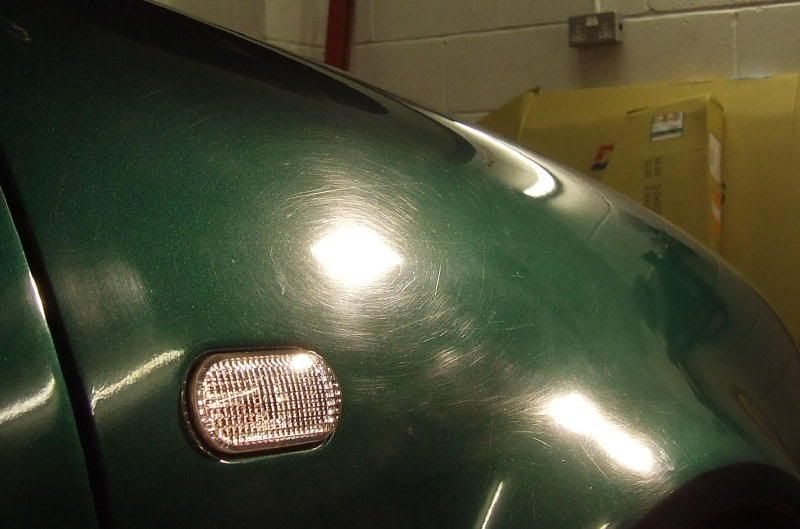
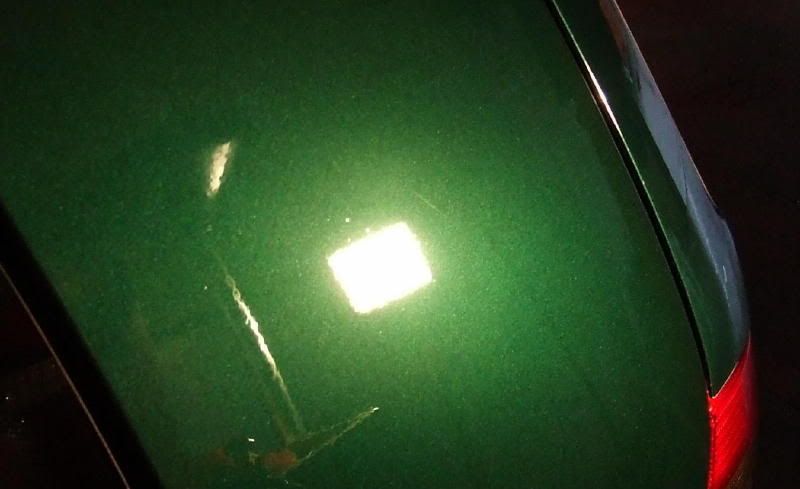
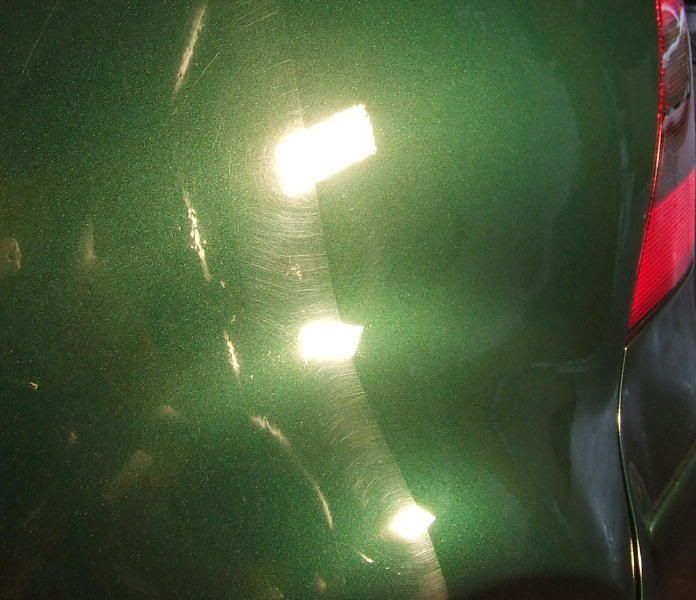
But it also had some horrible Random Deep Scratches (RDS) that were worse than I initially thought:
Onto the polishing, and I tried the rotary with various combinations on the bonnet - starting with Menzerna Final Finish PO85rd on a Menzerna polishing pad, moving up through Menzerna Intensive Polish 3.02 to 3M Fast Cut Plus, before finally settling on IP 3.02 with a little 3m mixed in, on a Menzerna compounding pad. This paint was some of the hardest I've come across, despite the fact that Paint Thickness Gauge readings showed various parts of the car had seen paint repairs! Even two full-bore hits at 3000rpm weren't enough to take out some of the RDS on the lower panels and roof, so wet sanding would have been on the cards if I'd had the time! Although this was disappointing, the mission brief was to get the car presentable rather than perfect, so this had to be sufficient for the time being.
The 3m and IP combo gave good work time with a little extra cut, and good finishing ability, although further passes with 3.02 on an Elite coolfoam pad were required to refine the finish in many cases.
50/50 on the wing:
Door before:
Door After:
A-pillar before:
A-pillar after:
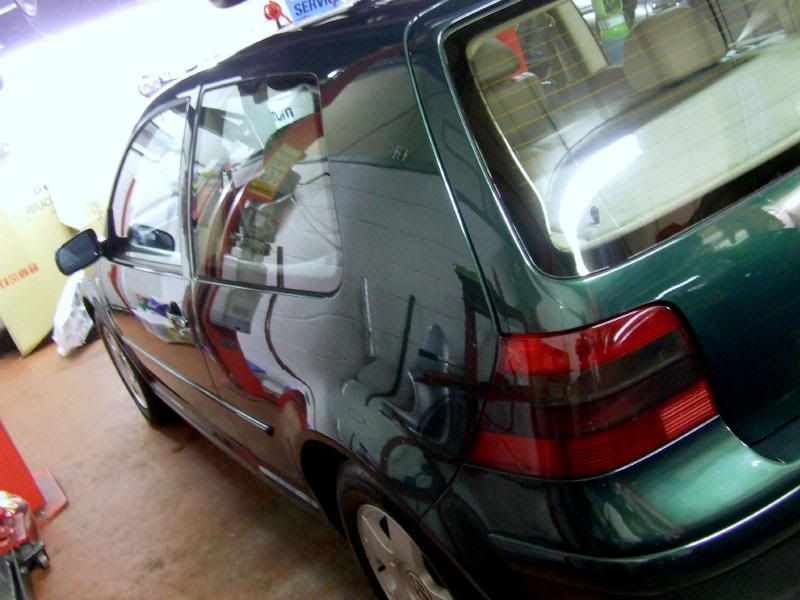
Rear 1/4 before:

Rear 1/4 after:
Rear wing 50/50
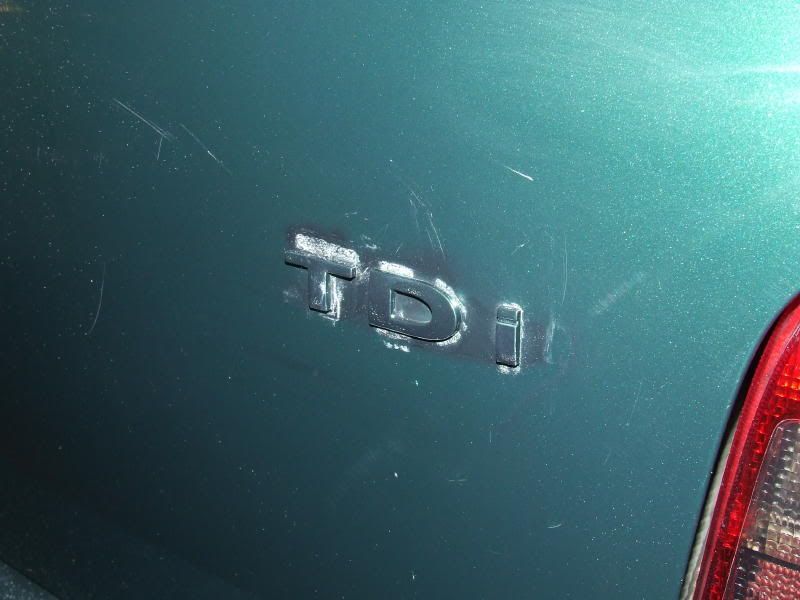
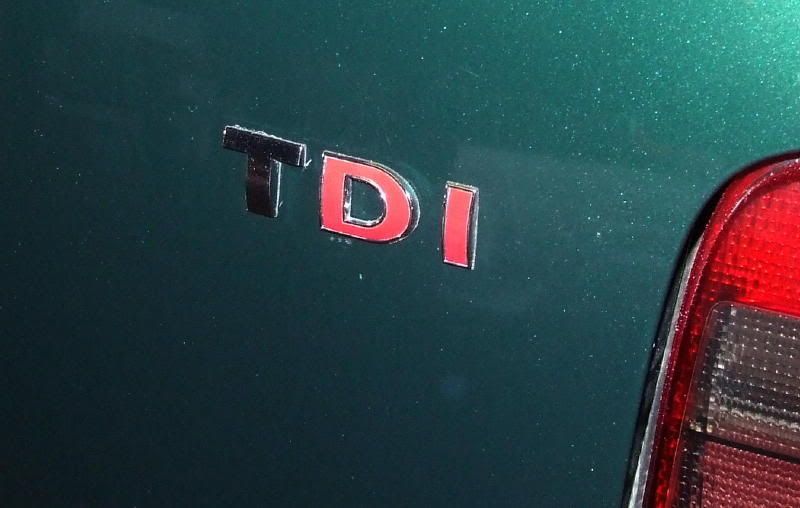
One other thing letting the car down in my opinion was the rear badging. The previous owner had replaced the OEM badges with DIY colour-coded ones, from possibly a ford, painting over the factory adhesive at the same time!
Thanks to Gareth @ Europerformance there was a spare OEM badge floating round the toolbox, so the old one was stripped off, the bootlid was polished and wiped down with thinners to remove the adhesive, and the new one offered up:
Much neater!
With the polishing finally complete and the job time approaching 12 hours it was time to finish up. The car was given a thorough Last Touch wipedown, inner arches were dressed with Chemical Guys Bare Bones undercarriage spray, plastic valences and tyres were given a coat of Poorboys Bold n' Bright, and the paint was given a coat of Raceglaze 55 Signature Carnauba wax.
Impressed with the 55, as it went on and came off very easily, and certainly upped the gloss and wetness of the finish. time to call it a night!
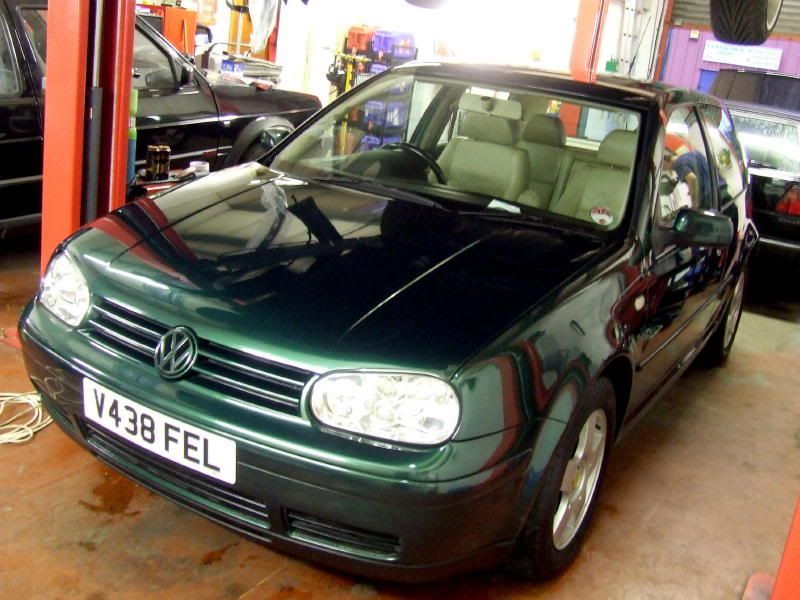
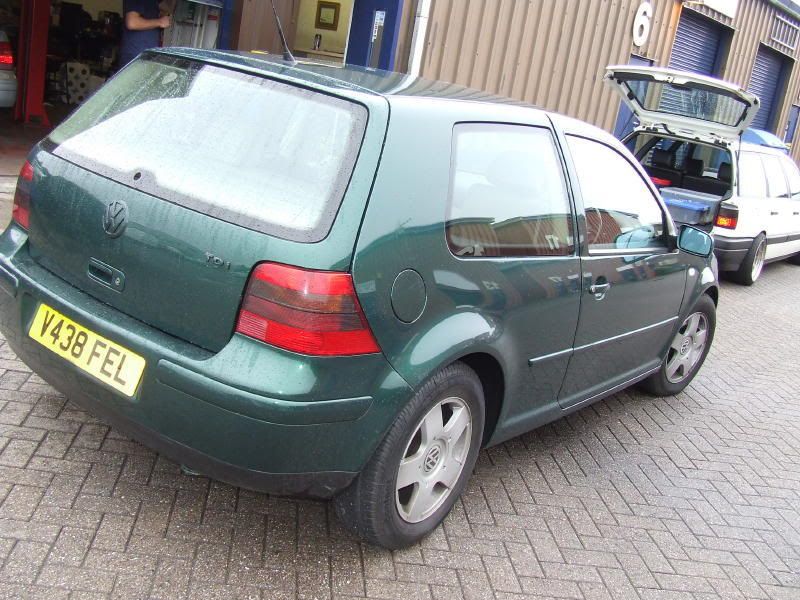
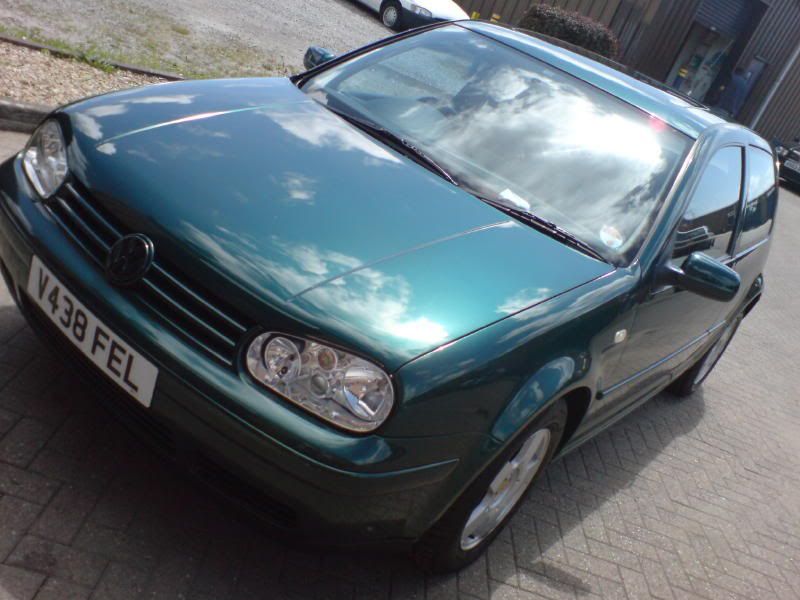
The car was then picked up the following morning after a quick wipe down:

Massive thanks to Europerformance for the venue, badges and energy drinks!
Cheers to the owner for letting me loose on the mk4!